The below post may contain affiliate links. This means we will receive a commission if you purchase through our link, with no extra cost to you. As an Amazon Associate we earn from qualifying purchases. Read our full disclaimer.
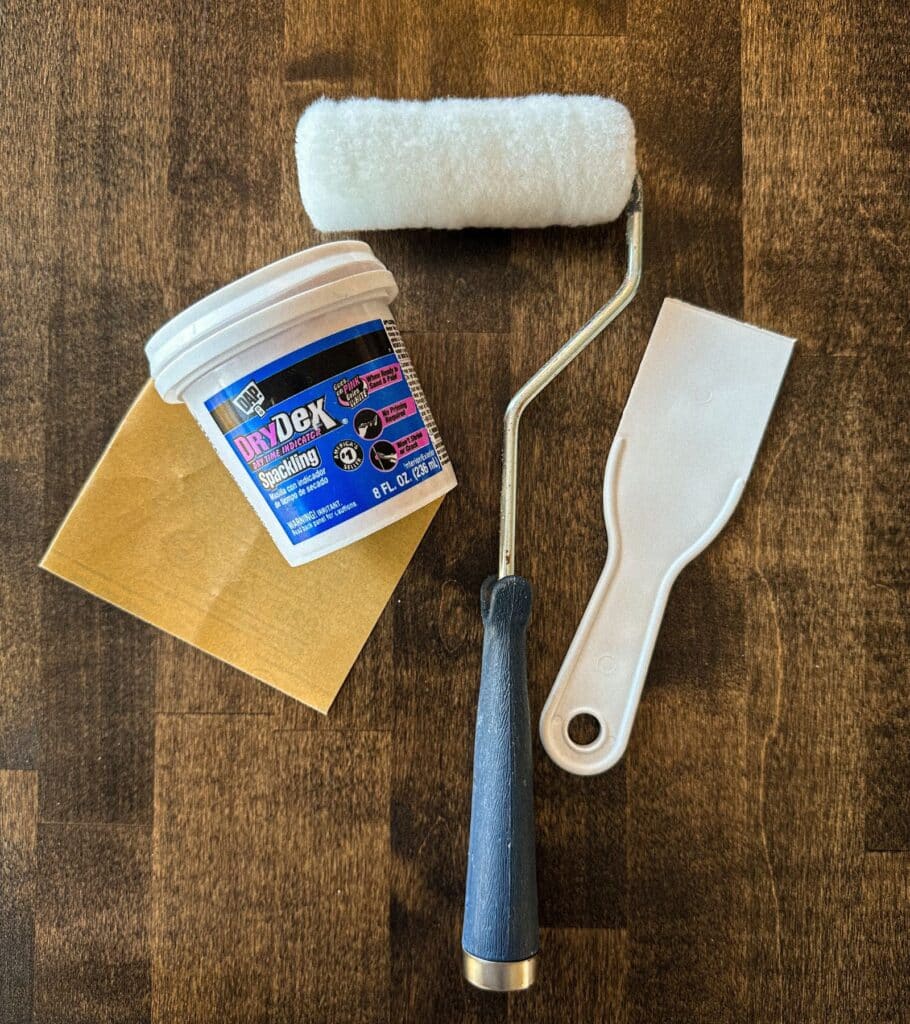
It’s time to fix that pesky dent or hole in your wall. Maybe your grandma scooted that chair back a little too far and left her mark. Or maybe you simply want to cover a hole where an existing anchor, nail, or screw used to be.
Is it easy to fix a dent in a wall? Extremely! This step-by-step guide will teach you in JUST 3 STEPS how to fix a dent in drywall!
We’ll be covering:
- How to fix a dent in a wall
- How to fill a hole in a wall
- How to repair torn or damaged drywall paper (that now looks like cardboard)
How to Fix a Dent in a Wall
That one little dent that catches your eye each time you walk into the room can be very frustrating as it stares back at you! Don’t worry, we’re going to fix that little dent and never have to see it again.
Materials Needed:
1. Prepare the Drywall
Take a damp paper towel or microfiber cloth and wipe it across the dent and the surrounding area.
This will remove any tiny dust particles from potentially getting in your new patch job. Remember, there’s no need to drench the wall to fix a dent in your wall! Just get the paper towel or microfiber towel damp enough so particles stick.
Ensure the wall is totally dry before moving on to the next step.
2. Spackle
The DryDex brand is my favorite because it goes on pink and dries grayish-white so you’ll always know once it’s dry!
Grab your DAP DryDex (the pink stuff aka spackle), and your plastic putty knife. Using the putty knife, generously apply the spackle to the dent.
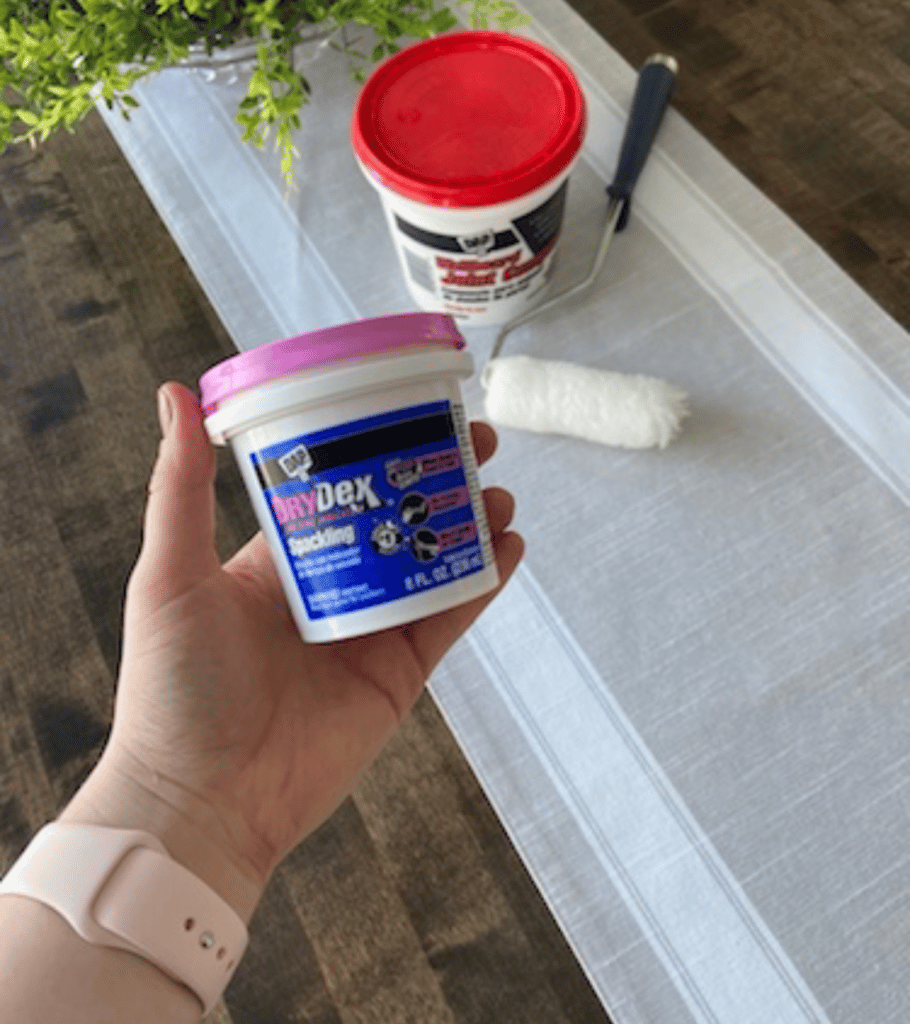
You will want enough spackle in the dent so that it seems like there’s just slightly too much. It’s totally fine to have spackle around the dent, and not just in the dent.
If you’ve never done this process before, there’s a technique that works best for applying spackle. Press the spackle into the dent with your putty knife, then scrape your putty knife over it to remove the excess. Now, press the excess putty on your putty knife over the dent again. Repeat this process several times until you feel the dent is adequately covered.
Wait for the spackle to completely dry. You’ll know when it’s dry when all of the pink has turned to a grayish white. If you can see any pink at all, even faded, keep those paws off! If the spackle is not 100% dry, this can mess up your patch job.
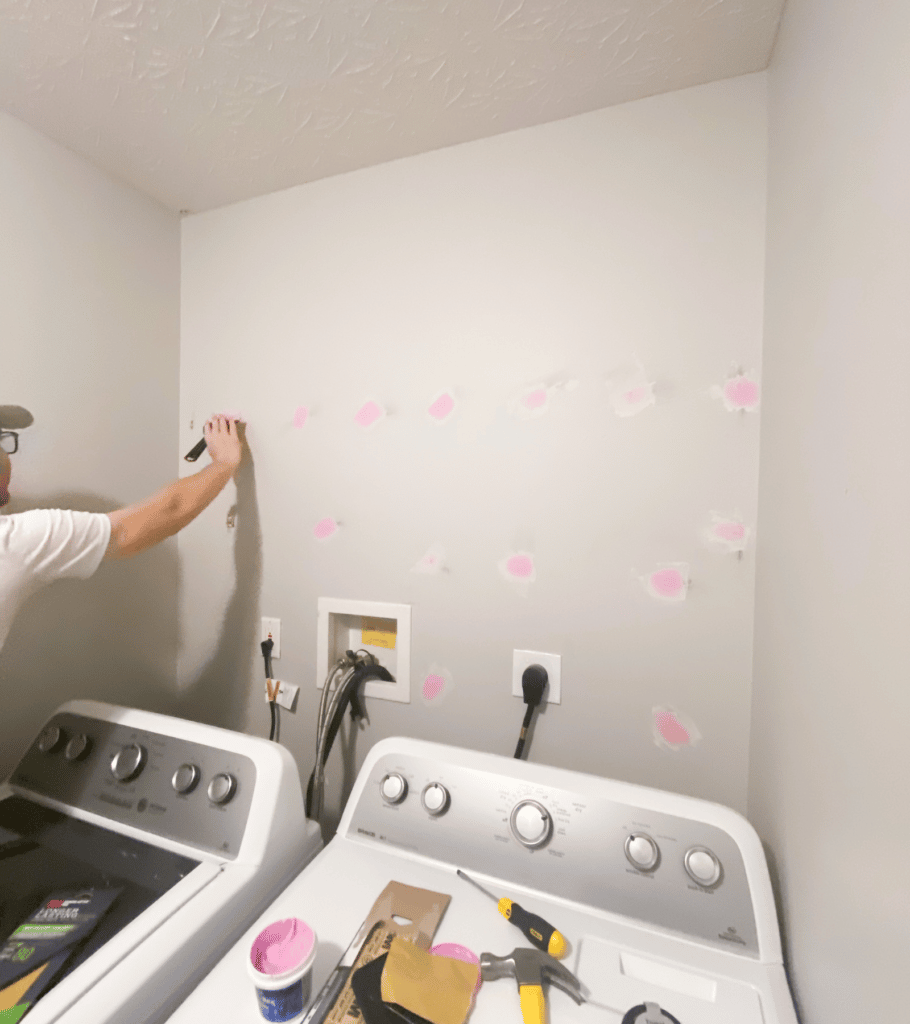
Depending on how much spackle you used to fix your dent in the wall, this can take anywhere between 15 minutes to a couple of hours. Just keep checking back!
Once it’s dry, you will know you used enough spackle when a) the dent is no longer visible, and b) the spackle is ever so slightly raised off the wall. If the dent is still visible, just use more spackle and repeat this process, simple as that!
3. Sand Away Your Dried Spackle!
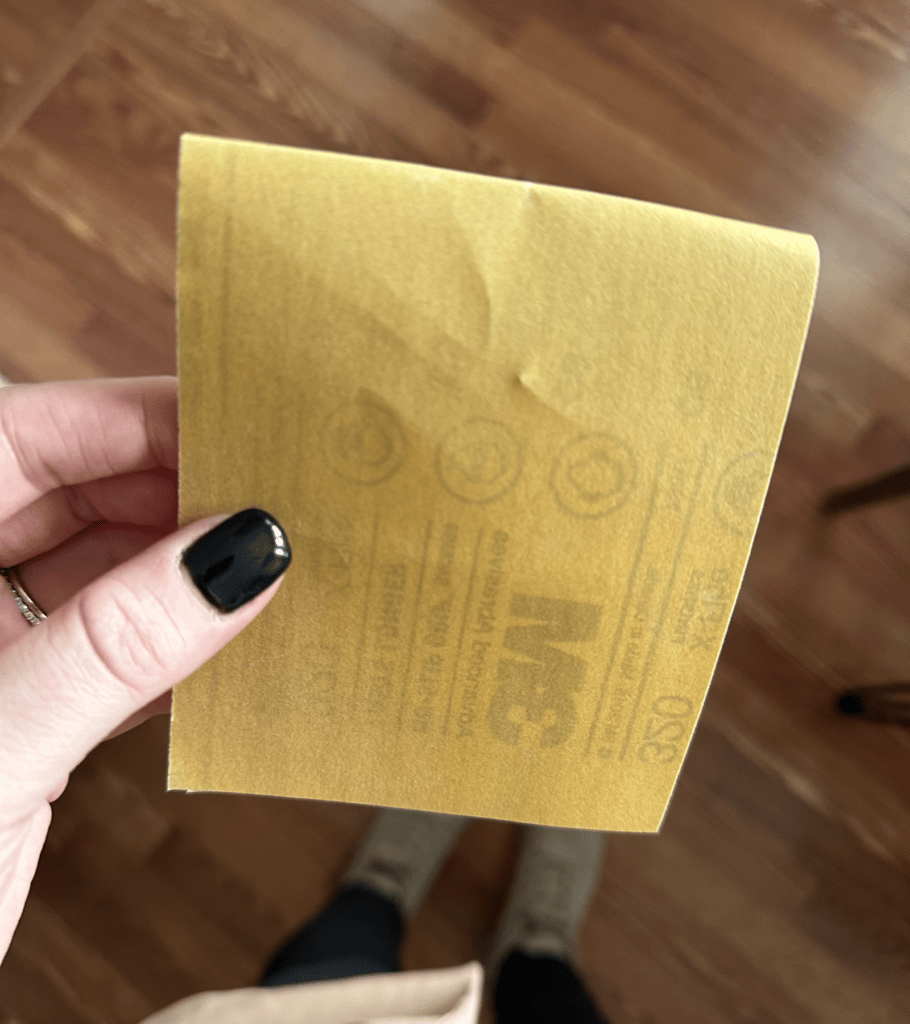
Use 120-grit sandpaper to sand away the dried spackle. It’s best to have either a drop cloth to catch the dust or even a vacuum held up to the wall with one hand while you actively sand with the other.
Essentially, you want to sand until the wall is smooth and flat and no longer has a bump from the excess spackle. Try and sand away as much spackle as you possibly can. It’s okay to sand down to the spackle-filled dent, just make sure you don’t sand into the dent or else you’ll have to repeat all of these steps!
Take a damp paper towel or microfiber cloth and wipe away the dust on the wall. Wipe over the dent and the areas around the dent that were sanded. You want ALL dust and debris gone before painting. If not, this will impact how the wall looks once painted.
Once you are happy with the wall’s appearance, paint right over your used-to-be dent!
How to Fill a Hole in a Wall
Fixing a hole in drywall is very similar to fixing a dent in a wall. Depending on the size of the hole, I’ll teach you exactly what you’ll need!
Small holes in a wall are caused by nails, anchors, or screws. Patching small holes in your wall is very easy!
Large holes in a wall, the size of an outlet, are even easier to patch! There are patching kits that make this a breeze.
That hole’s not getting any smaller, so let’s hop right into how to patch a hole in drywall!
Materials Needed:
For Small Holes (1” or less):
For Large Holes (up to 4.5”):
1. Prepare the Drywall
Using a damp paper towel or microfiber cloth, wipe down the wall around the hole and over the hole to clear any dust or debris.
This will ensure you have a nice clean surface to work with before patching the hole in your wall.
2. Spackle
Now we’re going to break this step up into small holes vs large holes. Remember, small holes are anything under the size of a quarter or roughly 1 inch. Anything more than that would be considered a large hole (up to 4.5” in diameter).
I love the DryDex brand because it’s super easy to tell when it’s dry. It goes on pink but then dries a grayish-white.
Small Holes
Grab your putty knife and DryDex spackle, and start spreading the spackle over the hole. You will want to use a generous amount.
It’s okay to have spackle around the hole, in fact, this will make the finish look even cleaner in the end.
Use the edge of the putty knife to scrape across the spackle-filled hole, collecting all of the excess spackle along the way. You should now have a decent amount of spackle on the edge of your putty knife. Press this excess spackle directly onto the spackle-filled hole.
You’ll know you’ve used enough spackle once the hole is no longer visible and the spackle is slightly raised up from the wall. Sometimes this can take a couple of rounds of spackle and drying before you reach the desired look!
Wait for the spackle to completely dry 100% of the way before applying another coat or sanding. If the spackle is even slightly pink, no touchy touchy! It must be totally dry prior to additional coats and sanding or else this will mess up your patch job.
Large Holes
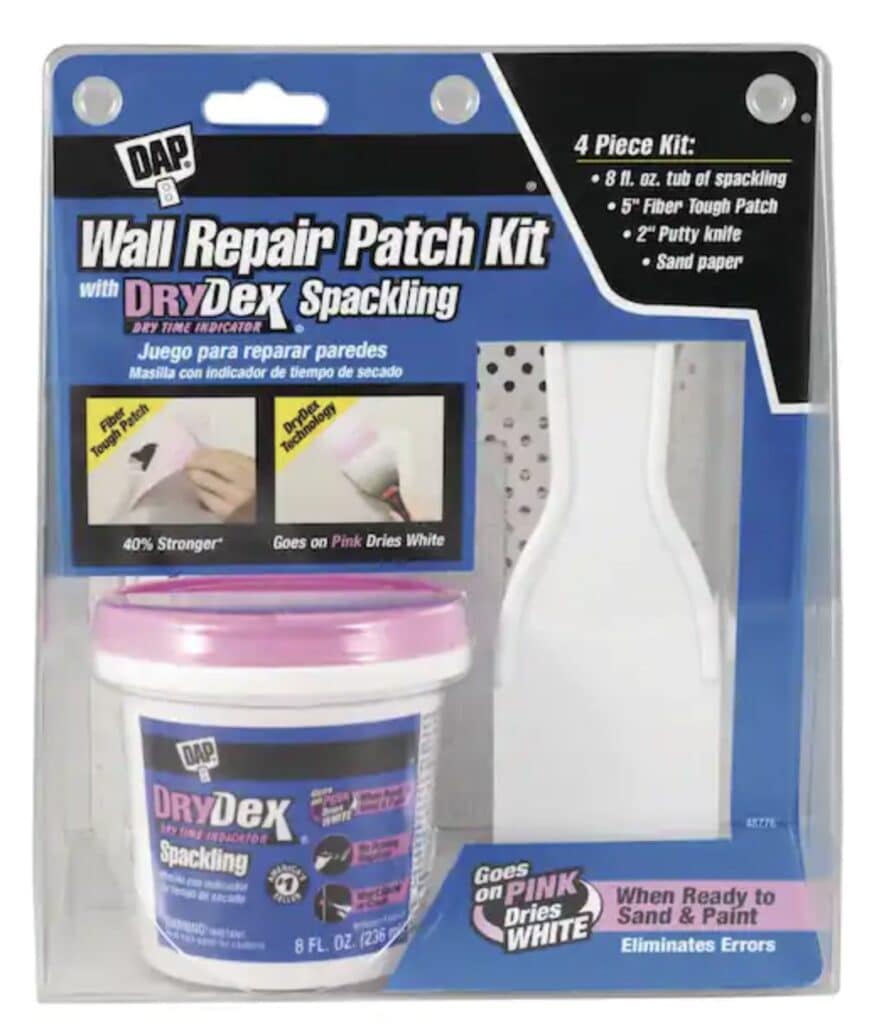
Purchase a DryDex Spackling Patch Kit! These kits are fantastic and come with everything you need for patching a hole up to 4.5” in diameter: spackle, patch, putty knife, and sandpaper.
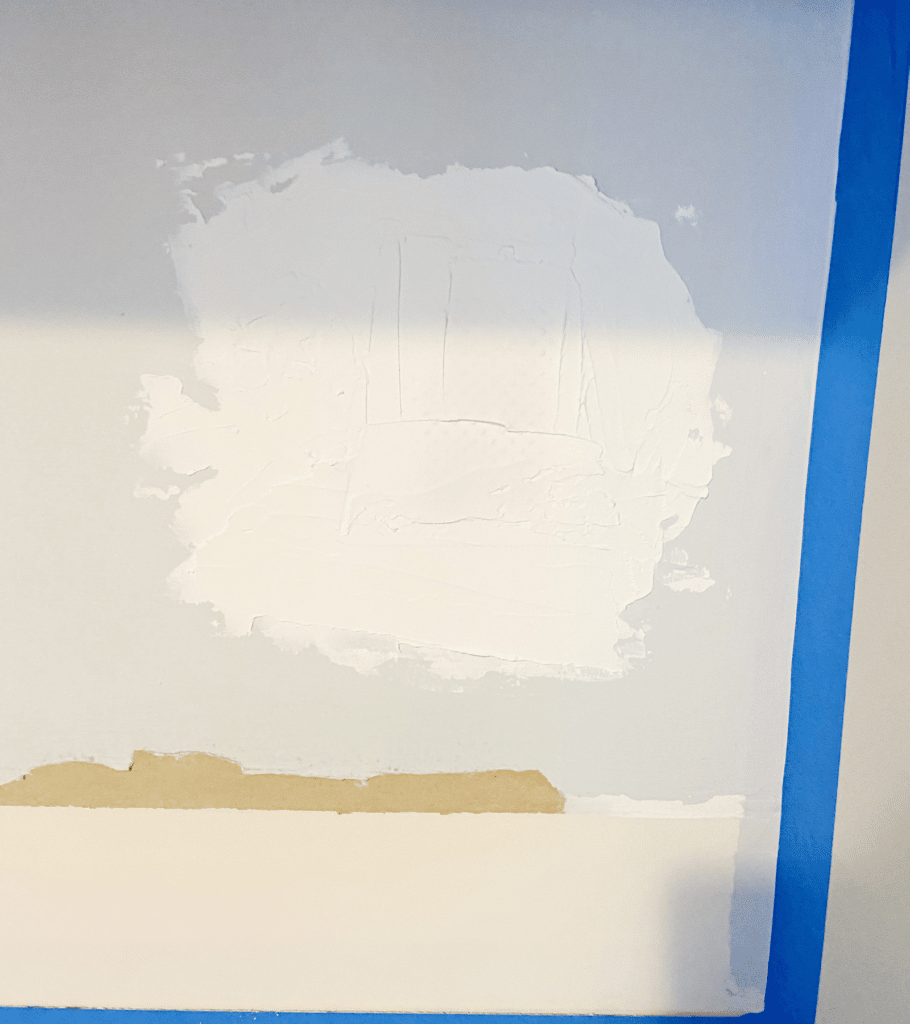
Basically what you’ll do is line the back of the plastic mesh patch with spackle and stick it on over the large hole in the wall. Then you will spackle over the patch until the patch is generously covered in spackle and no longer visible.
When using the patch kit on a large hole vs just filling a small hole, it may take a little bit longer to dry since so much spackle is needed for the patch. Wait until the spackle is completely dry before moving on to sanding.
3. Sand the Spackle Away!
Once the spackle is completely dry, sand it away! Be sure to use a drop cloth or have a vacuum on hand to catch the dust while you sand the dried spackle.
It’s best to use 120-grit sandpaper to sand down spackle. The patch kit will come with 100-grit which is completely fine.
Sand until nearly all of the spackle is gone and the wall is smooth and flat. It’s okay if you see the hole with the dried spackle in it, just make sure you don’t sand too much, or else you’ll have to repeat this whole process and that would not be fun!
Use a damp paper towel or microfiber cloth to remove ALL dust and debris. This must be done before painting or else the wall will not look good once the paint dries.
It’s time to paint! Paint right over the hole and now your guests will never know there was ever a hole to begin with. 😉
How to Repair Drywall Paper
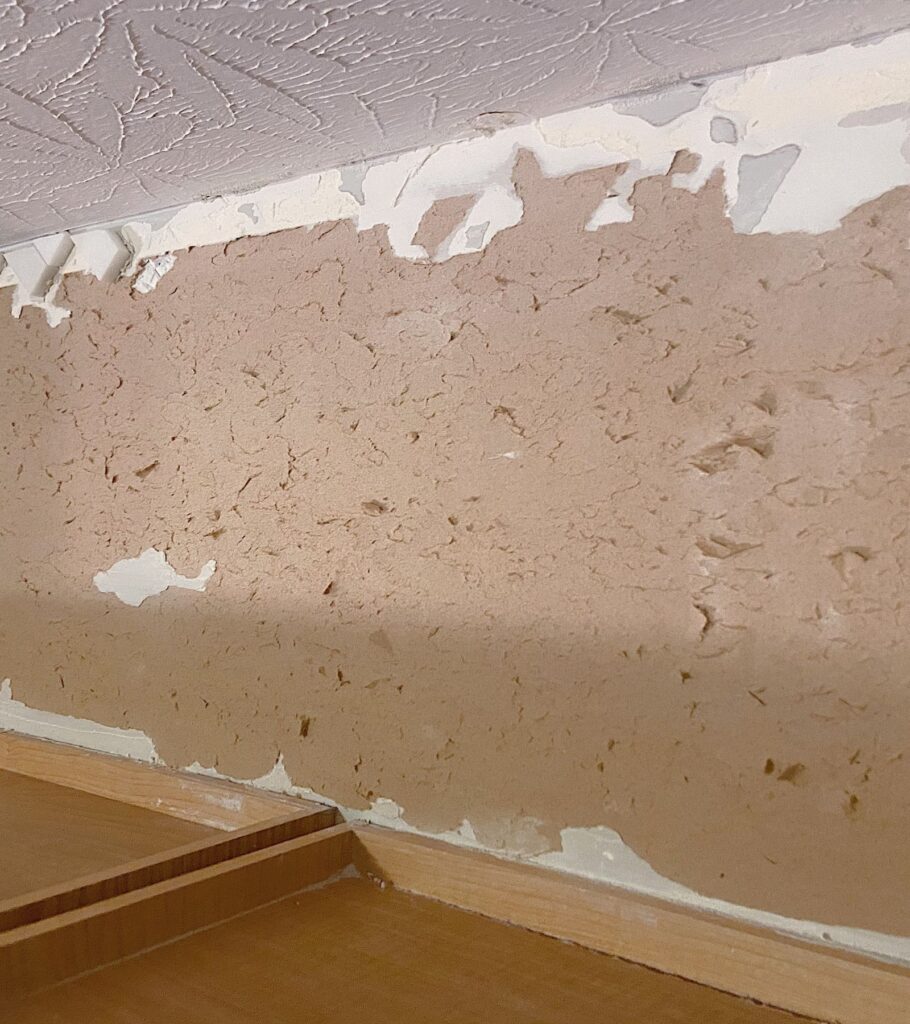
Have you recently removed backsplash or wallpaper? Or maybe that frame was stuck to the wall and when you pulled it away, a little bit of the wall came with it?
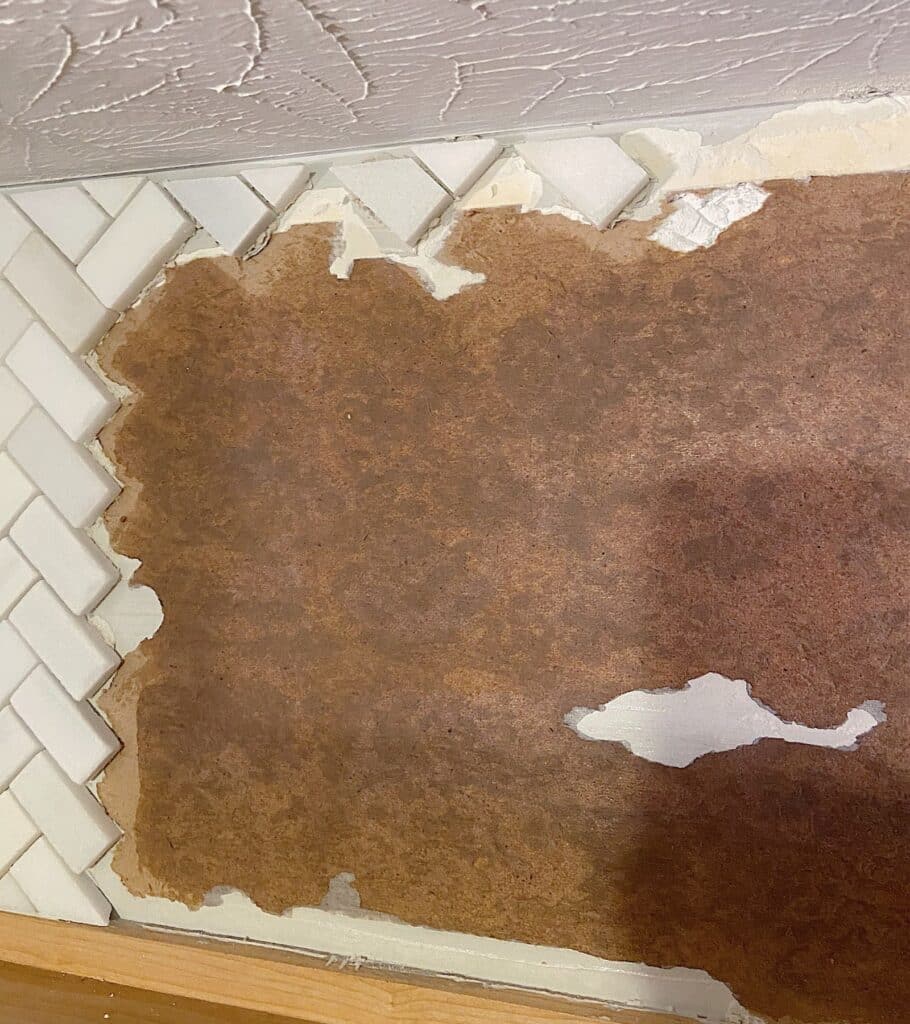
If the drywall paper, or the first layer of drywall that you can paint on, now looks like brown cardboard, this is referred to as torn drywall paper.
Lucky for you, this is a lot easier to fix than you may think!. A tear in drywall paper might look bad at the moment, but all you’ll need are a few things and this post to help get your wall looking as good as new!
Materials Needed:
- Utility knife or scissors
- Bulls Eye 1-2-3 Primer and Sealer
- Sheetrock Joint Compound
- 120 grit sandpaper
- Putty knife
- Microfiber cloth or paper towels
1. Remove Any Loose Debris
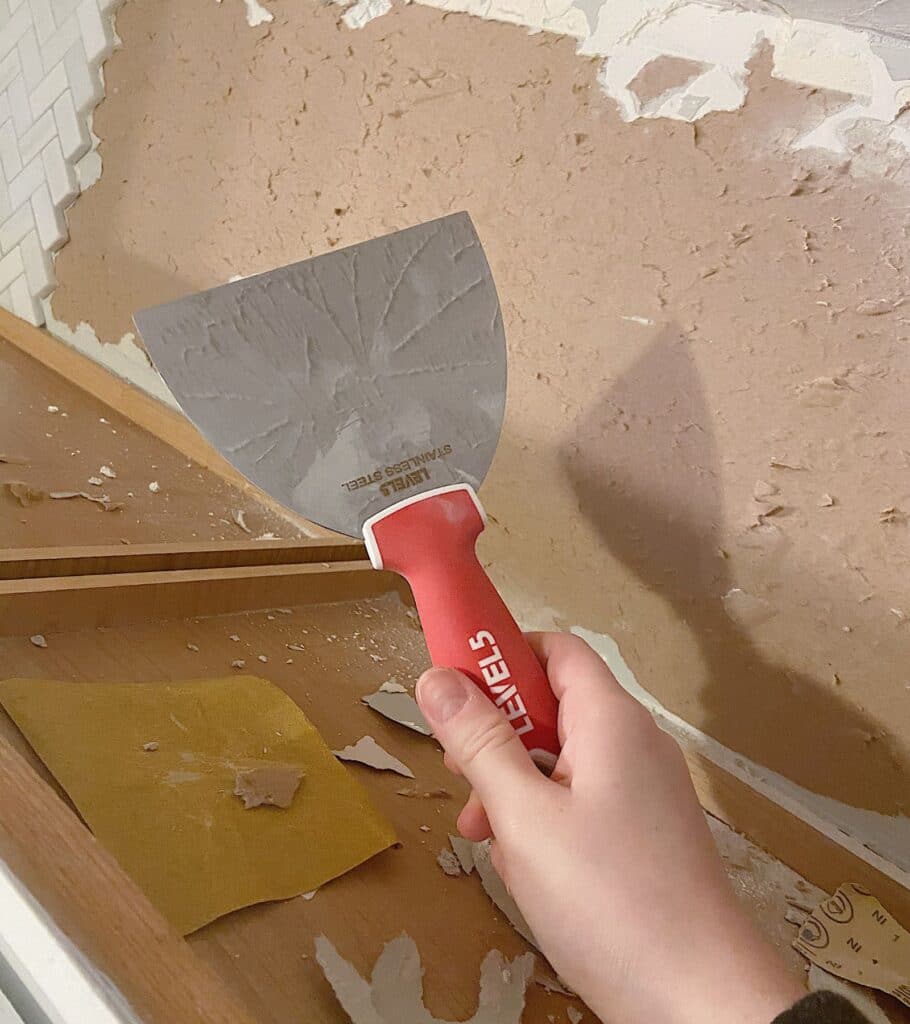
If there are big chunks of drywall paper loosely hanging, remove them by utilizing scissors or a utility knife. Just be careful not to cause any additional damage to the wall!
2. Seal the Drywall Paper (Twice!)
I have had great success with Zinsser Bulls Eye 1-2-3 Primer and Sealer. Use a paint roller to paint the sealer onto the wall. Be sure to use a generous amount!
This stuff is great because it’s both a primer and sealer so we’ll be able to use this for two separate steps in this process 🙂
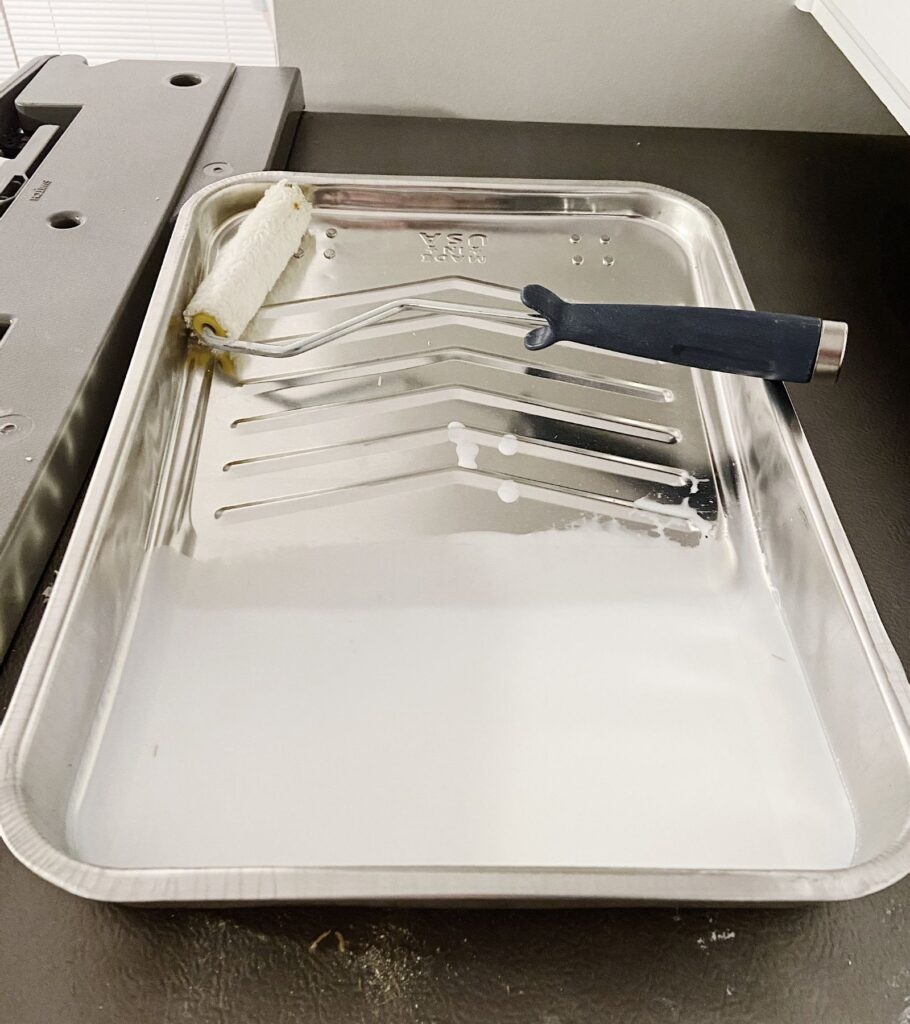
Allow the sealer to completely dry (based on the instructions), and then apply a second coat, using a generous amount just like the first coat!
The reason why you seal the cardboard-looking stuff is so that you never deal with blistering, or your wall looking like it has a bubble behind it. So do not skip this step!
3. Sand the Sealer
Once you have sealed the drywall paper with two coats and it’s completely dry, it’s time to sand!
Using a 120-grit piece of sandpaper, lightly sand down any additional small or loose fibers sticking up off the wall. It’s okay if it doesn’t look perfect, we just want to get the wall looking as smooth as possible.
Remember, this isn’t heavy sanding, so just lightly press into the wall as you sand back and forth.
4. Apply Joint Compound
I have used Sheetrock Joint Compound on all of my projects and love it!
Using a putty knife, apply the joint compound to the wall. Use enough to completely cover up the brown paper.
Use the putty knife to smooth out the joint compound so it looks nice, even, and without globs of it everywhere!
You’ll want to make sure you get some around the edges of the torn drywall paper. This will make sure that when we go to sand, the repair flows nicely with the rest of the wall and looks just like nothing ever happened!
Allow for it to totally dry before moving on.
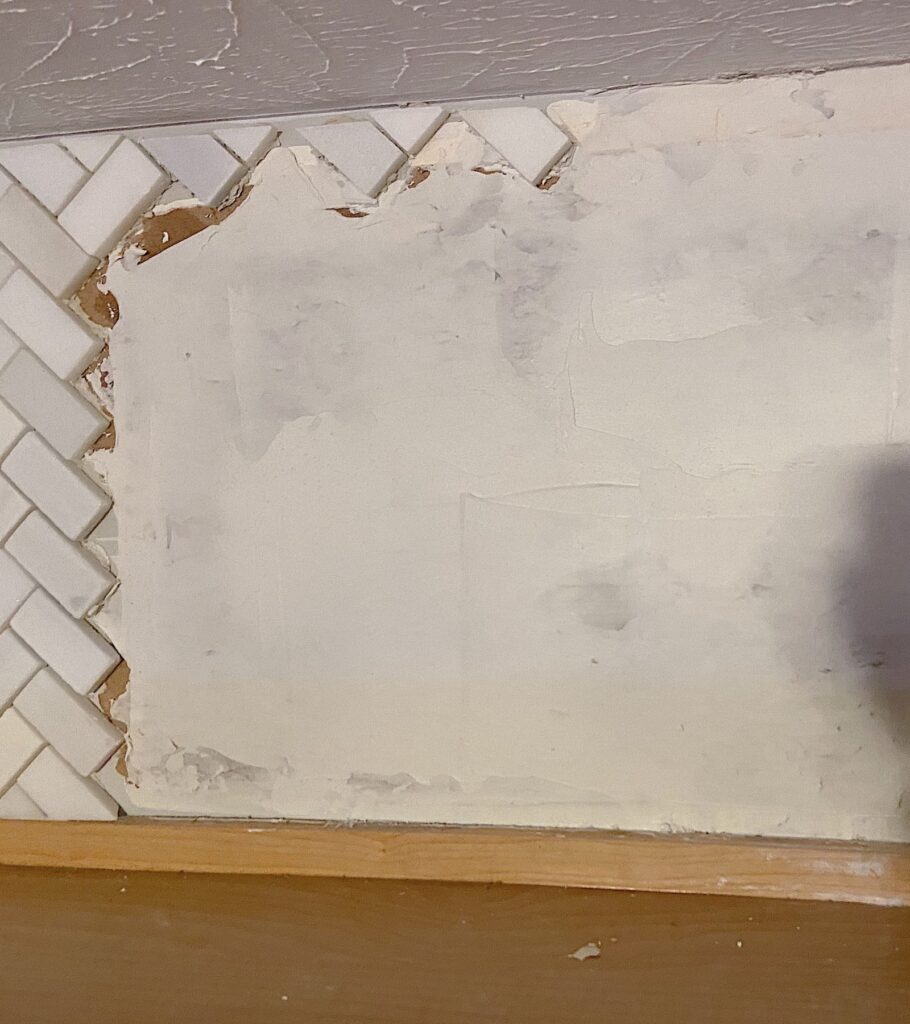
Using a 120-grit piece of sandpaper, sand down the entire area to ensure that all bumps and imperfections are gone. It’s okay if it doesn’t look perfect right now, because we’re going to do a second coat.
Using a damp paper towel or microfiber cloth, wipe down the surface to remove any debris and dust from sanding.
Now, apply a second coat of joint compound and repeat this entire step.
Remember, the second coat is going to be what you see on a daily basis – there are no additional thick layers on top of this. So be sure your surface looks nearly as good as the walls around it!
5. Seal the Joint Compound
Now that the two coats of joint compound are dry, look nice and smooth, and all debris and dust have been removed, it’s time to get out the Bulls Eye 1-2-3 primer and prime!
Using a normal amount of primer, just like the amount of paint you would use, prime the wall with your paintbrush or roller. This is going to be the last layer before paint, so be sure that you are putting the primer on nice and smooth and it looks good!
Be sure to prime every single place that has new joint compound. This will ensure the paint stays on that top layer instead of bleeding into the layers beneath.
The layer of primer will help the paint seamlessly blend in with the walls around your repair.
Wait for the primer to completely dry before priming. Be sure to follow the instructions!
6. Paint!
All that’s left here is to paint! Grab your favorite paint or the paint you’re happy you held onto in case of repairs like this, and go to town. 😊
Other Posts You Might Like:

Leave a Reply