The below post may contain affiliate links. This means we will receive a commission if you purchase through our link, with no extra cost to you. As an Amazon Associate we earn from qualifying purchases. Read our full disclaimer.
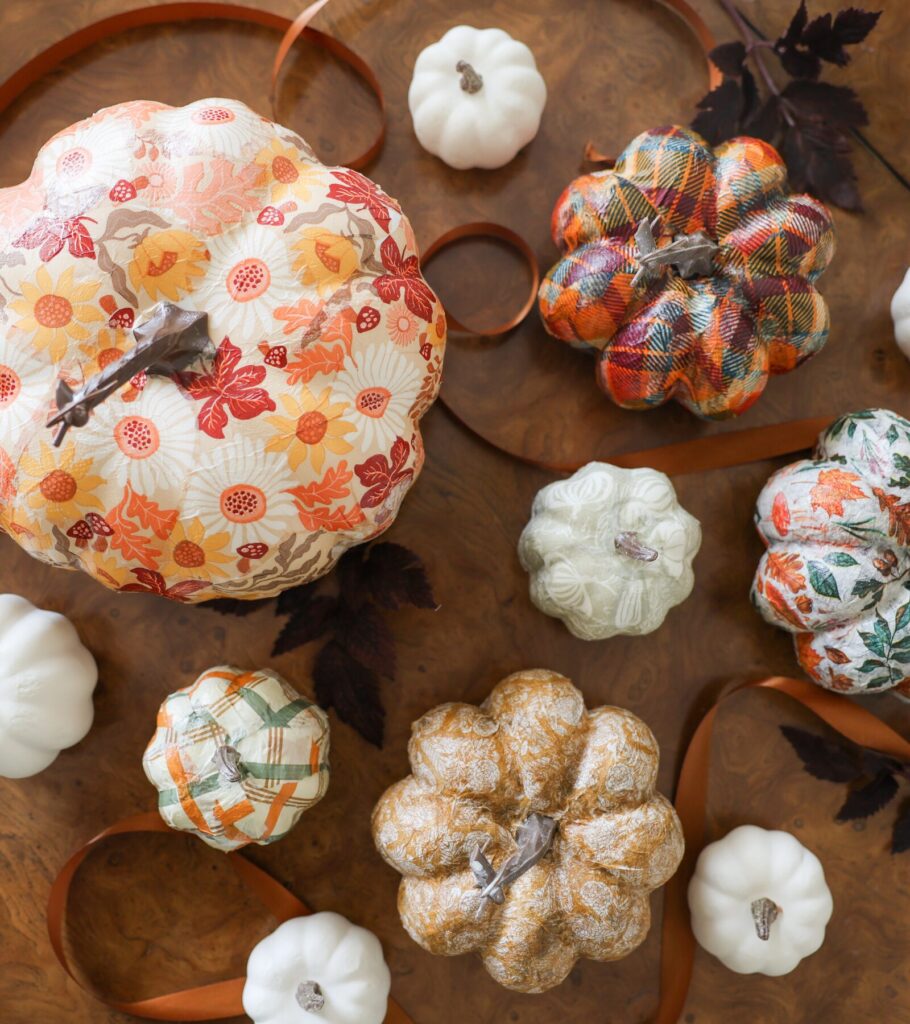
I recently created this insanely cute pumpkin craft with my sister as a fun fall activity and it turned out SO good! I got very inspired by some fall-themed napkins that I saw at Home Goods and instantly knew that the patterns needed to be on pumpkins. And I also knew that the pumpkins needed to be in my home!
The best part about this craft is that it is super easy and can be completed in 1 hour!
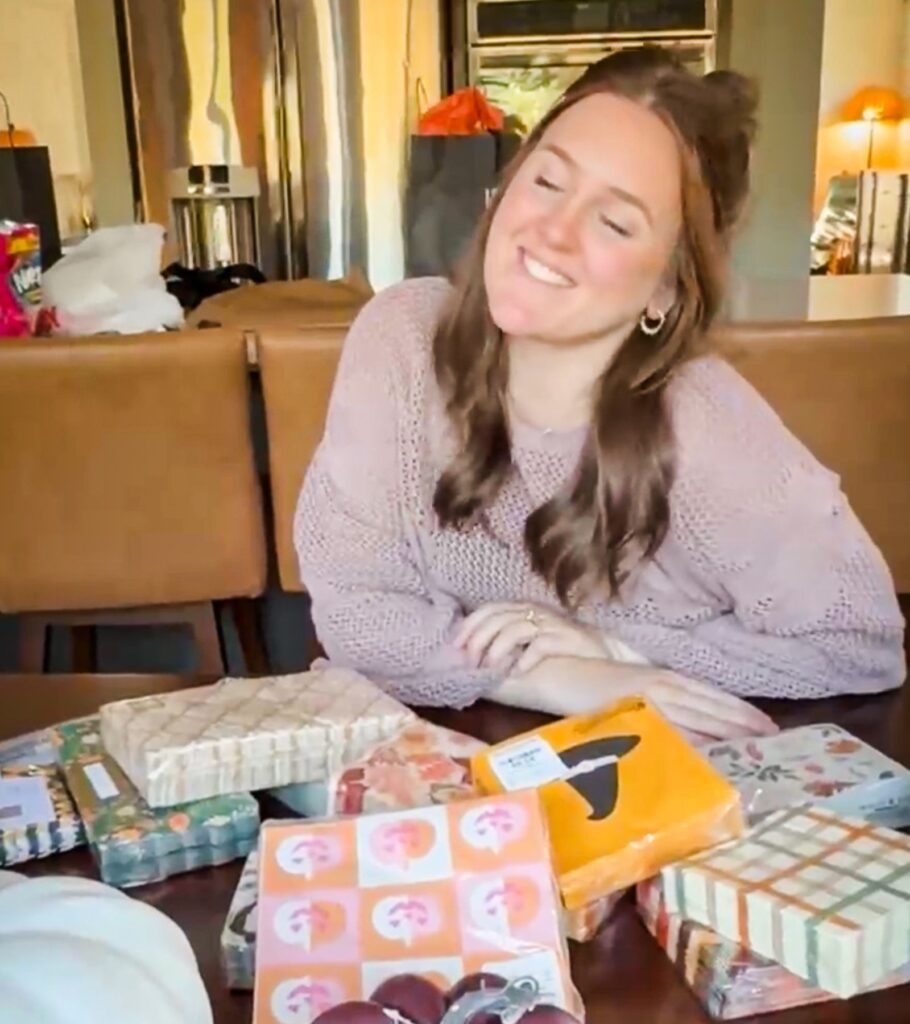
The only tools needed are small paintbrushes and Mod Podge and you are good to go. Trust me when I say that this project is extremely fun and will give you all the fall vibes. I will definitely be recreating this pumpkin craft for years to come! Just look at how happy I am!!!
Step 1: Select your pumpkin & pick out really cute napkins
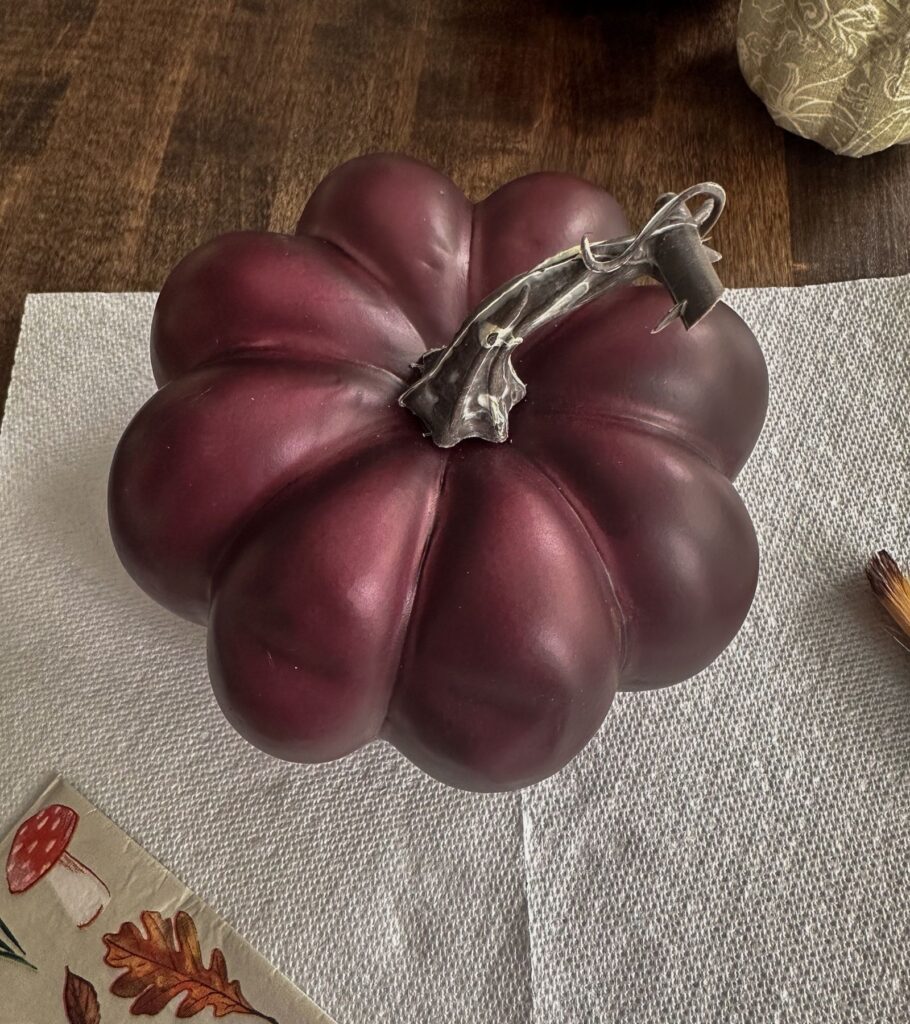
For this fall activity, you are going to need a pack of faux pumpkins and a pack of very cute napkins. The only requirement is that they need to be paper napkins and NOT fabric napkins.
I just so happened to find my napkins at Home Goods at $3.99 a pack so I picked up a bunch! Seriously, HOW adorable are these napkins?! I love them!
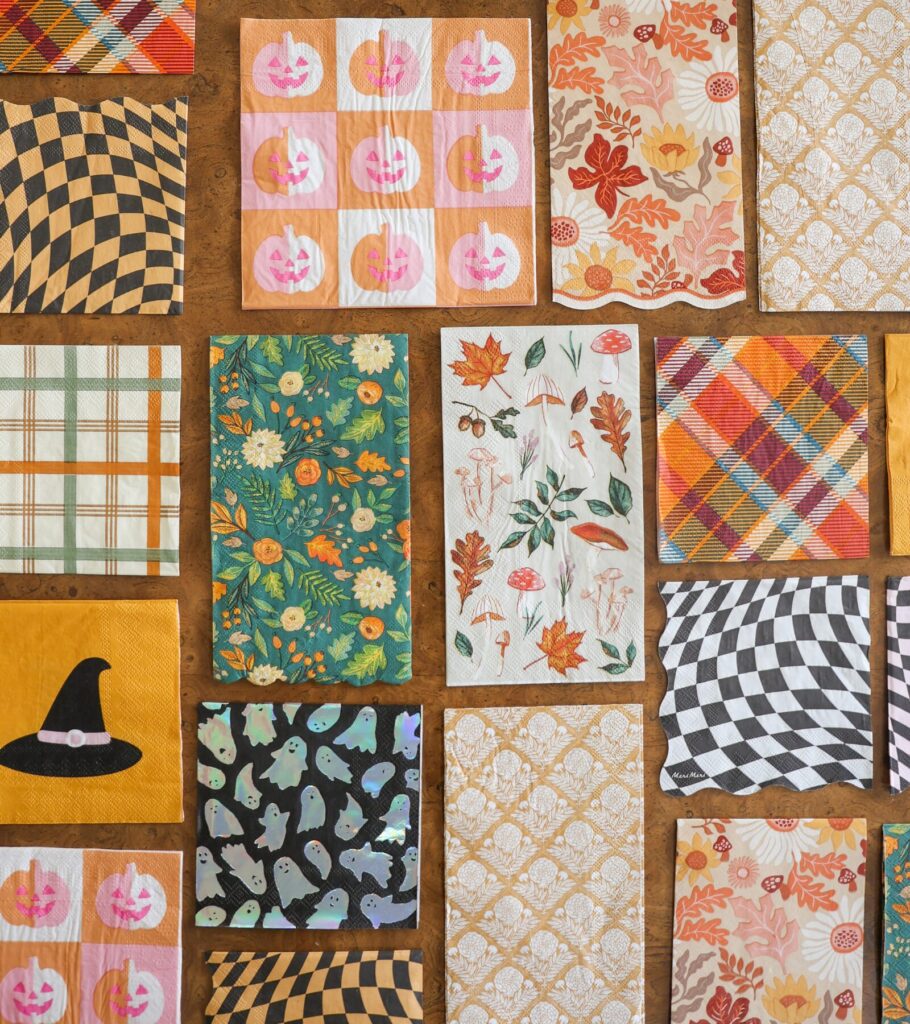
Here are some other nice options I found on Amazon that I might try next season! I’ve linked even more at the bottom of this post (take a look)!
Step 2: Take the backing off the napkin
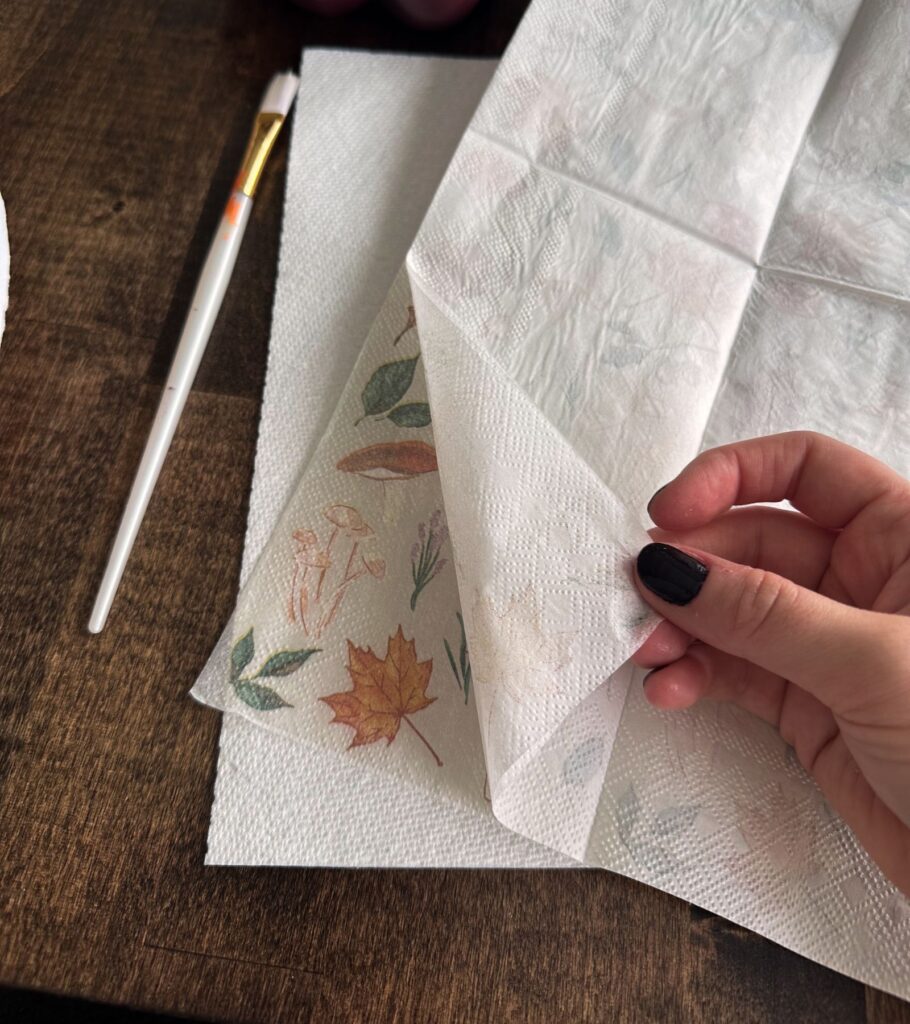
FYI, your paper napkins will most likely be 2-ply or 3-ply napkins. To make the material a little bit easier to work with, make sure to remove the backing of the napkin before you begin the mod-podging process.
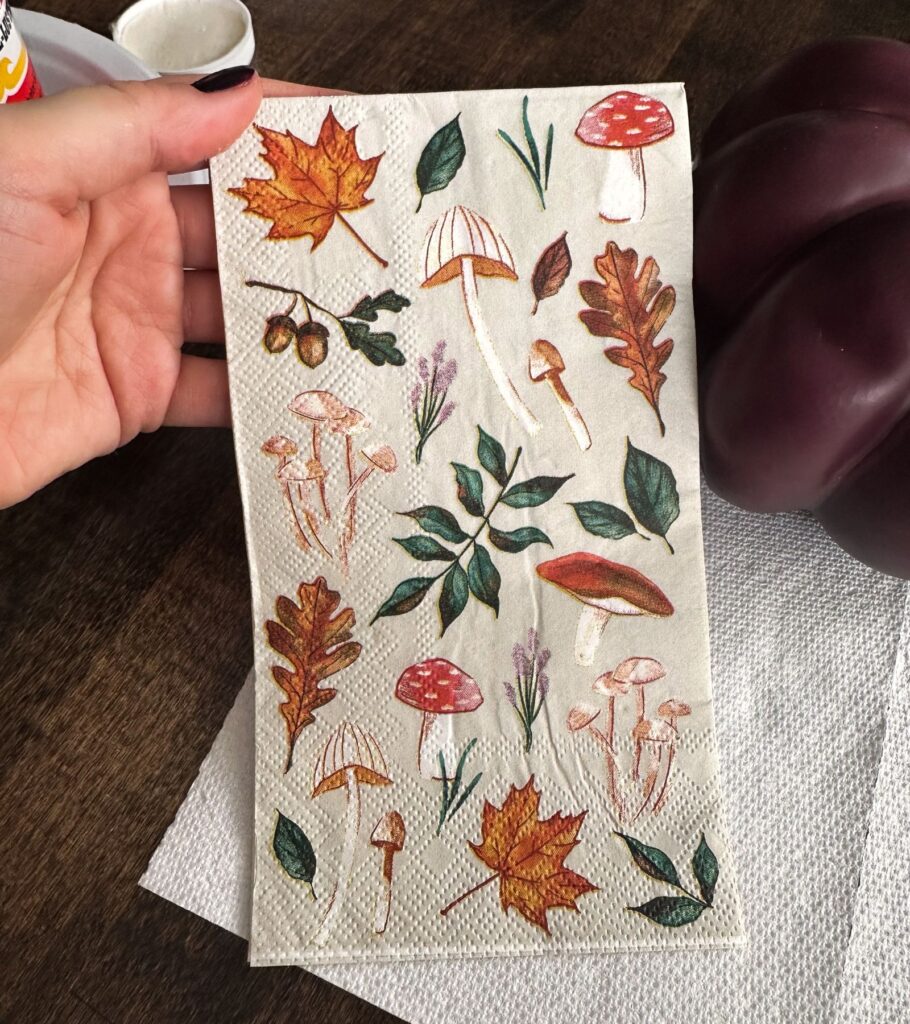
Step 3: Cut out your shapes (or rip them into strips)
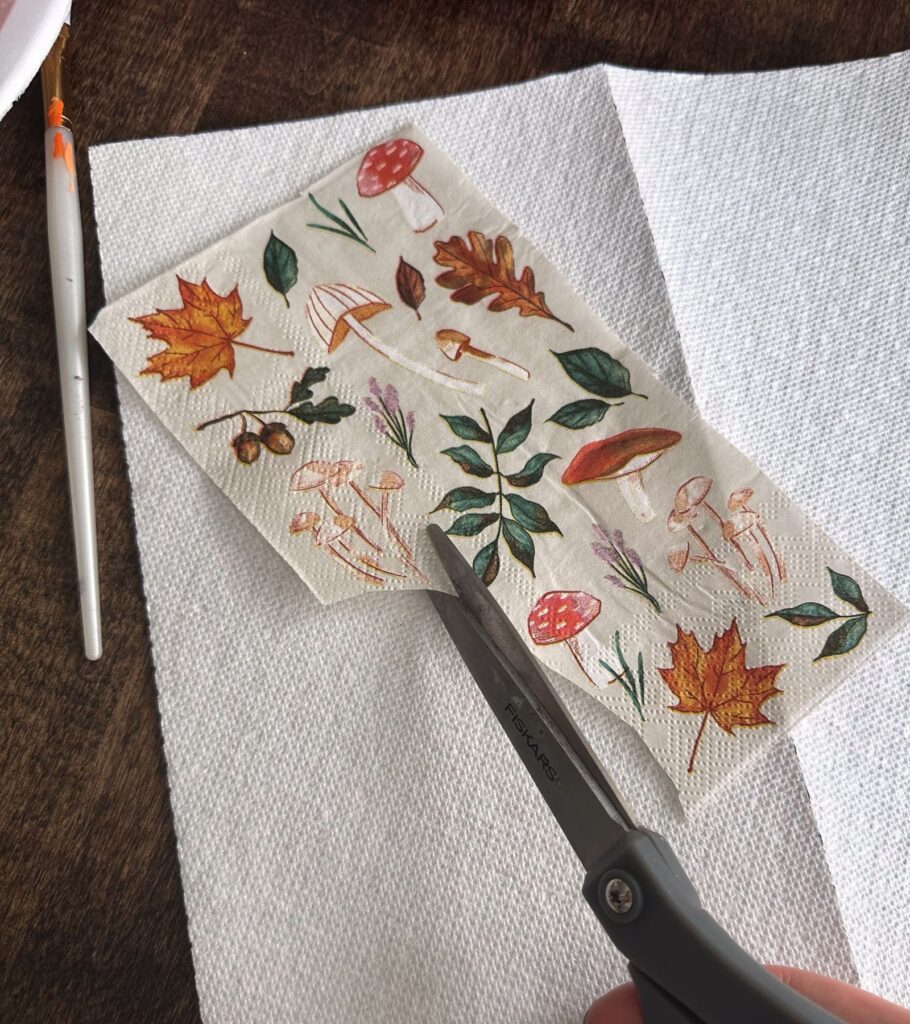
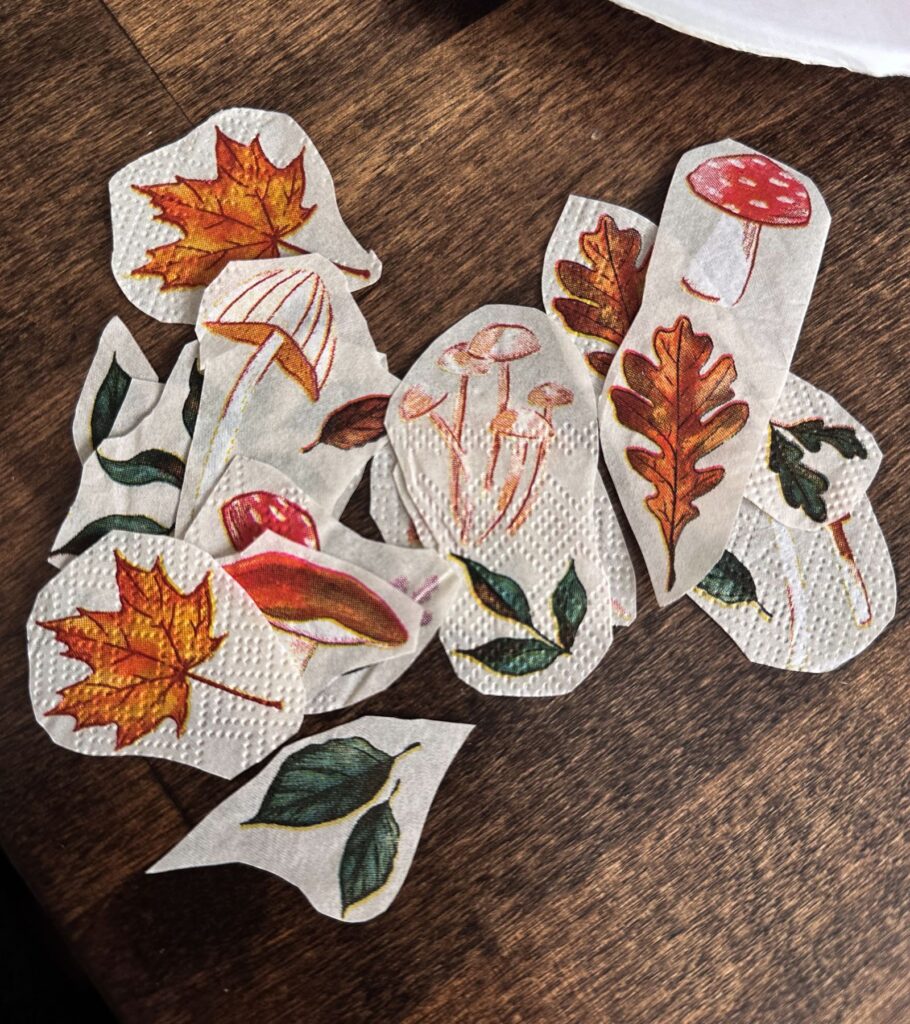
For more intricate patterns, you can cut out your shapes like I did below! Or if you want the process to feel more like paper mache, you can rip your napkin into little strip-like pieces.
Either way, you want to have small pieces that you can easily apply to the pumpkin with the Mod Podge in the next step!
Step 4: Mod Podge the napkins onto the pumpkins
- First, apply a thin layer of Mod Podge to the pumpkin with a brush. This will allow the piece of napkin to stick.
- Then apply the piece of napkin on top of the Mod Podge with your brush.
- Secure it with a top layer of Mod Podge.
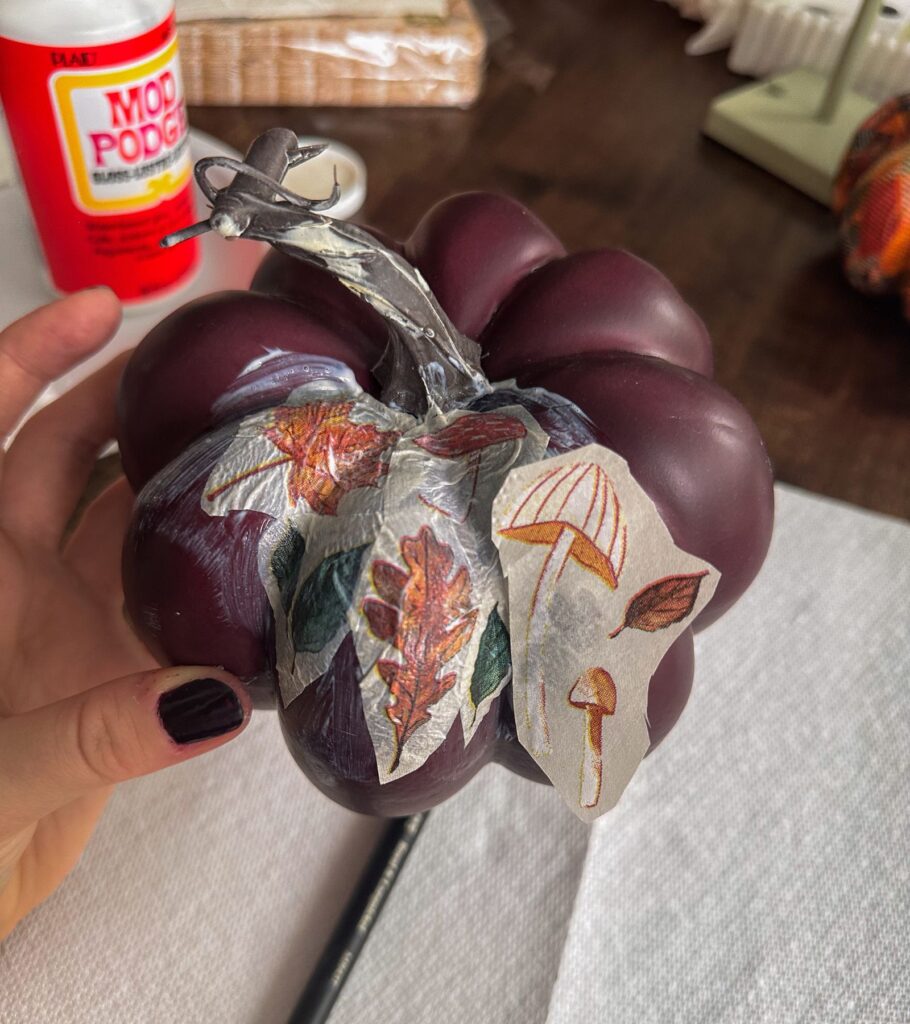
Use your brush to smooth out any bumps you don’t want on your pumpkin. But don’t worry if it is not perfect! And don’t worry too much about the Mod Podge making your pumpkin look white, it will dry clear.
Continue adding paper to your pumpkin until it’s completely filled up and you are satisfied with the results!
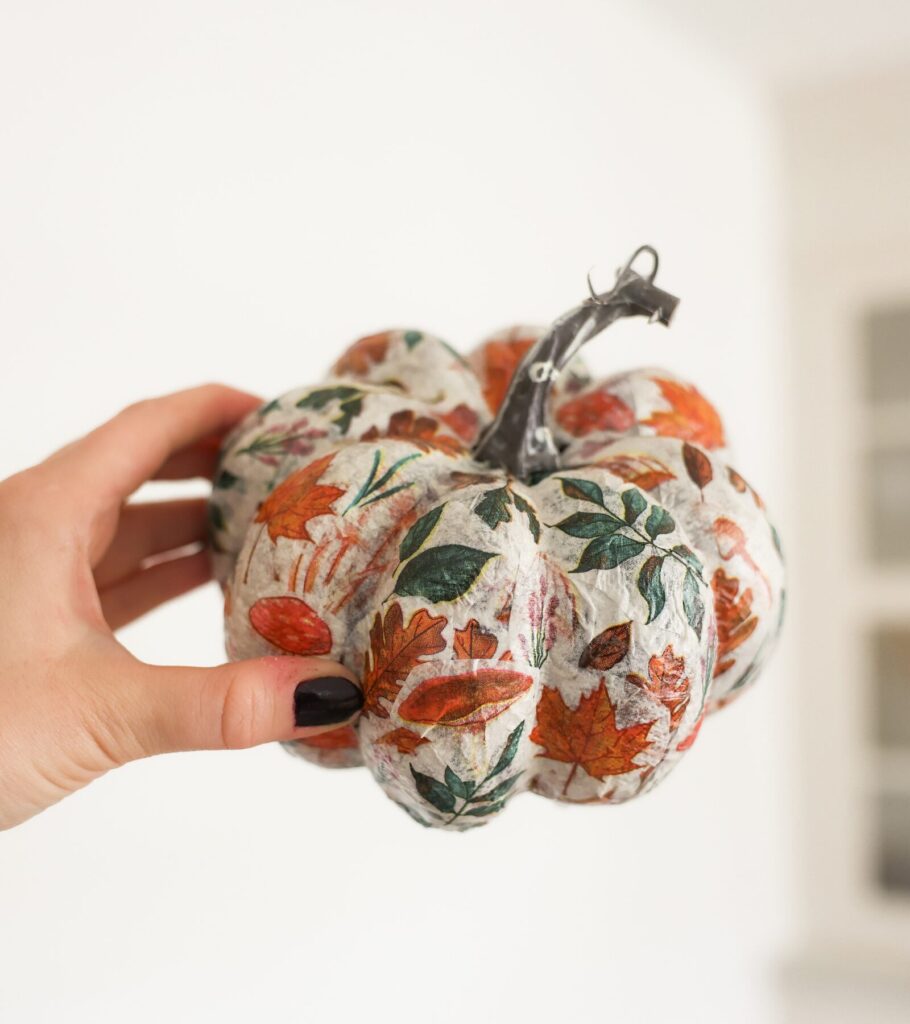
Step 5: Admire your adorable pumpkin
The last step is to wait until your pumpkins are completely dry to the touch and then enjoy them in your own home!
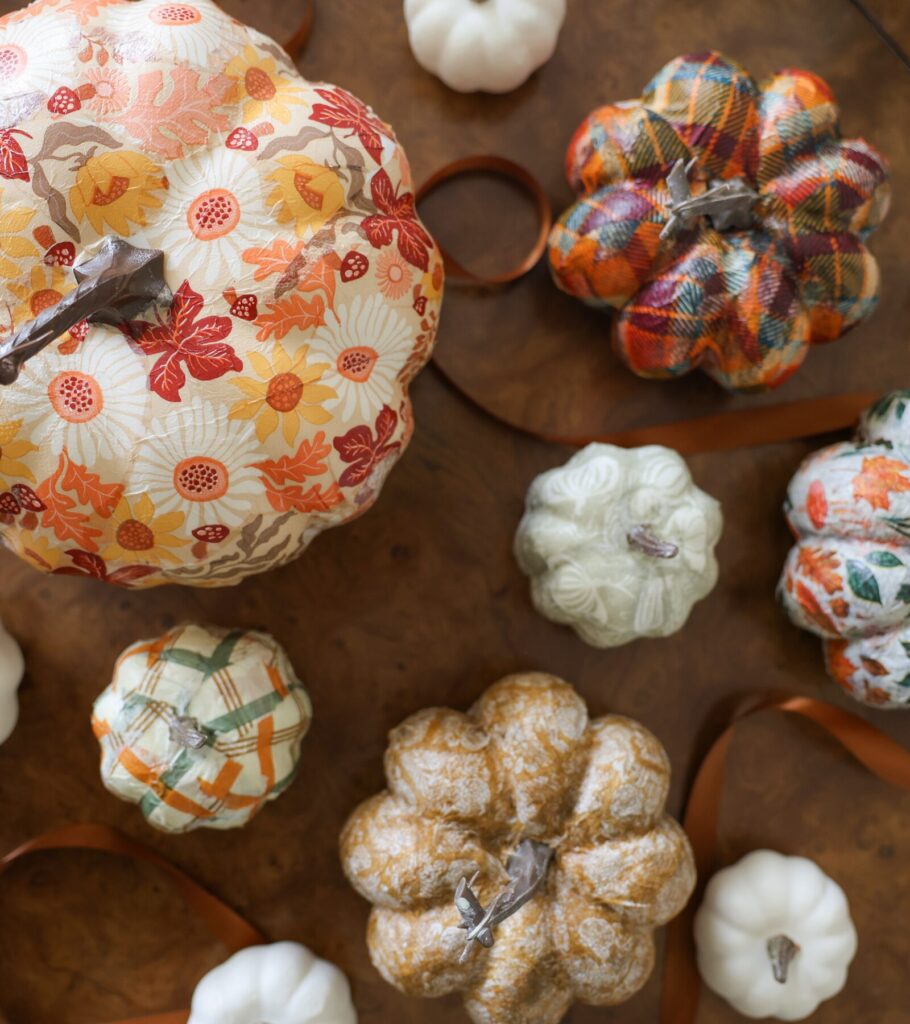
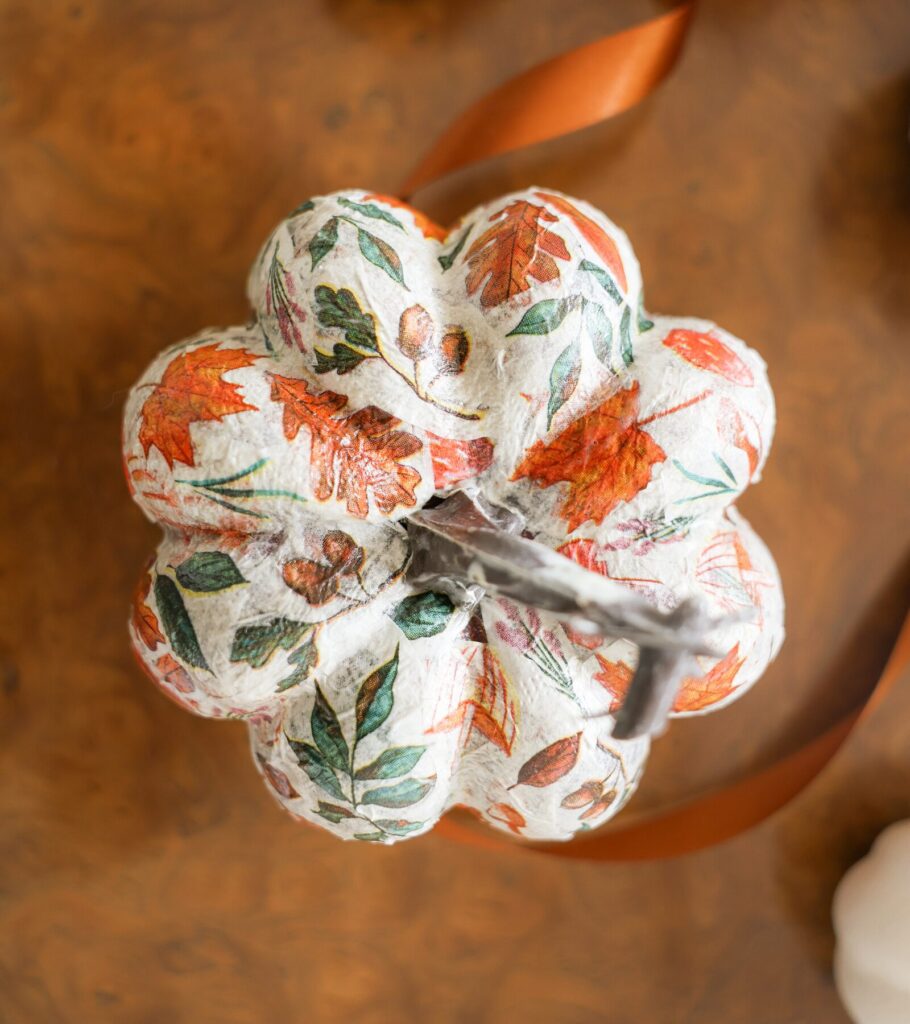
And that’s how you DIY adorable napkin pumpkins!!
Leave a Reply