The below post may contain affiliate links. This means we will receive a commission if you purchase through our link, with no extra cost to you. As an Amazon Associate we earn from qualifying purchases. Read our full disclaimer.
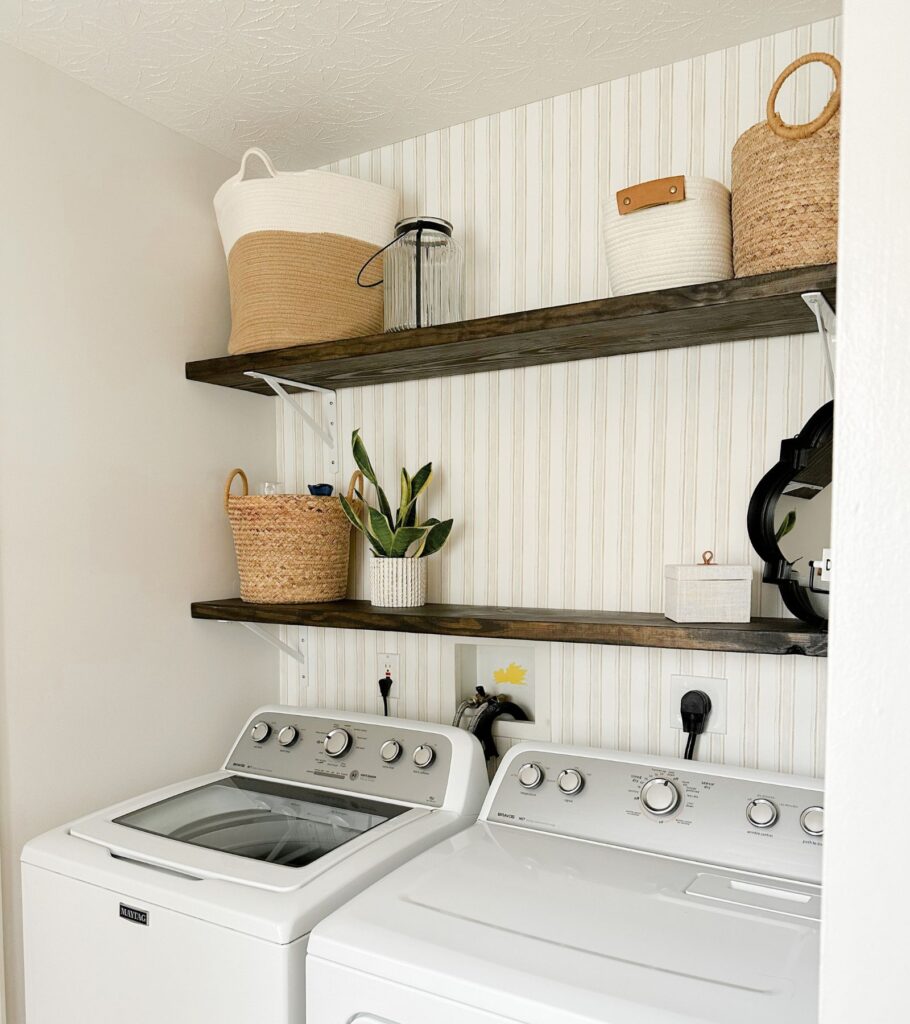
It’s time to toss out that old wire shelving and take your laundry room to the next level with nice-looking wooden shelving. DIY laundry room shelves are a perfect idea for incorporating more storage and organization into your laundry room. They’re extremely easy to make, and best of all, they are really cheap!
It can be hard to find shelves online that fit perfectly in your laundry room – plus they can get pretty expensive. And a lot of times they aren’t even real wood! That’s why another huge advantage to making your own laundry room shelves is the customizability, price, and quality.
In this post, I’ll be walking through step by step how to build your very own laundry room shelves. Whether you want shelving over your washer and dryer, a shelf with a rod for hanging clothes, or both, at the end of this post you’ll be more than ready to knock out this project in just a day.
DIY Laundry Room Shelves
Here is a full list of all materials and tools needed to complete this very easy DIY project!
Materials and Tools Needed:
- Wood (I’ll talk about sizing)
- Stain (Your favorite color)
- Polycrylic sealer
- Brackets
- Screws
- Sponge brush
- Paintbrush
- 120-grit and 220-grit sandpaper
- Level
- Stud finder
- Tape measurer
- Drill
- Drill bits
- Microfiber cloth
- Anchors (Optional – if you don’t have studs for installing brackets)
- Handsaw or circular saw (Optional – if you have the hardware store cut your wood for you)
1. Measure, Purchase, and Cut The Wood
Measure
With your handy dandy tape measurer, measure the wall you want to hang your DIY laundry room shelves on. This includes how high you want your shelves on the wall and how long you want your shelves to be.
If you’re going in between two walls like myself, remember that drywall is never perfect and level on an entire wall. So if you have an upper and lower shelf, be sure to measure for both shelves separately as the measurements could be different.
The ideal spacing between laundry room shelves is 15-18 inches.
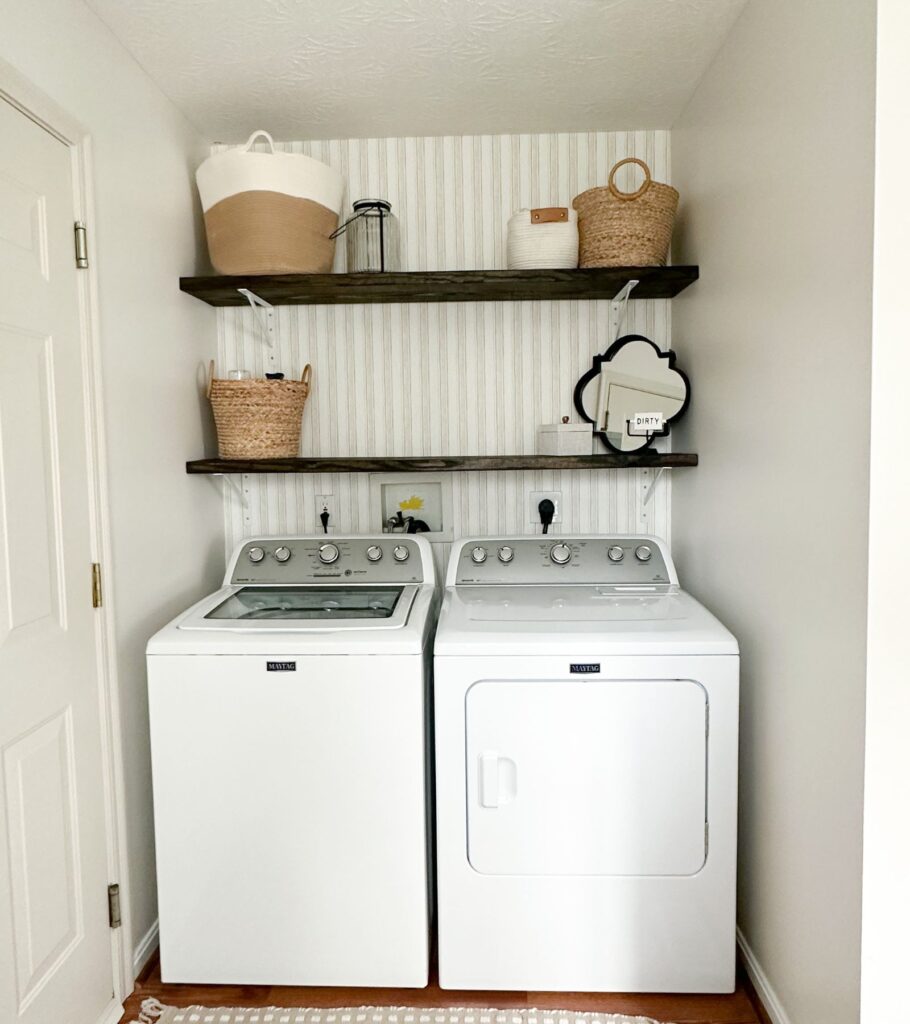
For reference, my bottom shelf is 52 inches from the ground. There are 22 inches of space in between both shelves.
Honestly, I might have hung the top shelf a couple of inches lower if I did it over again, just because my husband is the only one that can reach it without a chair. 🙂 I will say that our second shelf is used for items we don’t really utilize too often and is mostly just storage, so it doesn’t matter too much.
IMPORTANT: You don’t want shelves too close together or you won’t be able to fit taller items on the lower shelf.
Purchase Your Wood
Now that you have your measurements, you need to get the right-sized boards when making cheap DIY laundry room shelves!
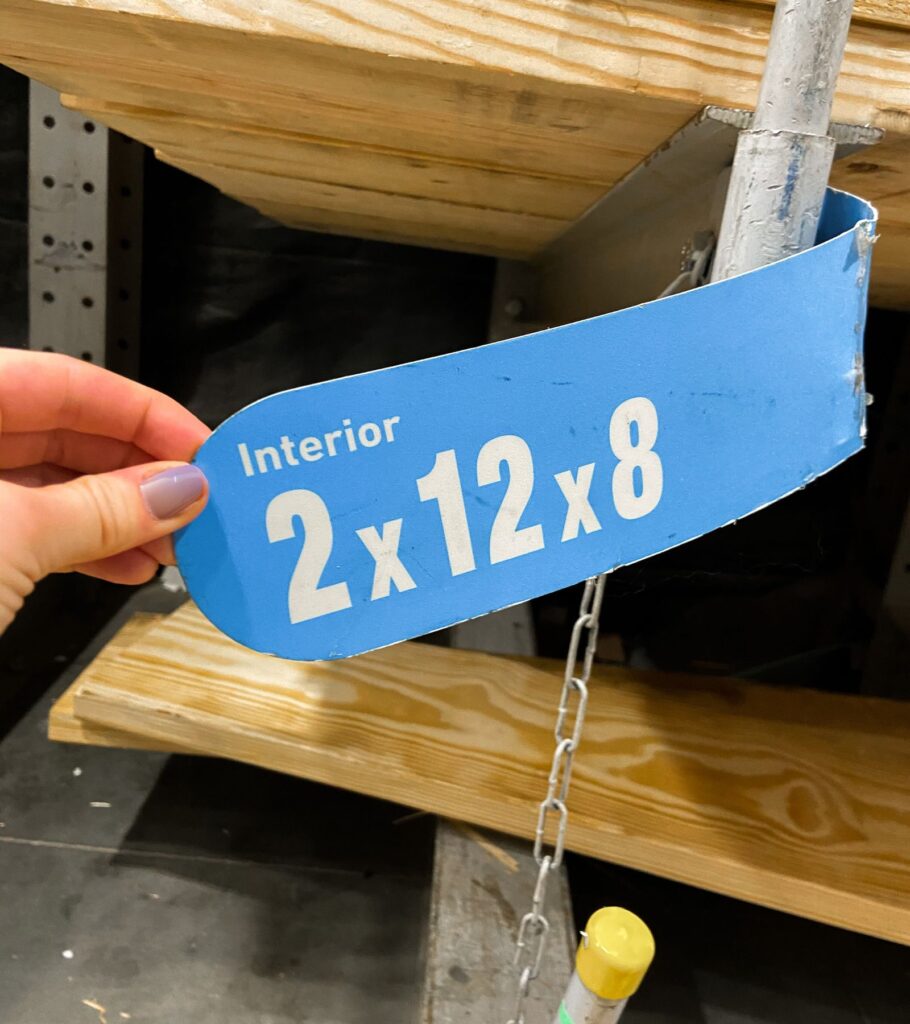
The best-sized wood to buy for laundry room shelves is 2 inches thick x 12 inches deep x 8 inches long. This is the size you’ll look for in the store, but remember the real measurement will actually be 1.5 inches thick and 11.25 inches deep.
The 1.5-inch thickness makes the shelves essentially indestructible to the test of time which is especially important in a laundry room. Between laundry detergent, softener, and everything else you store on your laundry room shelving, there shouldn’t be any worry about bending or bowing. And there won’t be with these!
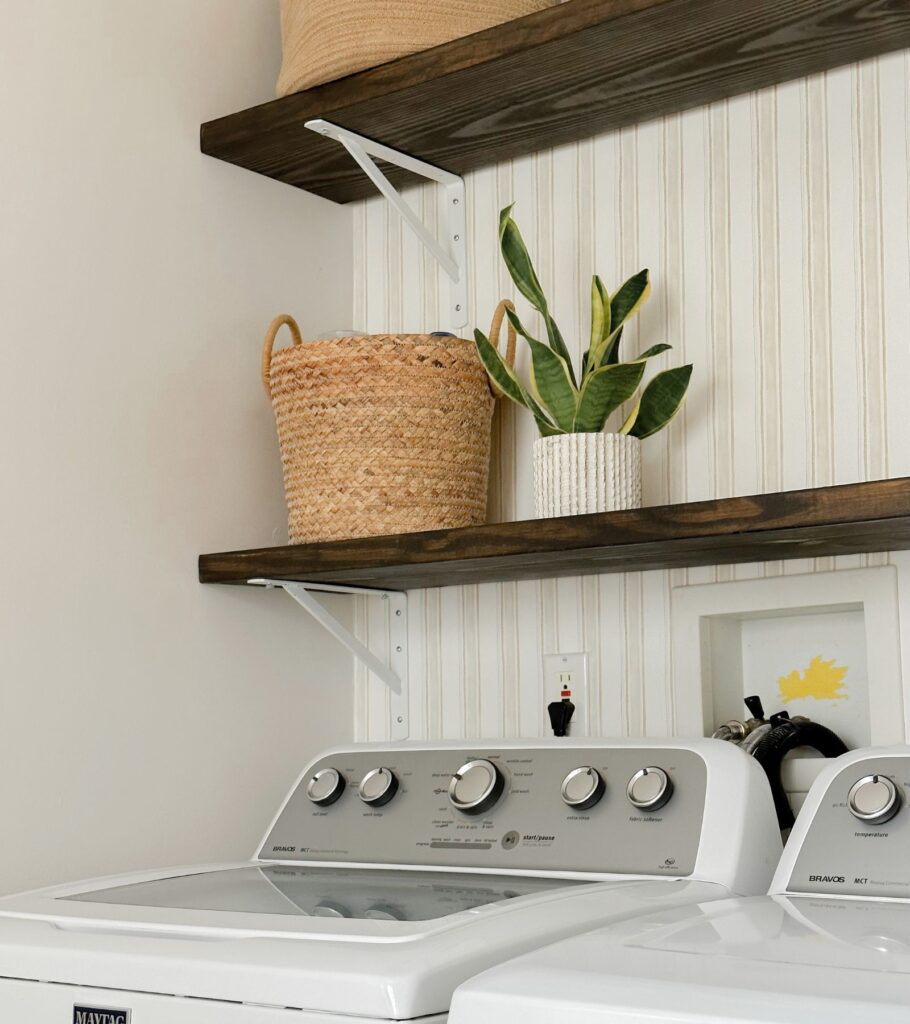
These are the exact-sized boards that I got from Lowes and as you can see, they turned out amazing. This was actually the very first DIY project I completed in my house years ago 🥲, and they are still just as good as day one!
What is the best depth for laundry room shelves? 12 inches (or 11.25 inches for true measurement). This depth allows for all of your laundry room essentials to fit on the shelf without anything hanging off. It’s also the perfect width if you’re hanging shelves over your washer and dryer so they don’t completely cover the tops of your machines.
Tip: If you have a top-loading washing machine, you won’t want anything deeper than 12” because this could impact the top of the washer from being able to open fully.
Cut
Using your measurements, mark your boards with a pencil and begin cutting!
I highly recommend a circular saw for this step, just because of the thickness of the wood. If you’ve been needing an arm workout, then a handsaw will still work if that’s all you have.
Another option is to have Lowes or Home Depot cut the wood for you! Just take your measurements to the store, pick out your wood, and ask an associate to help. That way you won’t need to worry about a circular saw or a hand saw!
Be sure to dry fit your shelves to ensure they fit perfectly in your space before moving on. The last thing you want to do is get through this entire process just to find out your shelves are a tad too long!
2. Sand Your Shelves!
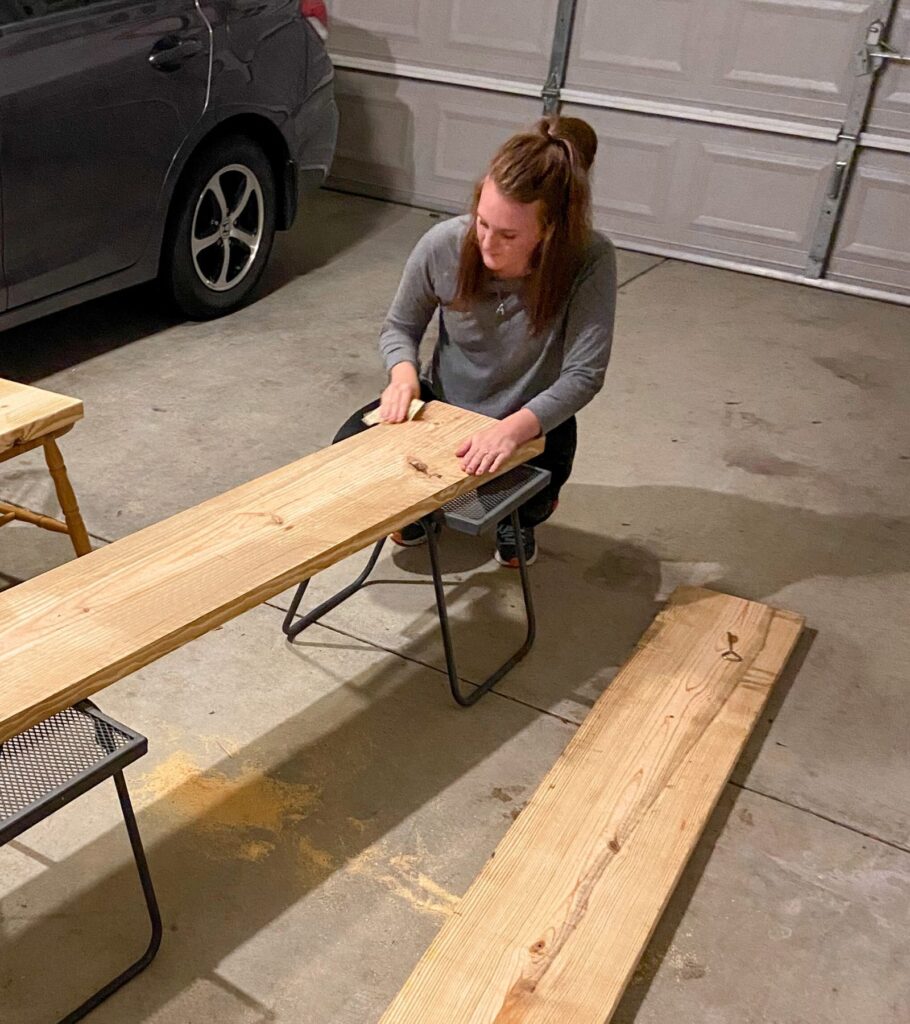
Now that you have your DIY laundry room shelves cut, it’s time to grab your 120-grit sandpaper and sand down all of the surfaces. This includes the top, bottom, and sides.
Why do you want to sand wood prior to staining? Sanding will allow the stain to penetrate and absorb better into the wood, getting you that nice deep color you are going for.
Use a slightly damp paper towel or microfiber cloth and wipe off all of the sanding dust for a clean surface.
You can also use an orbital sander for this step to speed up the process. But sandpaper will do the same thing!
3. Stain
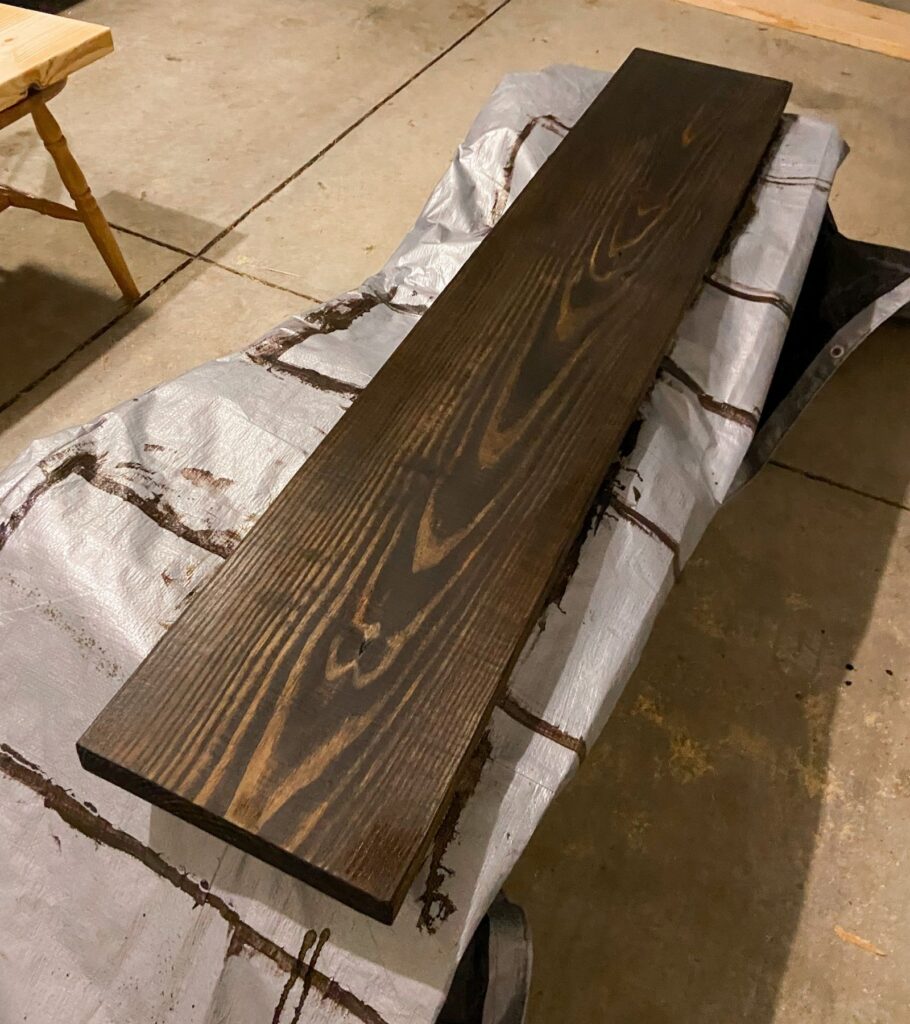
It’s time to get those wall shelves for your laundry room stained!
Using a sponge brush, generously apply your first coat of stain. Once the top and edges are all coated, use a microfiber cloth to wipe off the excess stain.
After the stain has dried, flip over your shelves and repeat for the underside.
When the first coat is complete, you’ll want a light second coat. This time, don’t apply a generous amount, just enough to cover the boards, almost as if you were painting a wall. For your second coat, you won’t be wiping off excess stain so it’s important to get a nice even layer.
If you want to go darker, you can opt for a third coat.
Once both sides are completely dry and finished, you’re ready for the next step – sealing!
IMPORTANT: You must safely dispose of rags that you’ve used for staining since they are highly flammable. Check out this post How to Safely Dispose of Staining/Rags Materials by Handmade Home Co for more details.
Stain Colors
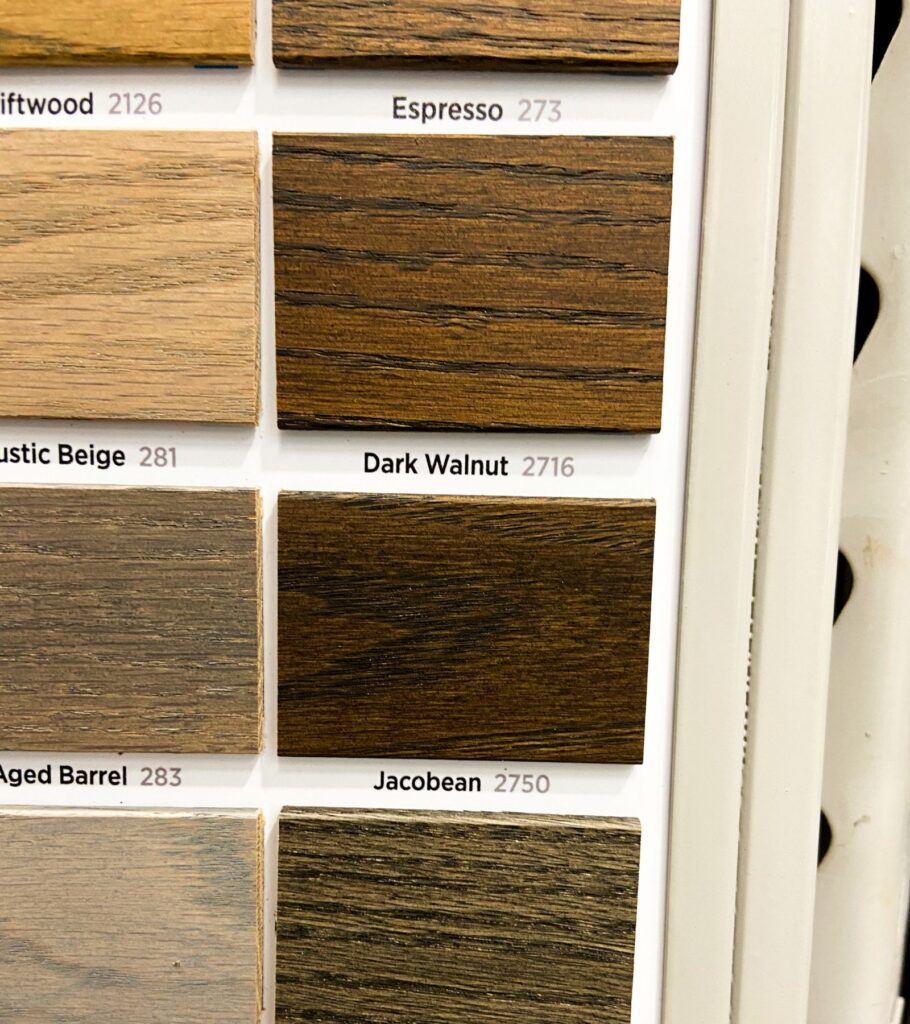
Choose a stain that you absolutely love. My favorite brand of stain is Minwax from Lowes. I’ve used it on almost every wood staining project and it’s never let me down!
Overwhelmed with the color choices? If you need help deciding or want to see a real-world example of what different stain colors look like, check out this video. Angela goes through 10 of the most popular Minwax stain colors and shows what they look like when applied to wood – since just looking at a can for color isn’t always the most accurate representation.
For more real-life inspo, my husband’s desk is stained with Provincial by Minwax. And my laundry room shelves are stained with Mocha by Minwax.
4. Seal Your Laundry Room Shelves with Polycrylic
Use a paintbrush to begin brushing on your Polycrylic. Go with the grain in order to blend it in nicely with your wood. Just use a normal amount, no need to go crazy with it!
Now, ensure your boards are completely covered – sometimes it’s hard to see since it’s clear, so just keep track of where you’ve already applied it along the way.
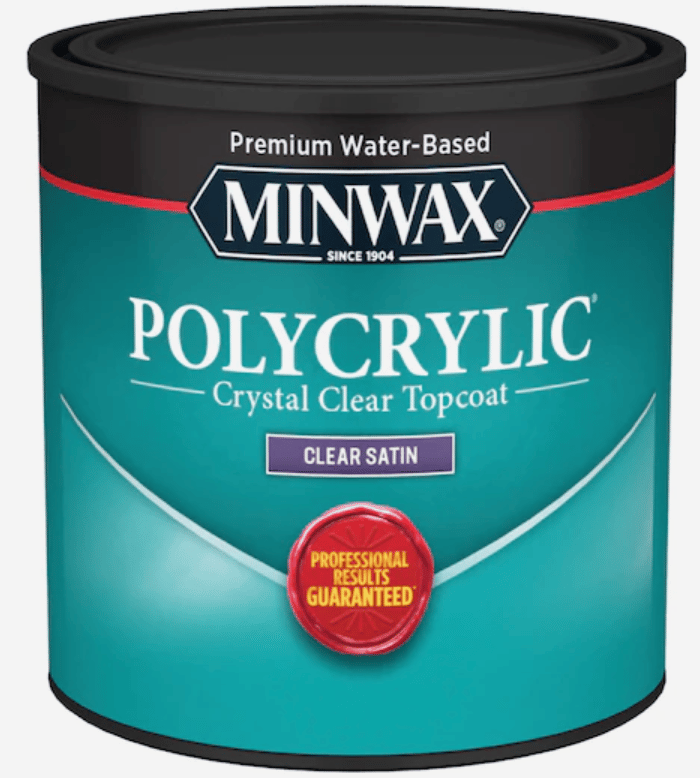
Minwax Polycrylic is the absolute best top coat for DIY projects – the drying time is only 2 hours! So you’ll be able to flip to do the other side in no time.
Once your first coat is totally dry on all sides of your boards, use 220-grit sandpaper and LIGHTLY sand the whole sealed surface! Like barely applying any force at all.
Why are we sanding? Because you want to get rid of any small imperfections or bumps.
Grab a damp paper towel or microfiber cloth and wipe all of the sanded dust off your shelves.
Time for round 2! Grab your paintbrush and apply your second coat. This time make extra sure that you are doing a nice even coat – you will not be sanding the second coat so this is it!
RELATED POST: How to Seal Butcher Block with Polycrylic (Why It’s The BEST Sealer)
5. Attach Brackets to the Wall
Determine where you need to place your brackets with a measuring tape and pencil for marking. Use your level to make sure the brackets are nice and straight. You don’t want your detergent sliding toward one wall – lol!
Once your brackets are in perfect position, color in the holes with your pencil so you know where to drill once you remove the bracket from the wall.
Keep in mind that wherever the top of your bracket is, the top of your shelf will be 1.5 inches higher than that. Make sure all brackets are the same height on the wall for each shelf to get the most level laundry room shelving!
Use a stud finder to determine whether your brackets line up with any studs in the wall. If they do, then you’ll want to use at least 1 ½” long screws for mounting the brackets to the studs. Be sure to drill a pilot hole with your drill bit first.
If you’re not lined up with any studs, that’s totally fine – I wasn’t either! You’ll just need to use anchors. All you do is drill a pilot hole (the packaging will tell you exactly what size to use), and then the install is a breeze from there!
Tip: For the perfect-sized pilot hole, use a drill bit that’s as wide as your screw (minus the threads).
IMPORTANT: Because you are working in a laundry room where there is plumbing in the walls, it’s best to have an idea of where it is if you have to drill pilot holes for anchors. If you don’t know, go very slow with your pilot holes, and just enough to get through the wall. No need to push the bit all the way through! Remember, if there were shelves there before, you’d be totally fine. Just be careful! 🙂
The Best Brackets for DIY Laundry Room Shelves
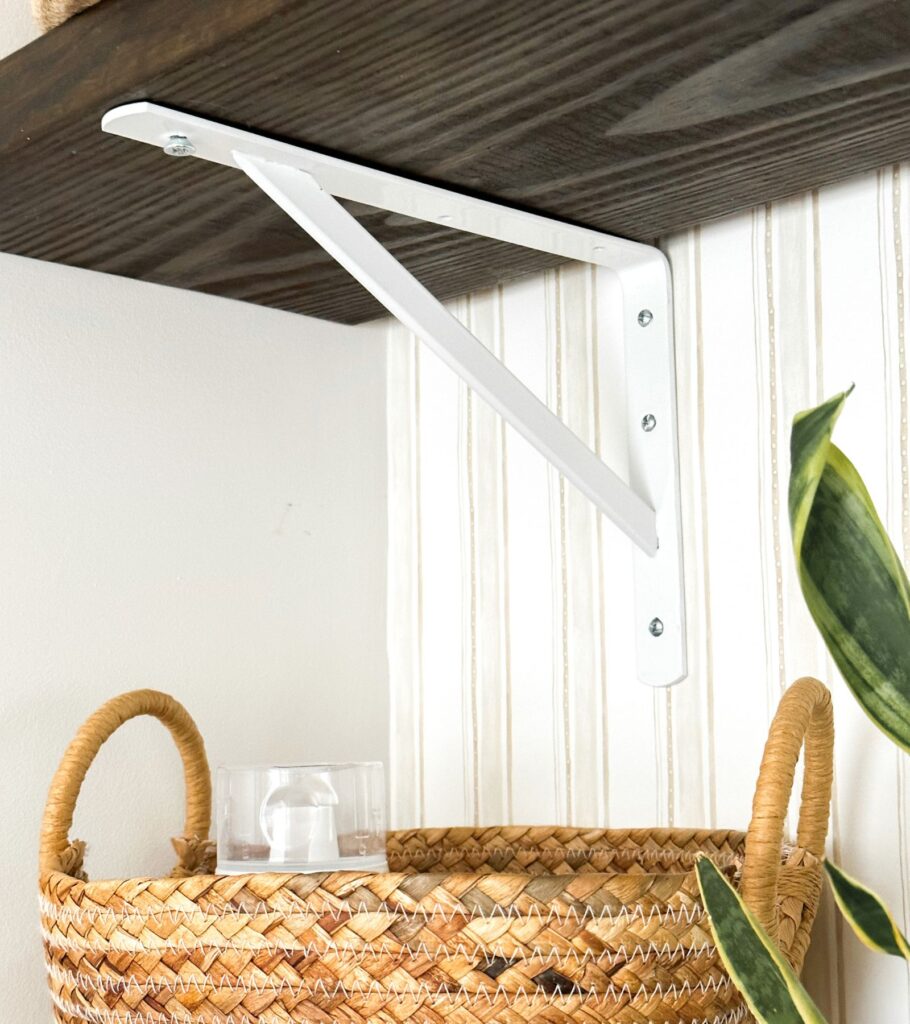
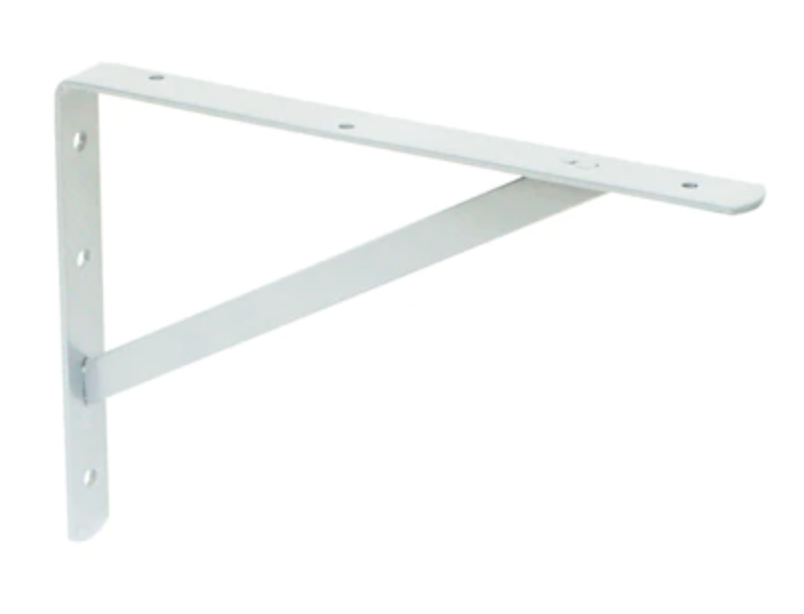
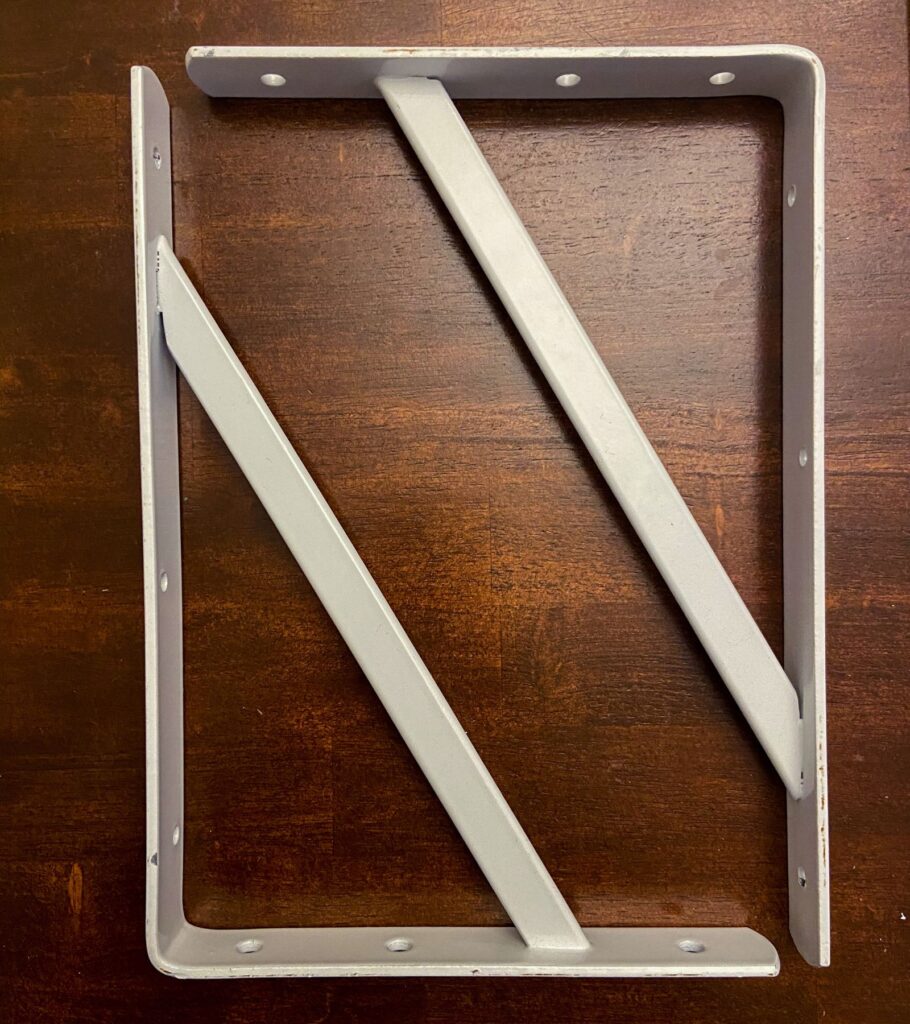
These brackets are incredibly strong and sturdy. I used two of them on each of my shelves – a pair holds a whopping 1,000 lbs! Which is way more than you’ll ever need in a laundry room. I chose white because it blends in better with my wallpaper as opposed to black brackets, so it’s like they’re not even there. I highly recommend these brackets – I will never be worried about my shelves falling!
How many brackets do I need for shelves?
The number of brackets needed to support your shelves is dependent on how long the shelf measures.
- For shelves 48” or shorter, use 2 brackets.
- For shelves longer than 48”, use 3 brackets.
For thicker shelves (1.5”+ thick) that won’t be holding too much weight, you can add 12 inches to that guideline. So for example, if you’re using a thick shelf that won’t be seeing a lot of weight, you can get by with 2 brackets on a 60” shelf.
Patching Holes From Old Shelving
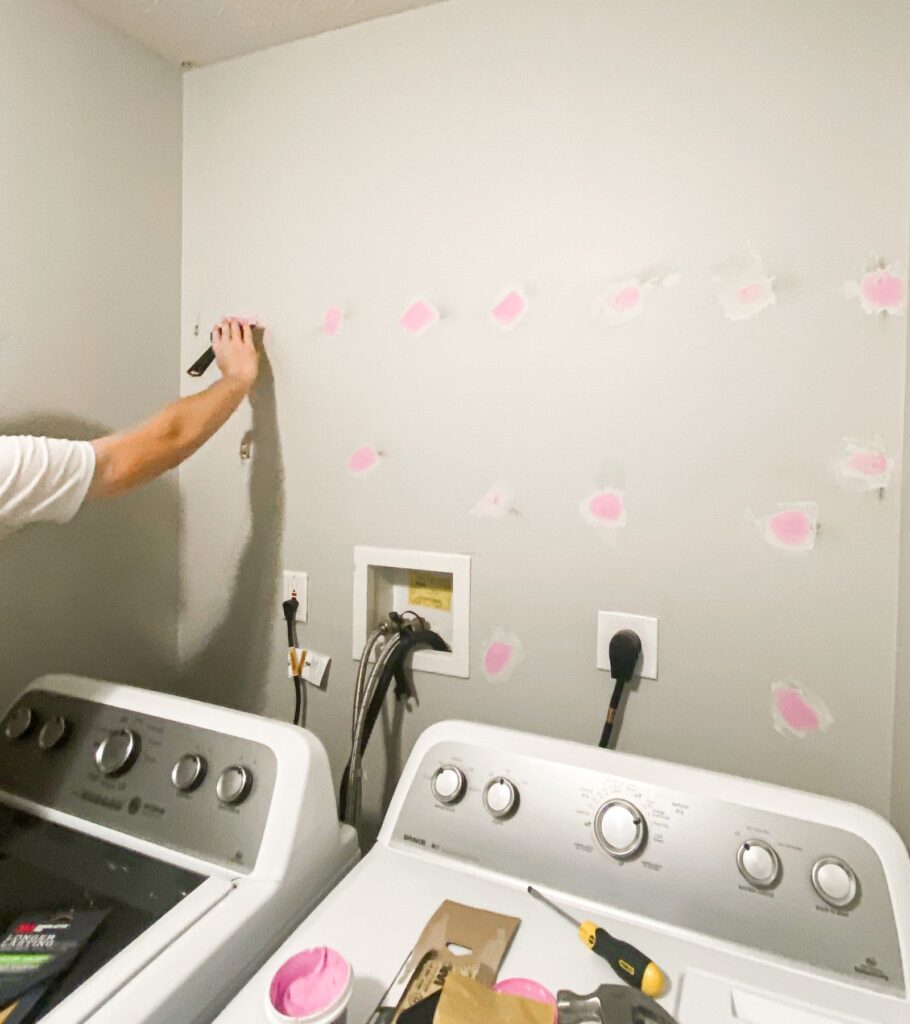
If your laundry room had old wire shelving or any other kind of shelving prior to your new shelves, chances are you may need to patch some holes.
Check out my post, How to Fix a Dent in a Wall (Or Hole) – 3 Insanely Easy Steps! I cover exactly how to patch those holes for a perfectly smooth finish, ready for your new shelving to be installed!
6. Attach Shelf To Brackets
With your brackets mounted on the wall, it’s time for the mount-ment you’ve all been waiting for haha – the SHELVES!!
Gently set your shelf on top of the brackets. Using your level, ensure that the shelf isn’t greatly sloping to one side or the other. Even if it’s slightly off, that shouldn’t be an issue.
Attach your bracket to the shelf with 1” screws (use shorter screws if you’re opting for thinner shelves). To ensure you don’t accidentally split the wood, you will need to drill a pilot hole for each screw that is going into the bottom of your shelf.
And there you have it! You now have beautiful DIY laundry room shelves that you created yourself!!
7. Bonus: DIY Laundry Room Shelf with Hanging Rod for Clothes
You might want one of your shelves to have a rod underneath for hanging clothes to dry. Well, I have the perfect solution for you! I did this exact thing in my laundry room too. 🙂
Simply follow steps 1-4 to get your shelves prepped, stained, and sealed. Then, you’ll want to purchase these steel brackets from Etsy. They are sold in pairs which is great for one shelf, and hardware for studs is included.
These brackets are extremely strong steel and look really good in a laundry room. The best part? They curl down so that you can install a rod for hanging clothes!! All you need to do is purchase a dowel from Lowes or Home Depot.
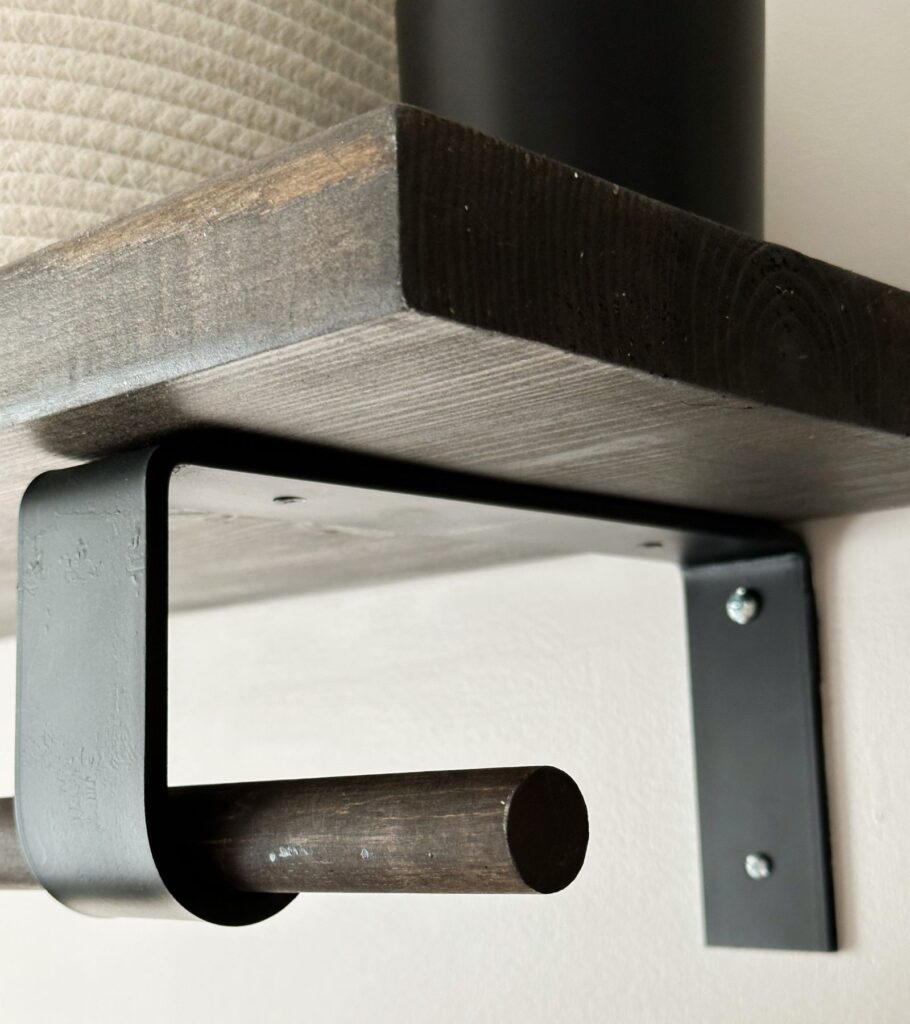
If you plan to hang clothes hangers on the dowel, I would recommend one that is at least 1 inch in diameter, and be sure to pick the appropriate length. Mine is 1” inch round and 48” long.
Then you can simply stain the dowel the same color as your shelves for a cohesive look. You don’t have to go through the full staining process with this – since it’s just a dowel, you can stain once and be done with it! You could use some Polycrylic if you wanted that extra layer of protection, but it’s not totally necessary.
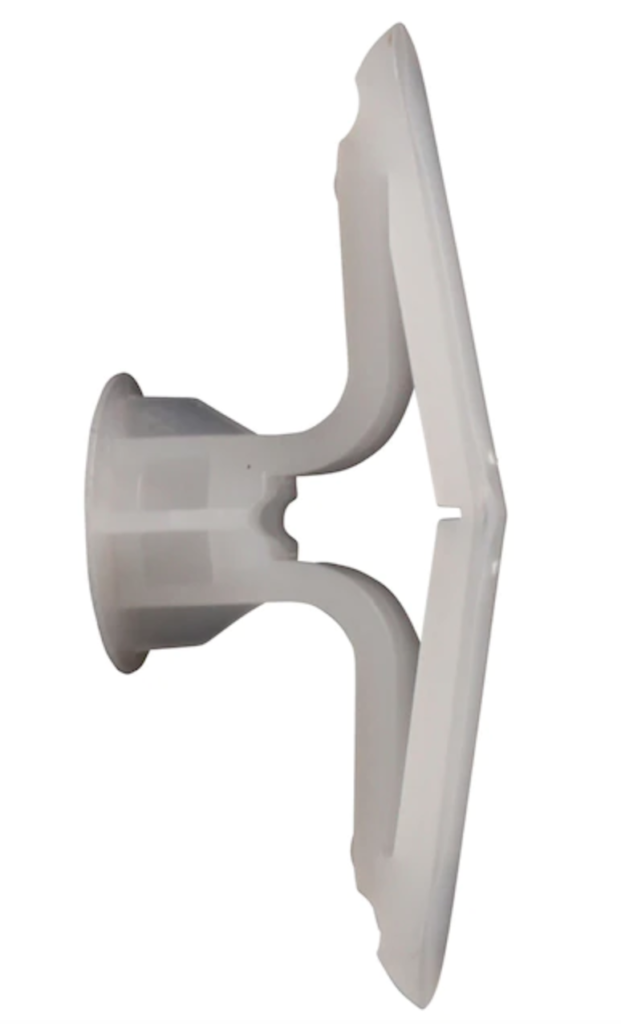
When attaching these brackets, if you don’t have any studs you can drill into, then I recommend these anchors for the strongest hold – you’ll never have to worry about your shelves coming down. I have hung SO many clothes on this thing, and utilize the top of the shelf for storage, and my shelf is extremely secure!
Other Posts You Might Like:
Leave a Reply