The below post may contain affiliate links. This means we will receive a commission if you purchase through our link, with no extra cost to you. As an Amazon Associate we earn from qualifying purchases. Read our full disclaimer.
In this post, you’ll learn exactly how to make a DIY board and batten accent wall! And the best part is, it’s extremely easy and can be completed in just one weekend. Oh and I almost forgot, it’s relatively cheap too!
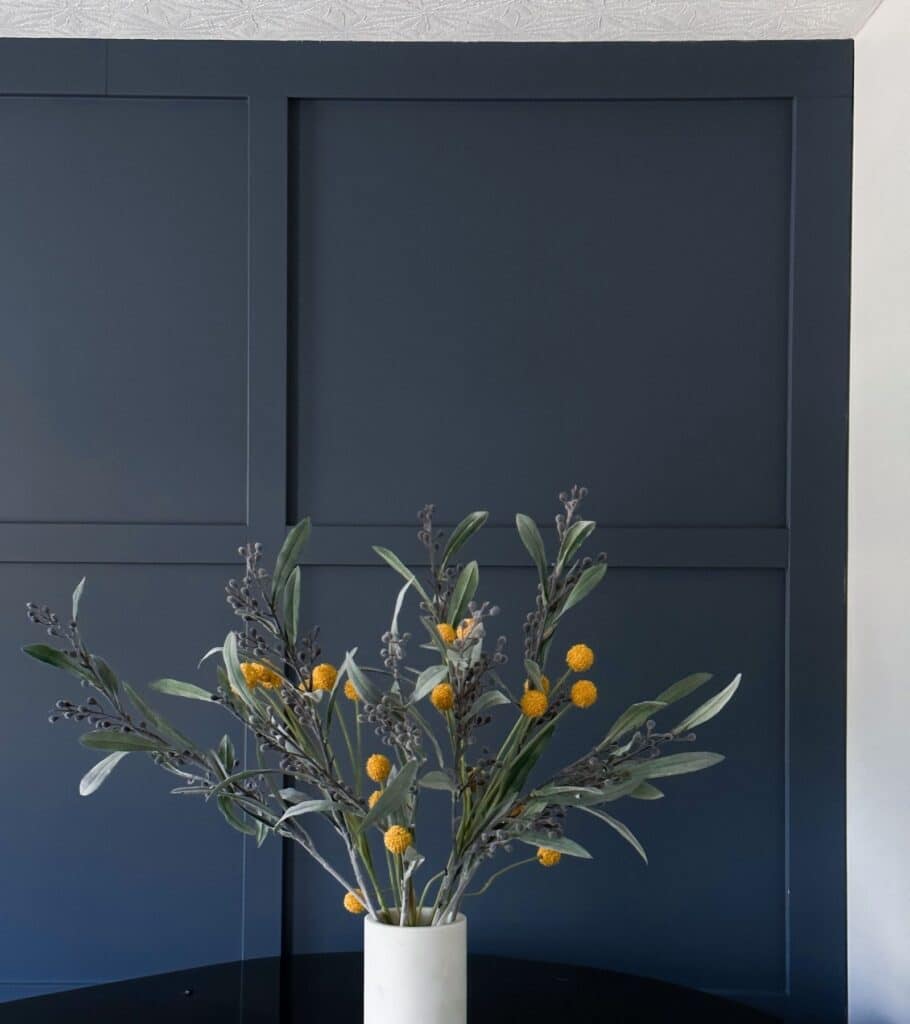
Board and batten accent walls can take a bland room and turn it into an elevated space. Heck, they can even take an already good-looking room from 0-100! When you’re creating your accent wall, there’s so much room for creativity in both design and color.
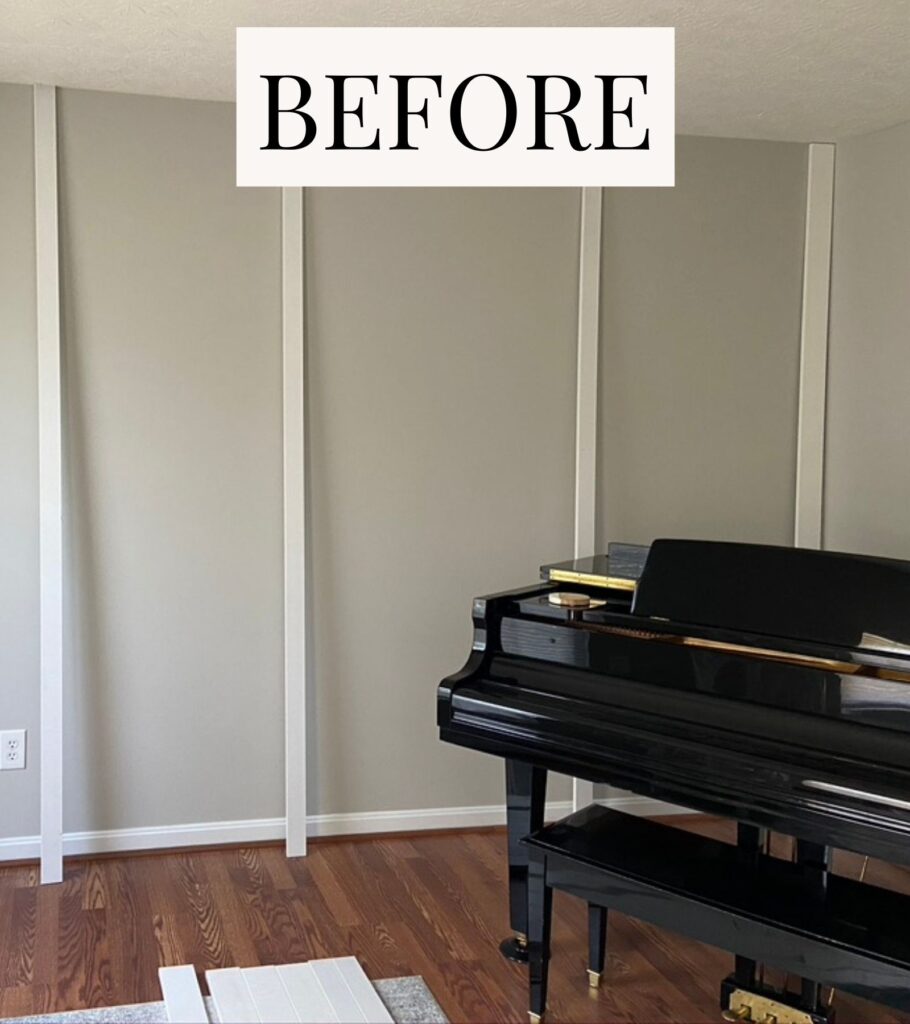
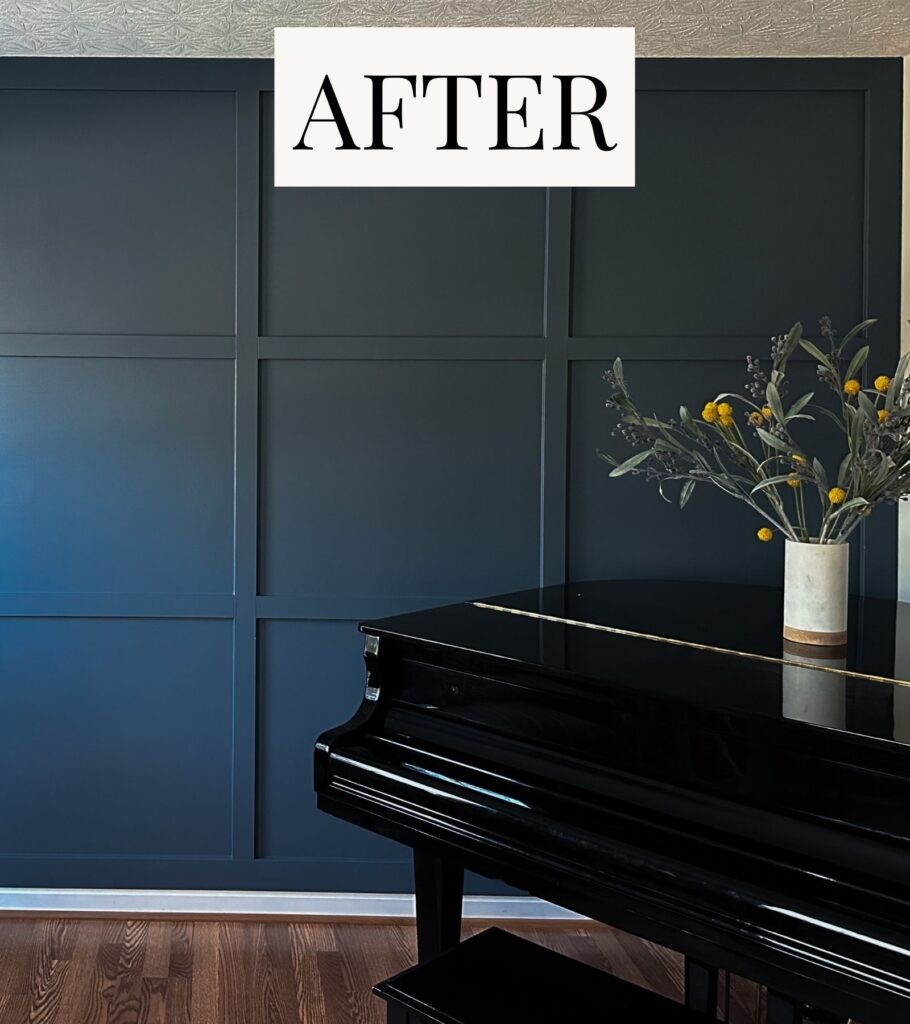
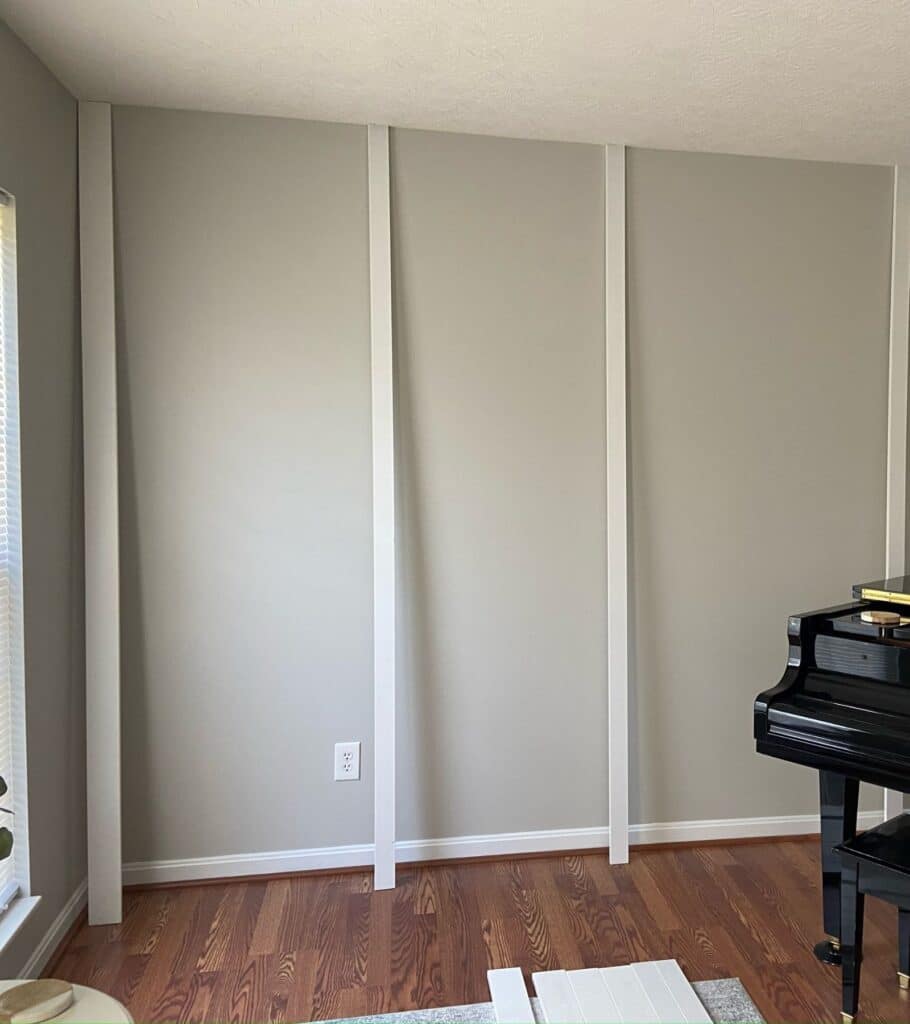
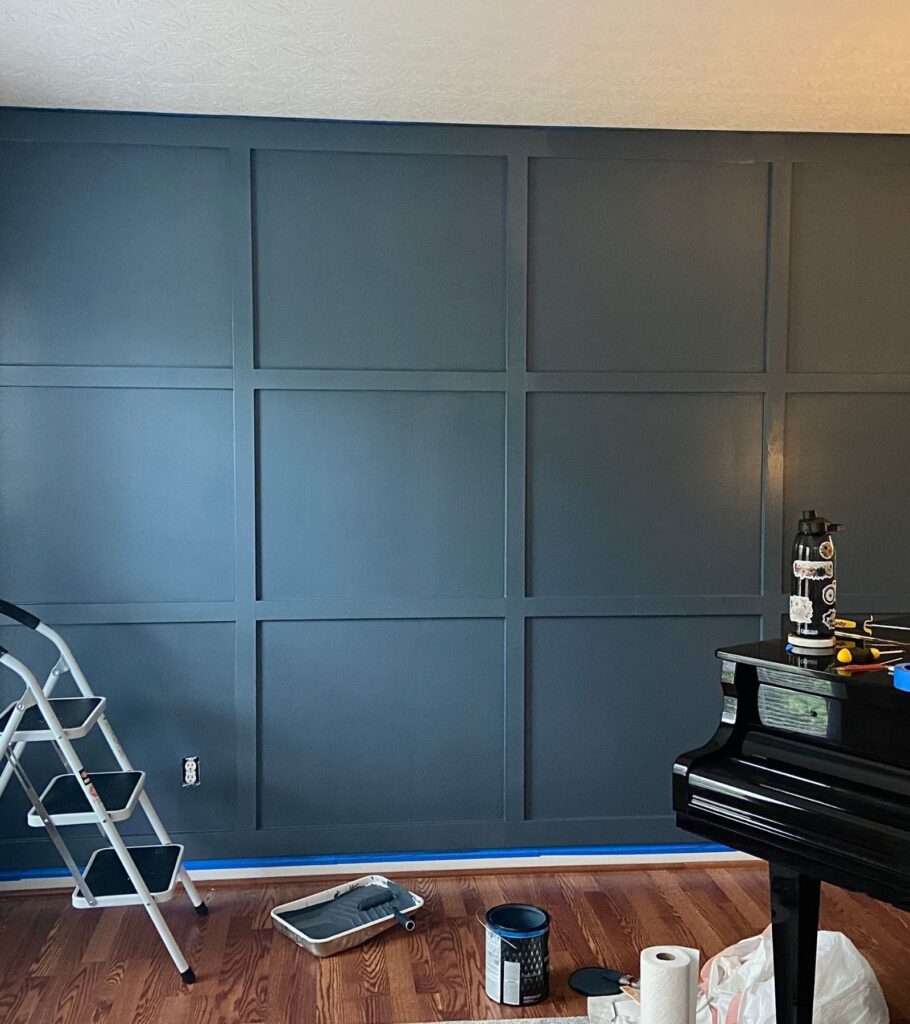
I mean could you imagine your room going from this to this in a single weekend? I’m still amazed every single time I walk past this room.
Whether it’s an entryway, bedroom, office, or anything in between, an accent wall will completely transform your space. Plus, it may add some value to your home – who doesn’t love that?
Skip to the complete list of materials needed (end of post).
Step 1: Make a Plan
Ask yourself: what do I want my board and batten wall to look like?
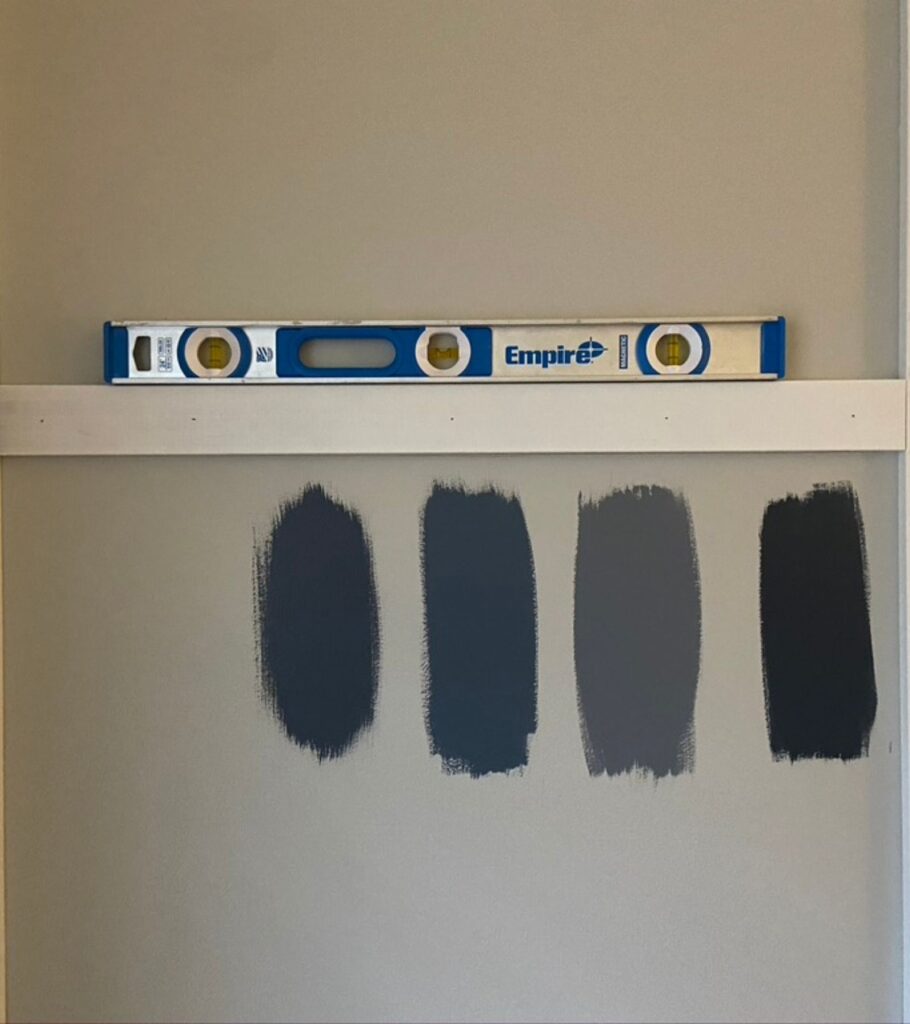
Do I want it to have both vertical and horizontal boards throughout? How wide do I want my boards? And most importantly, what color do I want to paint my wall?
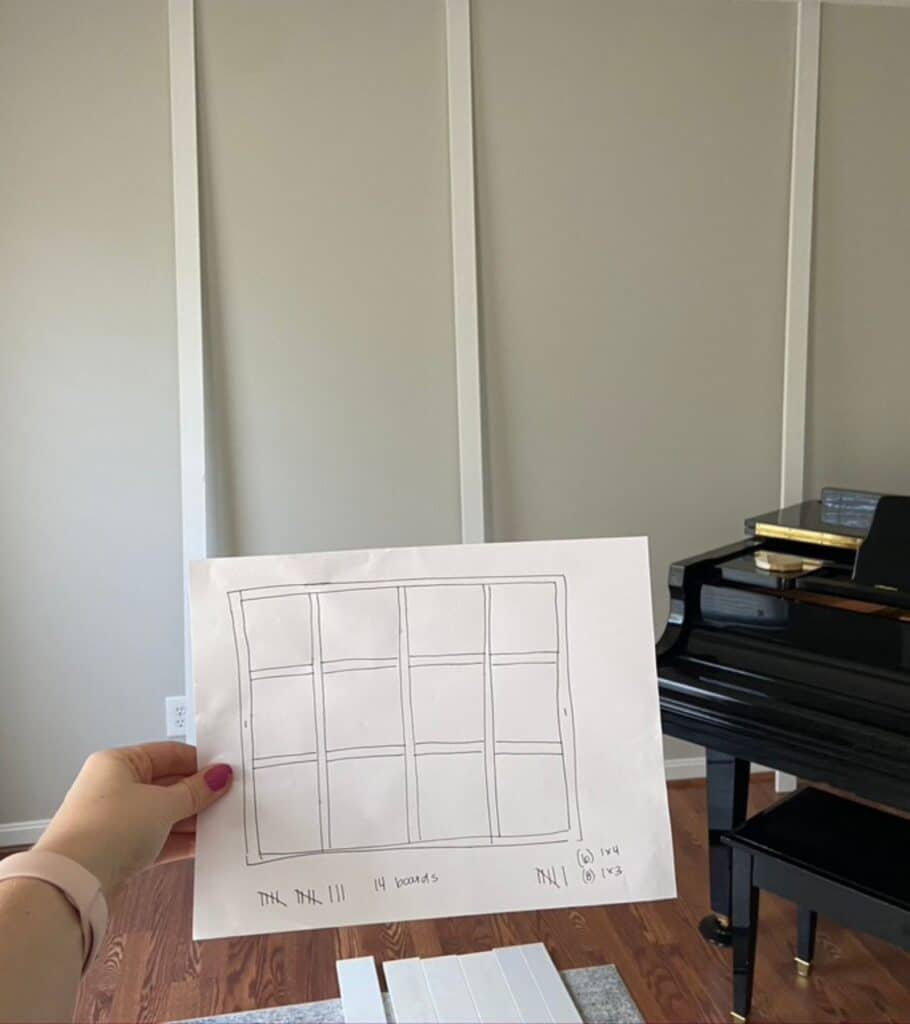
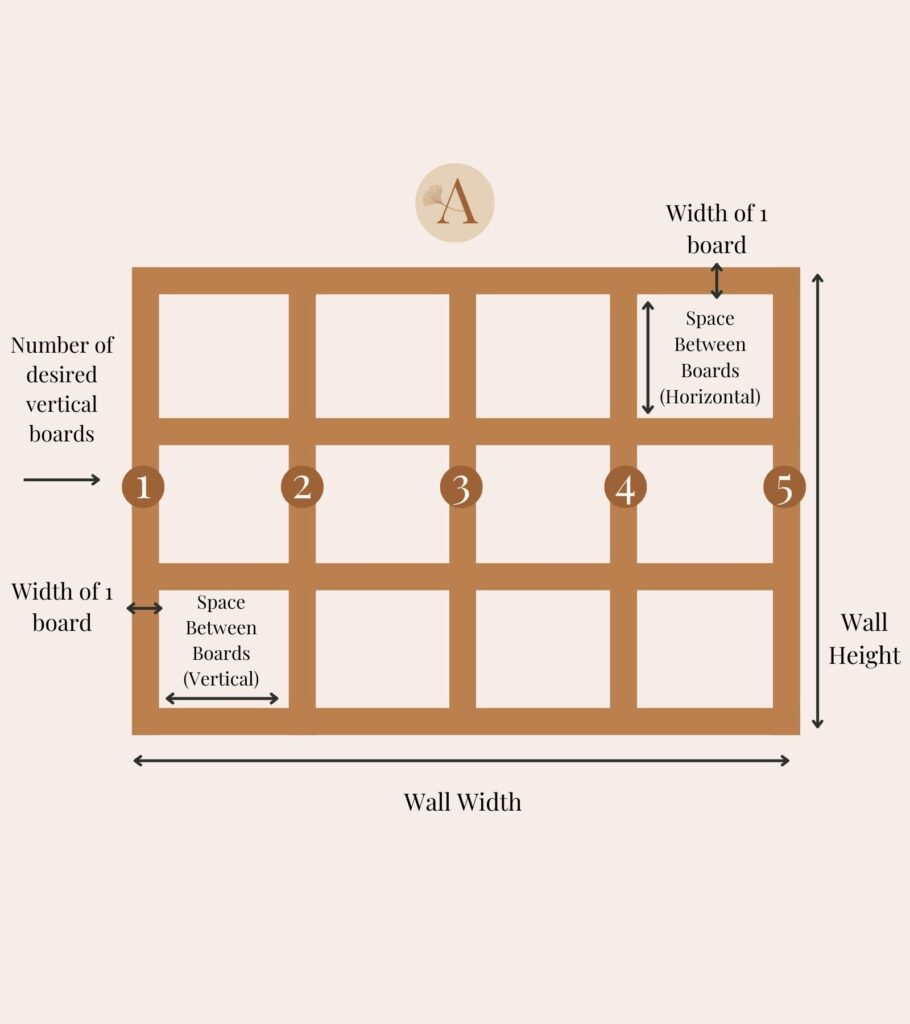
Once you have a good idea of what you want your wall to look like, it is time to measure your wall and draw a rough sketch of your design! Here is an example of my sketch after scrolling through lots of Pinterest for ideas:
I recommend using MDF boards for this project. Specifically primed MDF boards, that way you don’t have to worry about priming in the end! These are the exact primed MDF boards I recommend and have used on every board and batten wall I’ve done:
Step 2: Calculate Spacing Between Boards
It’s sooo important that you get the correct spacing between your boards, or it could throw off your whole design. So now we’re going to use our handy dandy board and batten calculator! This calculator is an absolute lifesaver when it comes to figuring out:
- Spacing between your boards
- Number of boards needed for your project
- Total cost of your boards
When I was doing my wall, I could only dream of having something like this. I spent so much time manually calculating when all I wanted to do was hop into the work. And that’s exactly why I created the calculator. So that you can skip the tedious math and get on with the project sooner!
Now that we’ve let the board and batten calculator do all of the heavy lifting, it’s time to move on to the next step!
Step 3: Remove Your Baseboards (Optional)
Removing your baseboards is totally optional. In fact, many people keep their baseboards because honestly not much is gained or lost by keeping them.
I kept my baseboards because I didn’t feel like the work to remove them was worth it for my design! And as you can see, keeping it didn’t impact the end result at all.
If the design you created requires you to remove baseboards, or you just prefer them gone, here is what to do.
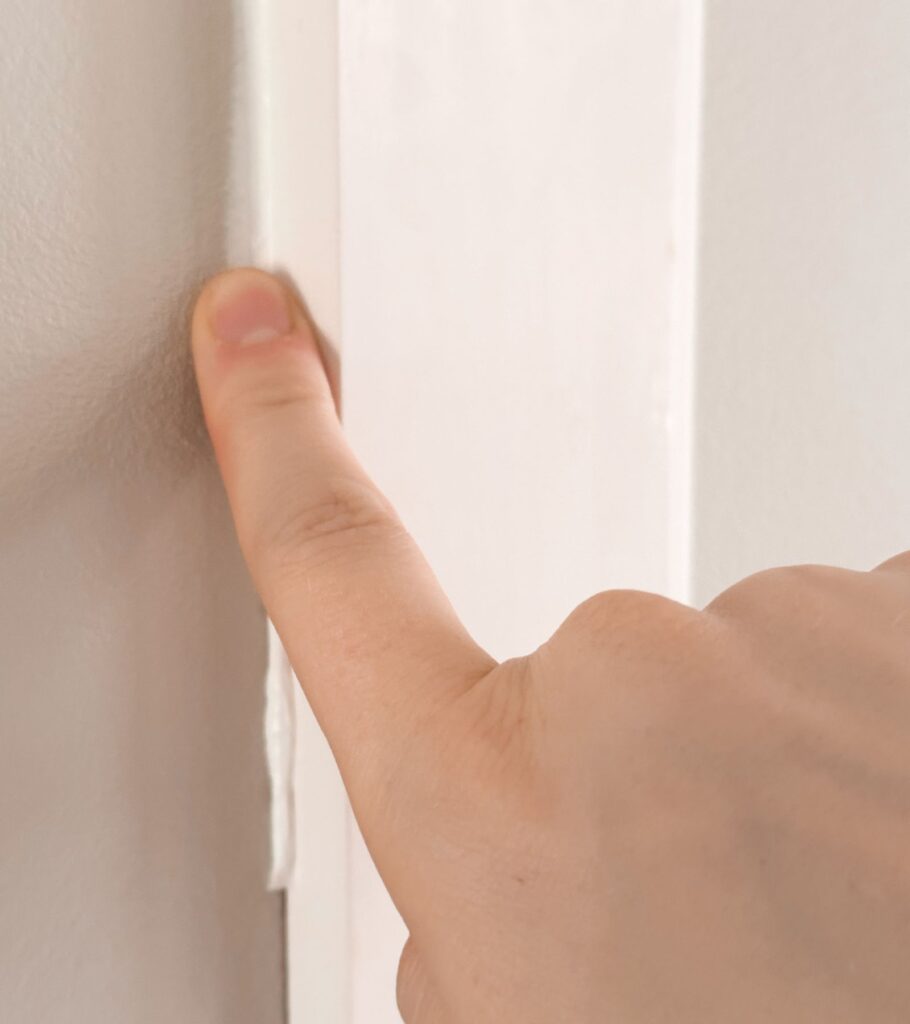
Use a utility knife to score the top of the baseboard in between the board and the wall. This will separate any old caulking that is holding the baseboard to the wall.
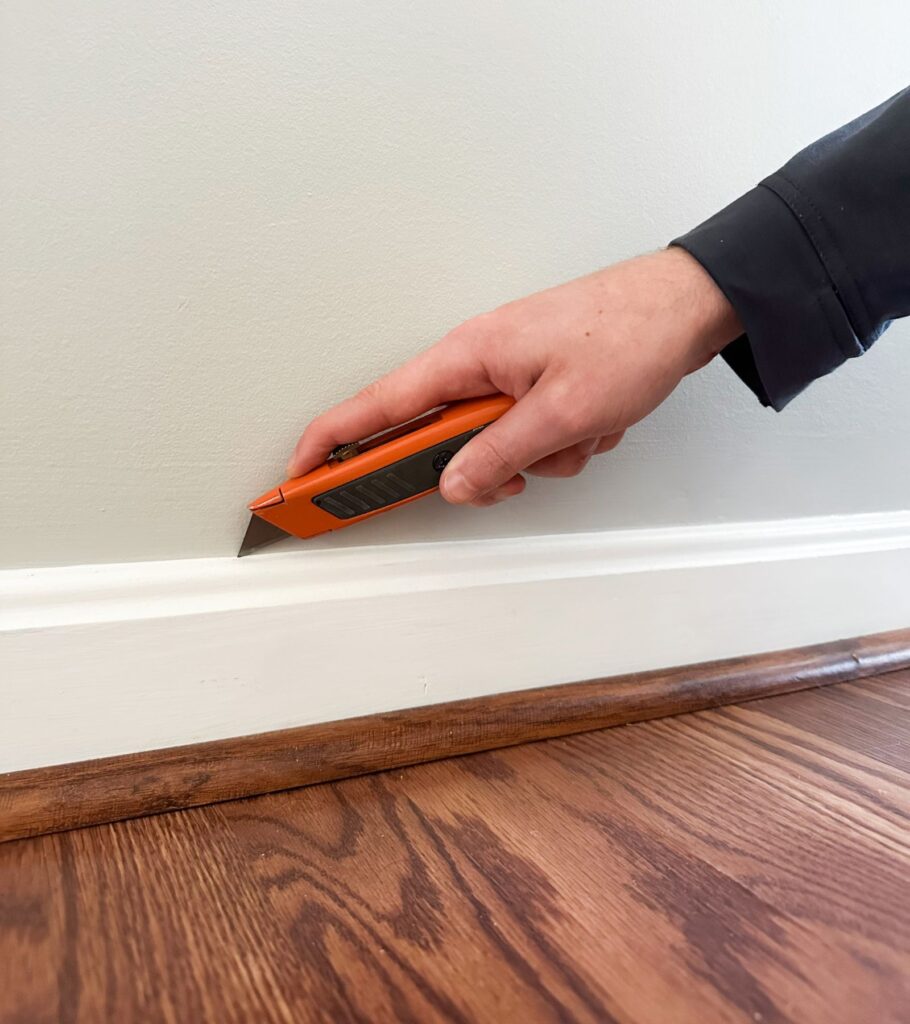
Place the thin side of a pry bar in between the wall and the baseboard. Lightly pry away the baseboard from the wall. As the board starts to separate from the wall, move the pry bar down the length of the board, repeating the same prying motion.
Once the baseboard is removed from the wall, use a pair of pliers to remove any leftover nails.
You may be left with an unattractive wall under where the baseboard used to be. That’s completely fine because you will be replacing the old baseboard with your new MDF board from your design.
Step 4: Cut the Boards
Using the measurements that you gathered earlier, start marking on your boards with a pencil in the spots they need to be cut.
A hand saw is all you really need to cut the boards. I used the Stanley Miter Box + Saw which definitely requires some patience 😂. Unless you have a way to clamp it down, it may slide back and forth.
I would have preferred to use a powered circular saw or a hand saw, which would have worked even better!
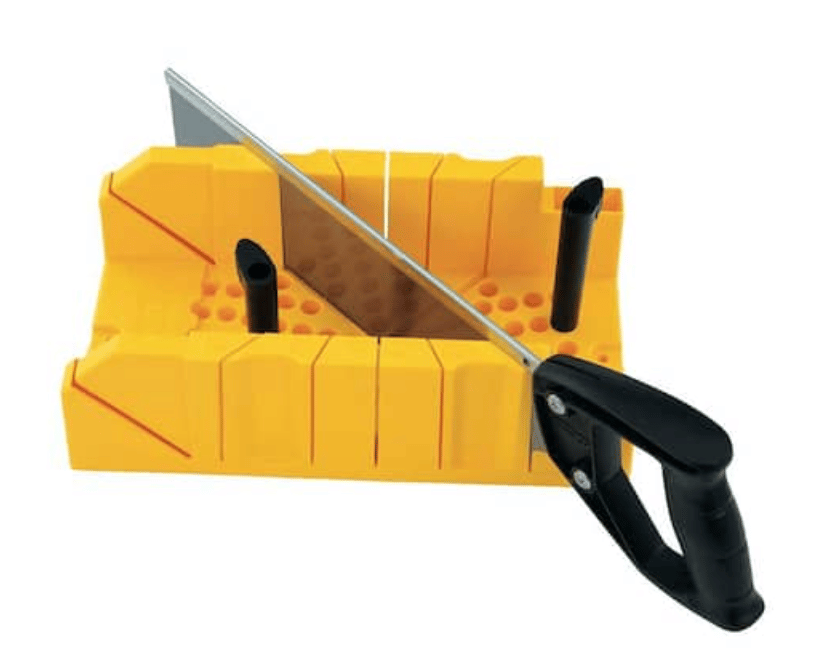
As a reminder, measure twice, cut once 😉.
I found it easier to install all of my vertical boards first, and then come back to cut and install my horizontal boards. If you want to take it one board at a time, it’s okay to measure and cut as you go. You don’t have to do it all at once!
Step 5: Mark the Wall & Dry Fit Boards
Once you have your boards cut, it’s a good time to double-check that they fit perfectly prior to attaching them to the wall!
Dry fit, or hold the board up to the wall, as a test. Use your level!
If there’s a tiny gap between where boards should meet, that issue can easily be fixed with caulk.
If there’s a big gap, it may be best to start over with a new board, measure again, and make new cuts.
If there is no gap & it’s a little too snug, carefully trim or sand the board.
The thing I learned is that no ceiling and floor are perfectly level all the way across. So that’s why it’s so important to dry fit before actually installing your board and batten boards to the wall.
Once you’re confident with your dry fit, mark your wall where the boards will be placed using a pencil.
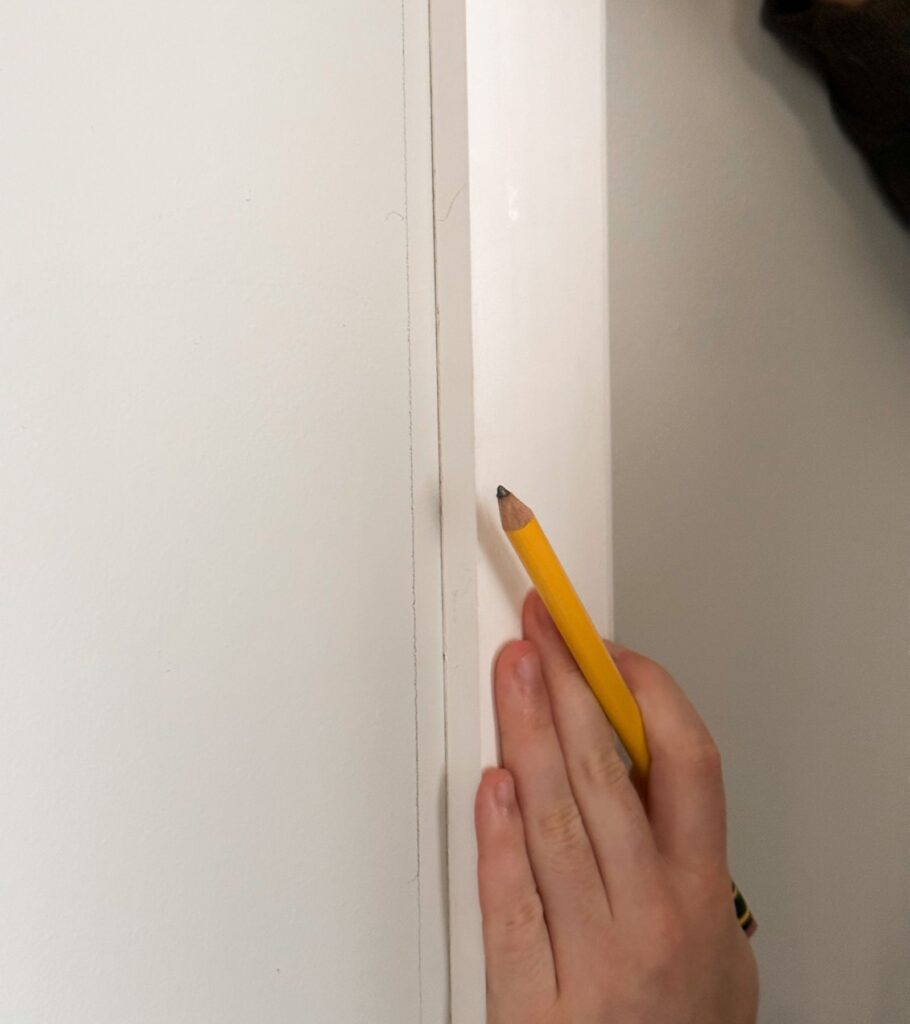
During this step, having a level handy will be important! You will want to make sure your lines marked on the wall are straight and level. That way when you go to install your boards, your markings will act as a perfect guide.
Step 6: Attach Boards to the Wall
To attach to the wall, apply a line of glue all the way down the back of the board. I like to apply in a zigzag motion to cover as much surface area as I can.
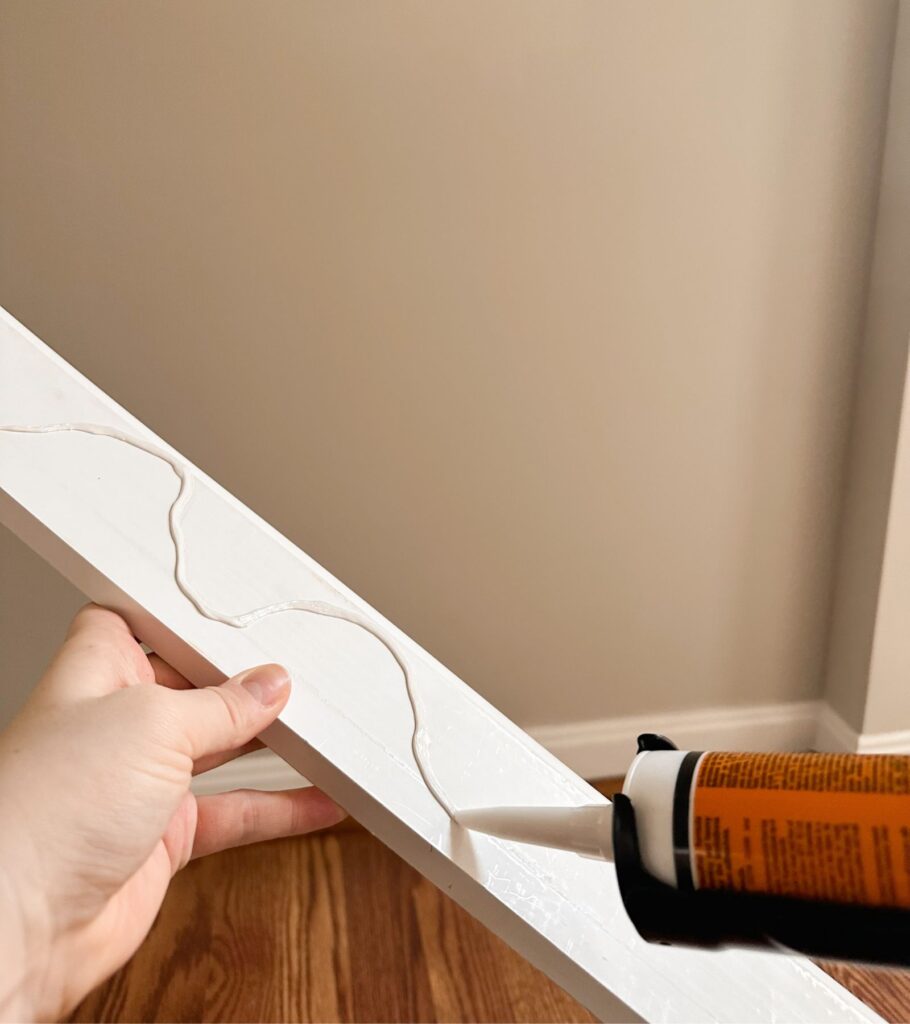
Once the glue is applied, place the board on the wall and line it up with the markings you drew previously. Continue to use your level during this process to ensure the board is straight. Press firmly across different sections of the board to ensure the glue adheres across the length of the board.
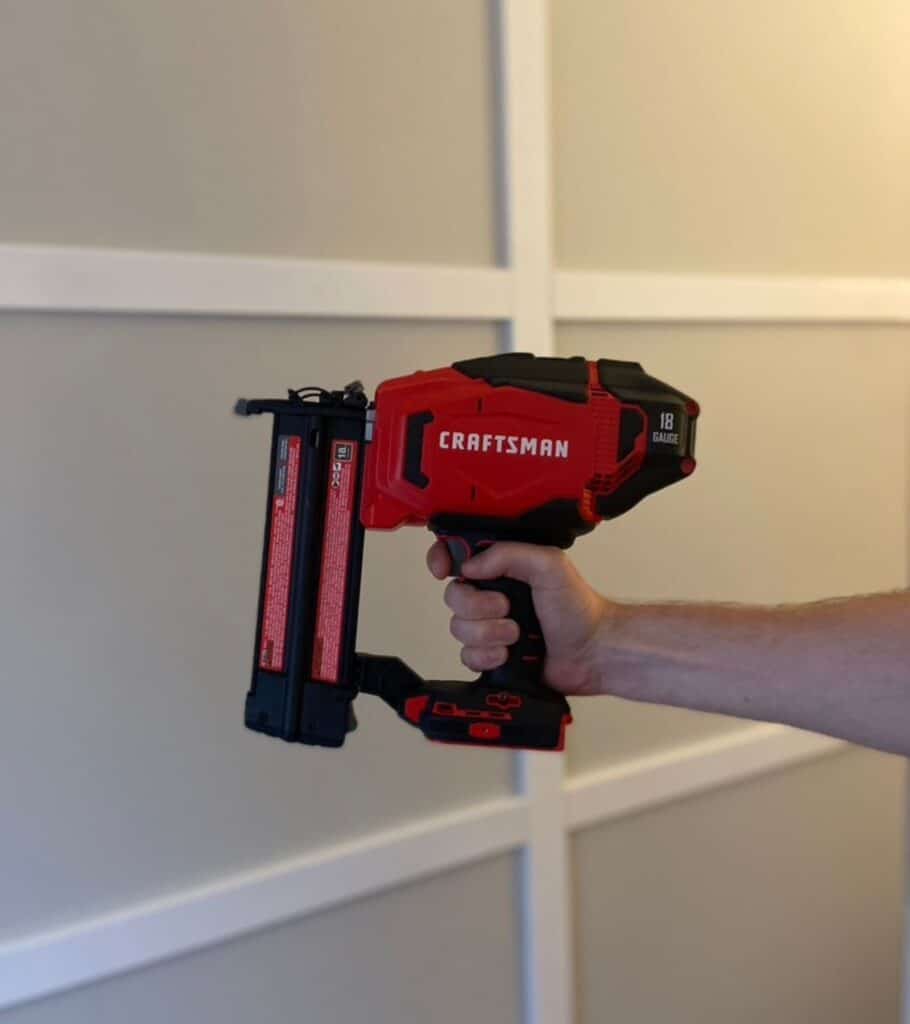
Now it is time to nail the board onto the wall. This step is always easier with a friend. However, you can do it yourself, just go slow and be careful. Grab your brad nailer (nail gun) and start nailing the board to the wall. One nail every foot should do the trick!
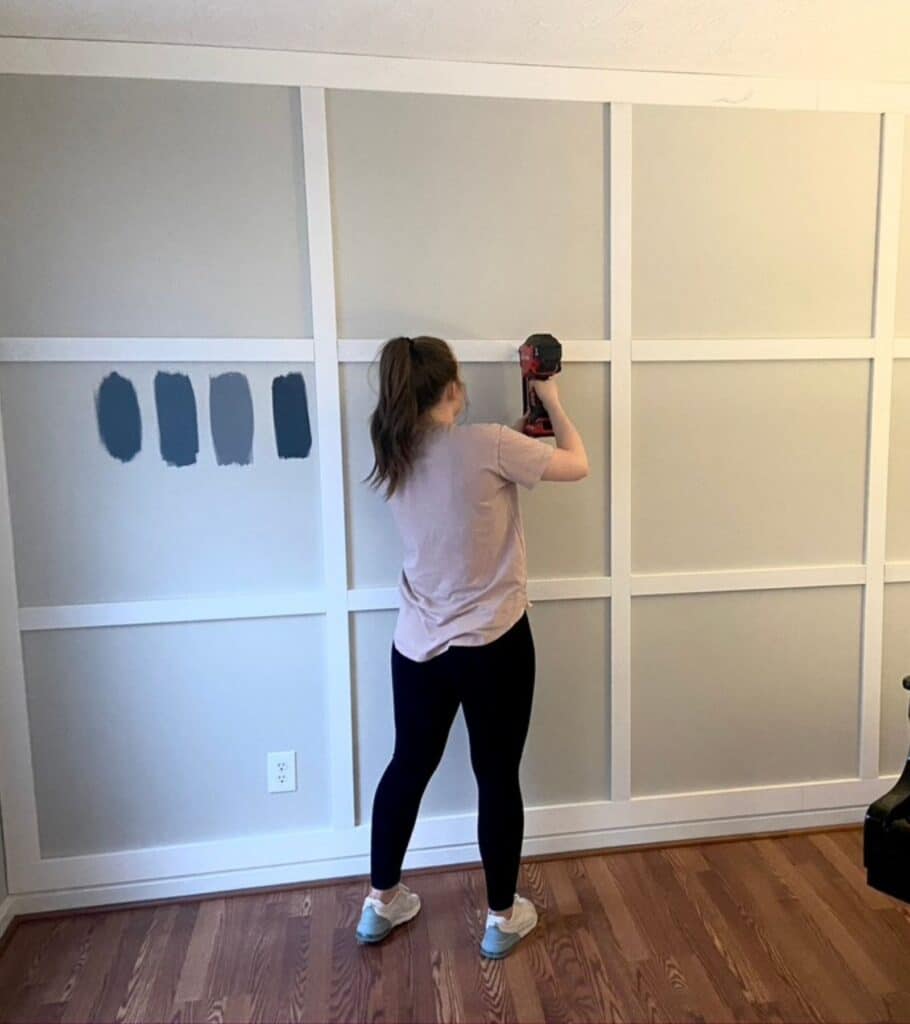
Repeat this process of gluing and nailing until all boards are installed!
Brad Nailer (Nail Gun): IMPORTANT!
MDF board requires the use of a nail gun because it is so dense. If you try to nail into the board with just a hammer, it will not work the way you want it to. Trust me, I know this from experience… Hammering a nail into an MDF board makes the nail bend and it will not go in. If you do manage to get it in, the fiber from the board builds up on the sides and creates a mound.
It’s not a fun experience.
If you don’t have a nail gun (brad nailer), you can rent one from Home Depot for a couple of hours for relatively cheap. I LOVE this option especially if you don’t want to commit to purchasing a nail gun for just one project. I have rented a lot of tools in the past from Home Depot and have always had a good experience. Plus, you can get all of your nailing done within one day, keeping the rental cost low!
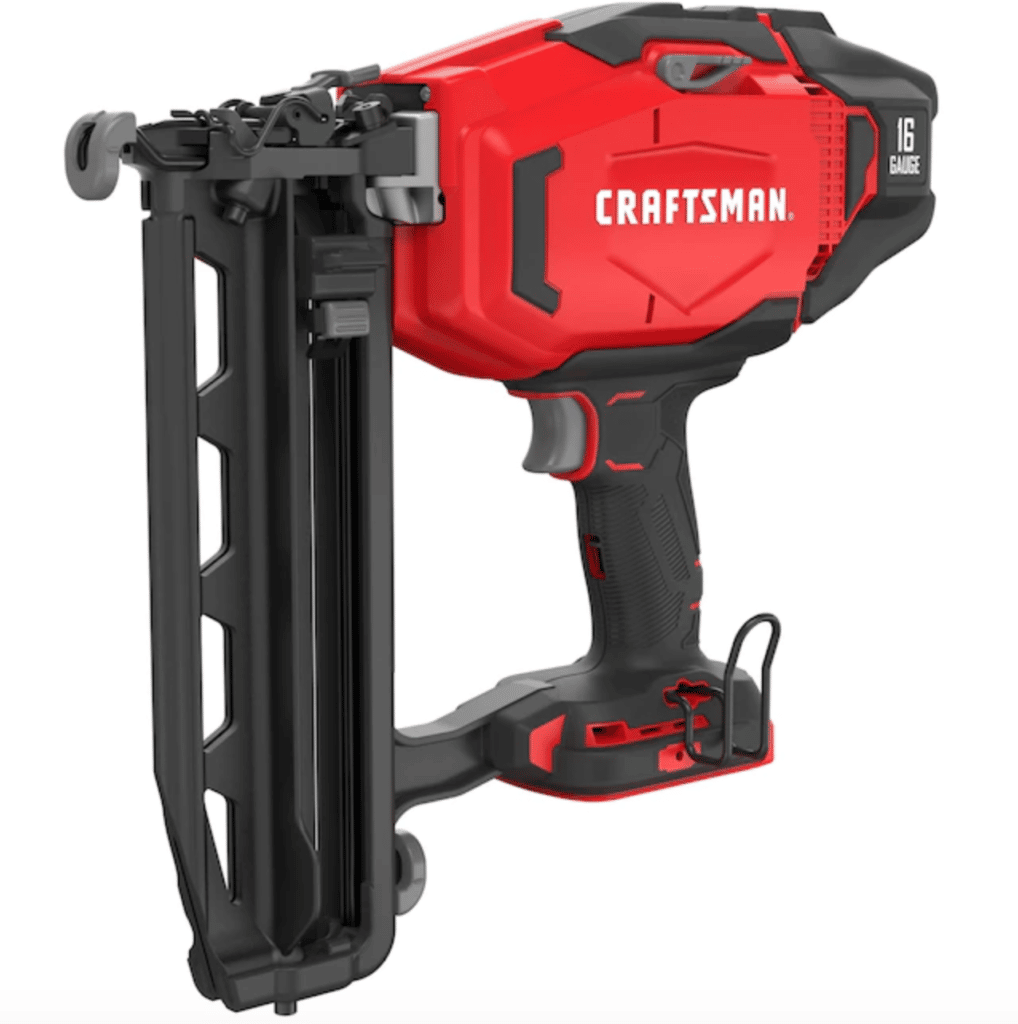
If you are ready to make the investment in a good nail gun because you know this will NOT be your last DIY, this is the nail gun I would suggest. I finally decided to buy a nail gun after my third house project and honestly wish I had made this purchase sooner. It made my life SO. MUCH. EASIER.
Step 7: Fill in the Nail Holes
Your accent wall should really start coming together! Now, we just need to fill in the nail holes.
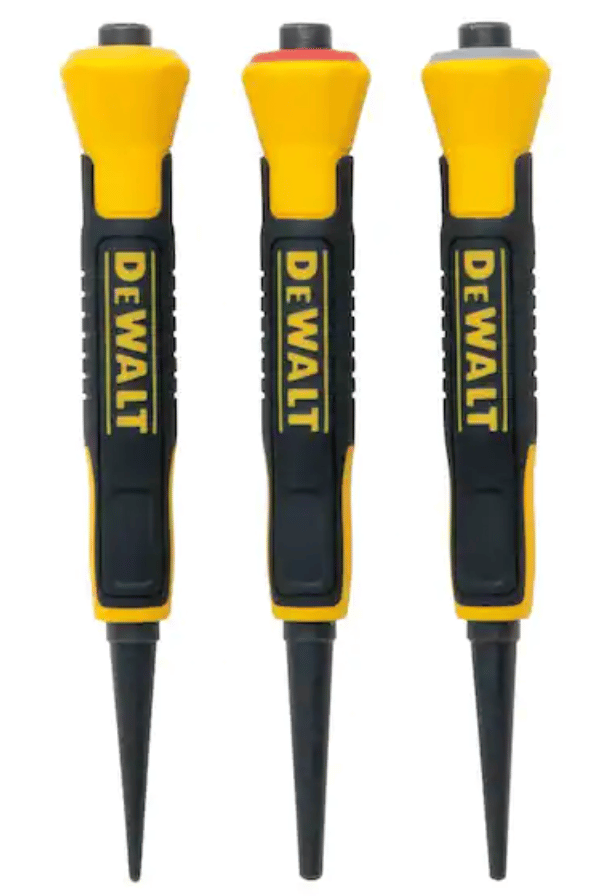
First things first – if you have any stubborn nails that need just a tap or two to be completely in, use this nifty tool with a hammer! I used a nail punch from this set.
After you nail the boards into the wall, you will be left with lots of little nail holes on each board. Don’t worry, with a little bit of wood filler your nail holes will be completely unnoticeable!
I used Gorilla Wood Filler and it worked great! Read the directions on the product to see how long the drying time needs to be.
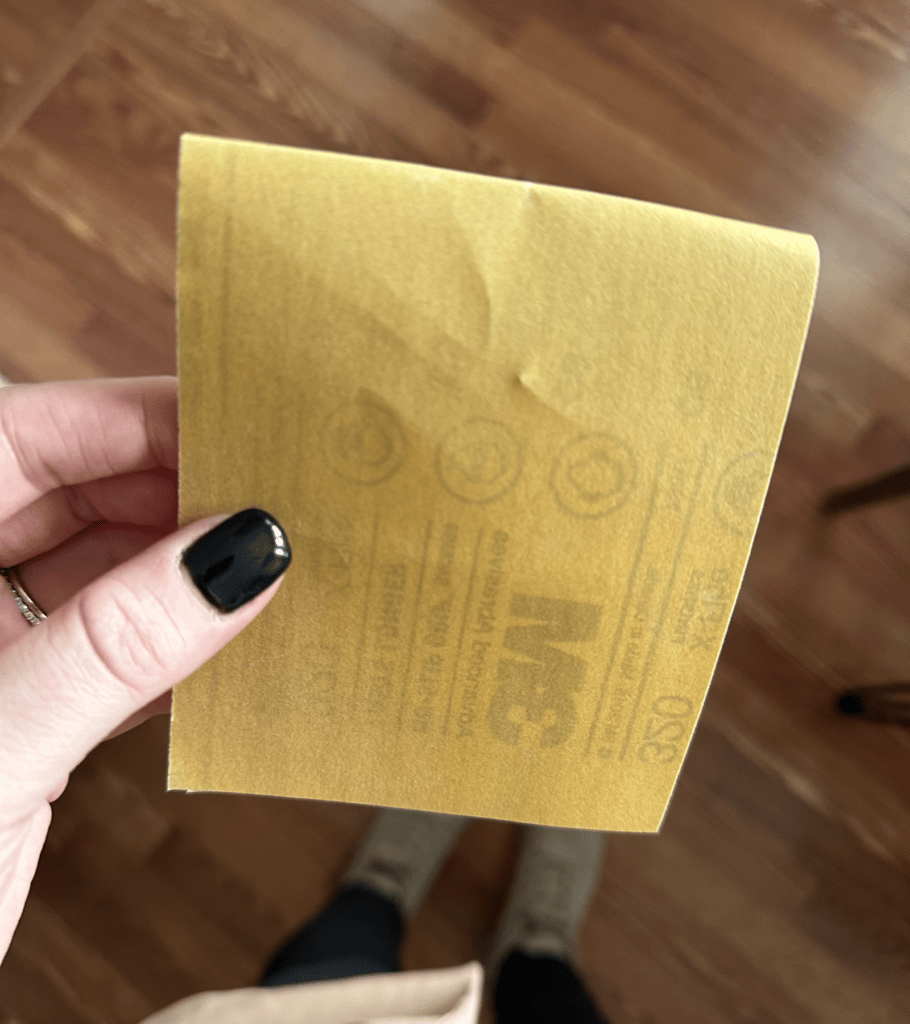
Step 8: Sand the Wood Filler
After the wood filler is completely dry, lightly sand the excess filler away to make your boards nice and smooth again.
Wipe down all of the excess dust from the boards with a damp paper towel. Vacuum the area to ensure the dust particles don’t interfere with the final steps of the project.
Step 9: Caulk
To get that nice, finished look to your board and batten accent wall, you’ll want to caulk!
For this step, you will need caulk and a caulk gun. Here is what I recommend:
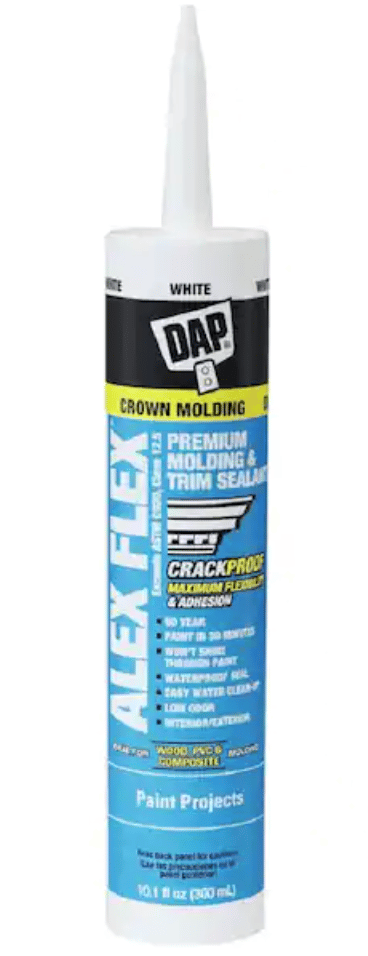
I recommend DAP Alex Flex Caulk because it’s paintable and dries quickly! Regardless of the caulk you buy, be sure to buy a paintable caulk since you will be painting your wall in the end.
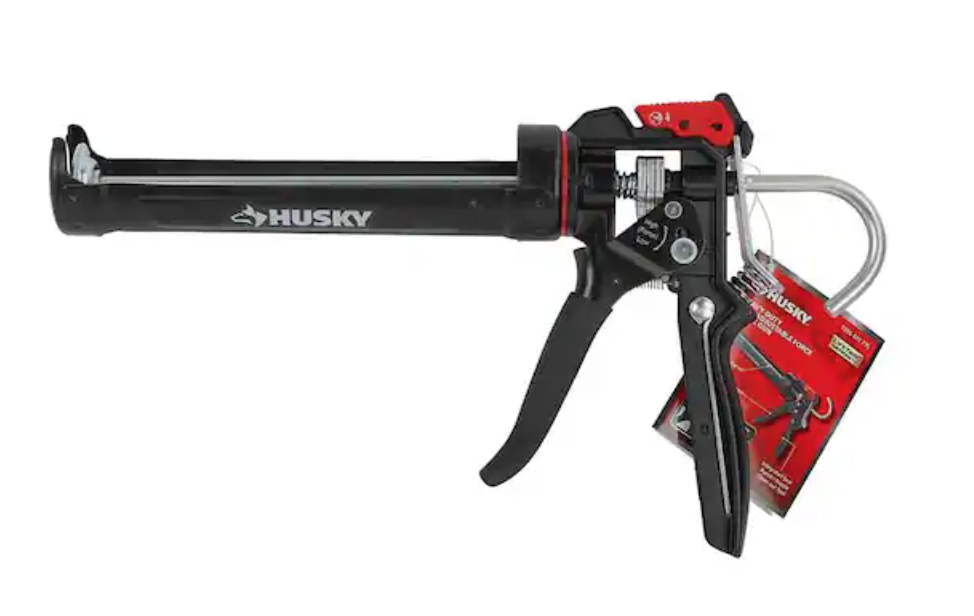
I recommend this 10 oz. Husky Heavy-Duty High Leverage Drip Free Caulk Gun. This thing is seriously AMAZING. I used to own a basic caulk gun that wasn’t drip-free. It was so frustrating to work with because the caulk would continuously come out even when I didn’t want it to. This Husky Caulk gun is SO much better and has a drip-free feature that stops the caulk from continuously coming out. 10/10, would recommend!
Time To Caulk
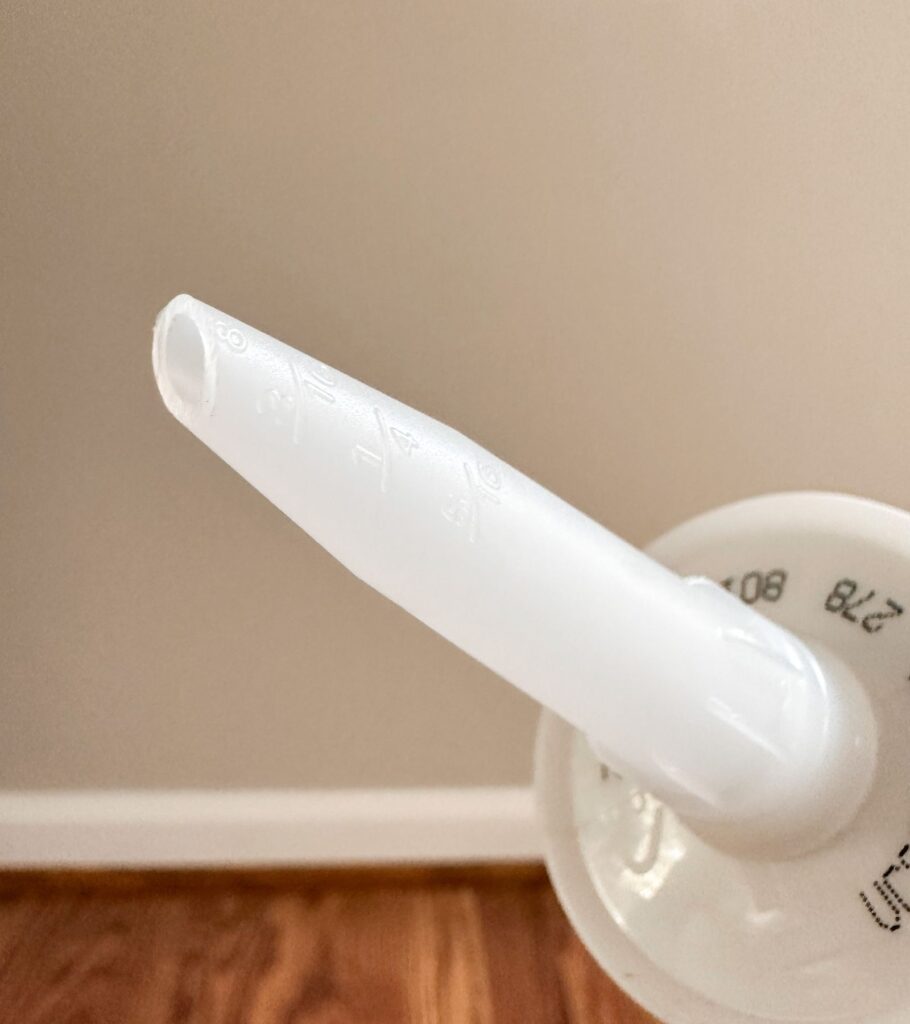
Cut the caulk nozzle at an angle – typically this is faintly marked.
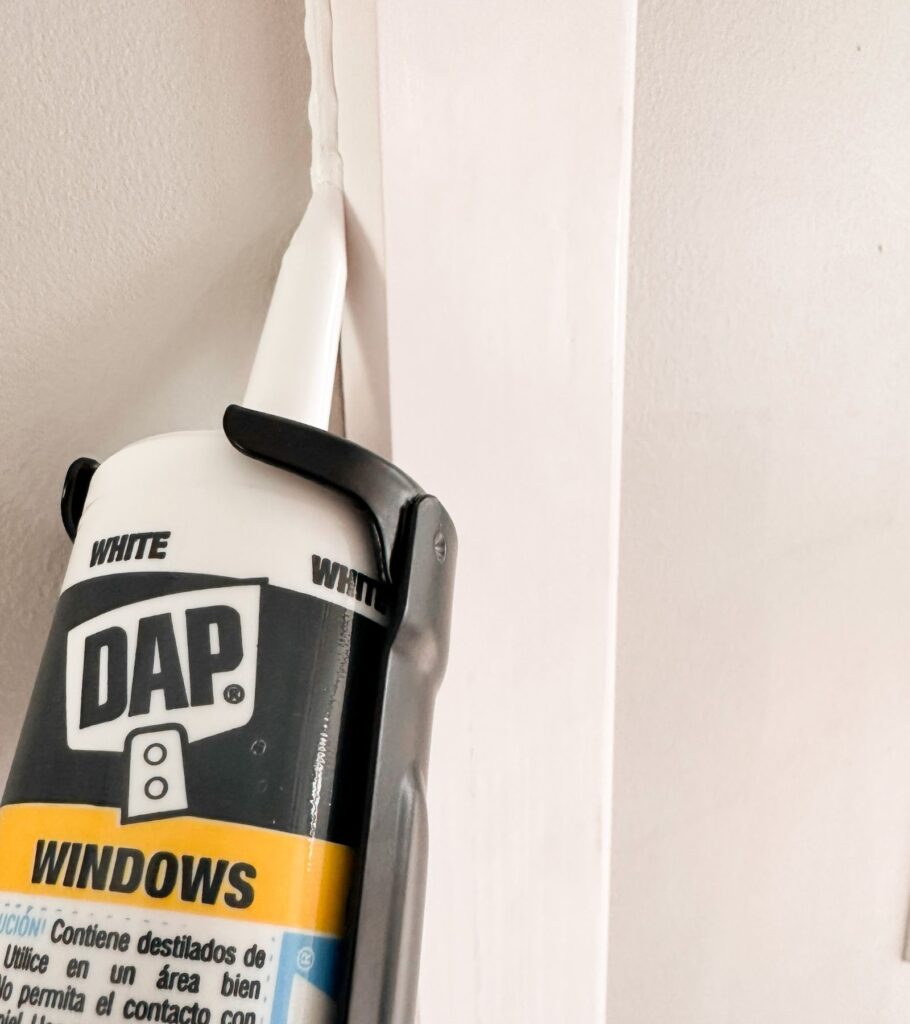
Caulk every seam in sight! That includes where boards join each other, where boards join the wall, and where boards join the ceiling & adjacent walls.
To get the perfect bead, or line, of caulk, apply slight pressure to the caulk gun trigger. Slowly and steadily draw the nozzle along each seam (see below).
Now that you have your bead of caulk, slightly dampen your finger and glide along the bead to create a smooth finish (see below). Wipe any excess caulk on a paper towel.
Repeat across all seams until your wall is completely caulked.
Step 10: Paint!
The best step in making your board and batten accent wall: PAINT!
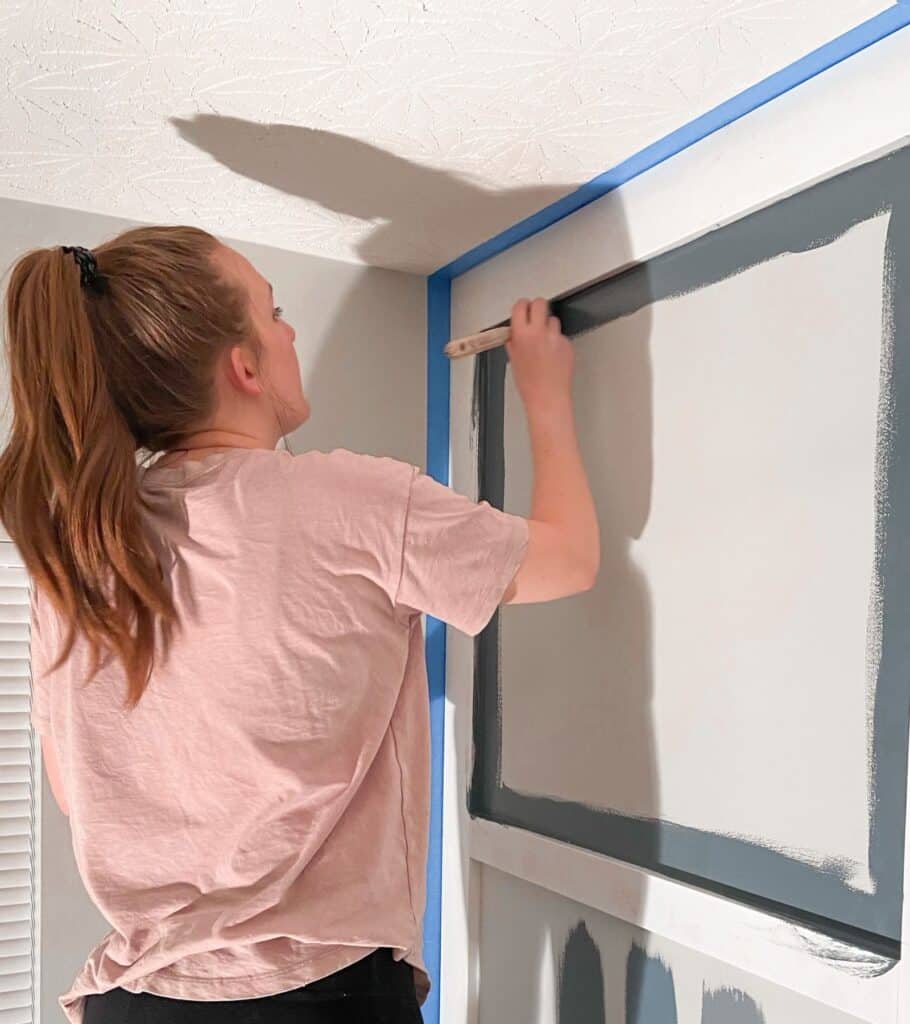
Once your caulk has completely dried, use your painter’s tape to trim around your wall so you don’t get any paint where you don’t want it. 🙂
You should have your paint color picked out by now, so it’s time to go to work. Grab your paint brush and roller and begin to paint your wall – boards and all! It’s best to start on the edges with your paintbrush, then use a roller for the larger surfaces (tops of boards and between boards).

The accent wall will need two coats, just like any other wall you’d paint.
It’s helpful to have a lot of light in the room coming from multiple angles because the boards tend to create shadows. Shadows can sometimes make it hard to see areas that need to be touched up. So be sure to check all angles before putting that paint away! I like to move my work light around the room as a final check.
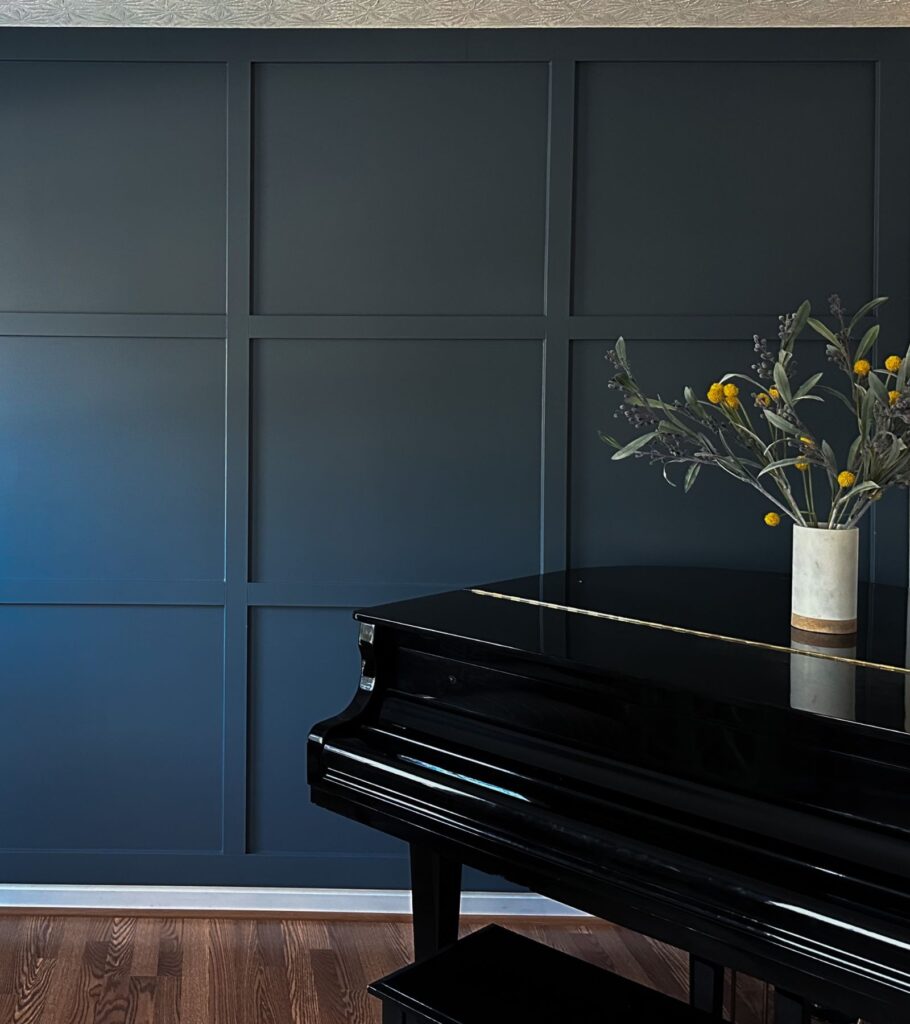
Your beautiful board and batten wall is complete! Pat your DIY self on the back! 🙂
DIY Board and Batten Wall Materials Needed:
Here is a complete list of all materials needed for this project.
- MDF Board
- Tape Measure
- Level
- Wood Glue
- Pry Bar and Pliers (Optional if removing baseboards)
- Hand Saw + Miter Box
- Nail Gun
- Nail Popper
- Wood Filler
- Sand Paper
- Caulk
- Caulk Gun
- Blue Tape
- Paint
And just like that, you’ve got yourself a show-stopping accent wall that will not only make your guests jaw-drop, but you’ll experience the same thing each and every day yourself.
Happy DIY-ing!


Getting ready to do this to my bedroom and this was exactly what I needed to read. Thank you for the great detail! Question – I have my bedroom painted but adding the boards. Is it bad to pain the boards separate and then put on? Or should I put them up and just repaint everything?
Fantastic description of your work. Very detailed. I’m going to do my bedroom wall which comes to a V at the center of the wall. Therefore I will be doing some diagonal boards on my wall. Your article will help me to draw it out on paper first. I hadn’t thought of that. Thank you so much for giving us such a detailed check list. Continue your good work.
This was the best description of any project I’ve ever read. Thank you so much for your help! I’m excited to get started. I want to do pretty much the same thing you did. I do have one question though… How important is it to glue the wood on first? Wouldn’t nails just be enough?
Thank you so much Rebekah! I’m happy you found this post helpful. 😊 I do find that a combination of both glue and nails is necessary for securing the boards to the wall. The reason is that if you were to only use nails, drywall tends to be a little crumbly and only holds nails loosely on their own. The boards could potentially be pulled away from the wall – which is where the glue helps out. If you were to only use glue, then there can still be small gaps between parts of the board and wall – which is where the addition of nails helps out. I have completed a couple of board and batten walls for friends and family and have personally always used both.
Good luck on your project – I hope it turns out amazing! 😊 -Alley
Love it! What is the paint color?
Thank you! The paint color is called Calligraphy by Behr. I got it in a satin finish. 😊 -Alley
Love your design and spacing, can you share the horizontal spacing you ended up using in this project.
Thank you so much! The spacing between my horizontal boards on this project is 27 inches. Just for reference, the spacing between my vertical boards is 32 inches. I hope your project turns out amazing! 😊 -Alley