The below post may contain affiliate links. This means we will receive a commission if you purchase through our link, with no extra cost to you. As an Amazon Associate we earn from qualifying purchases. Read our full disclaimer.
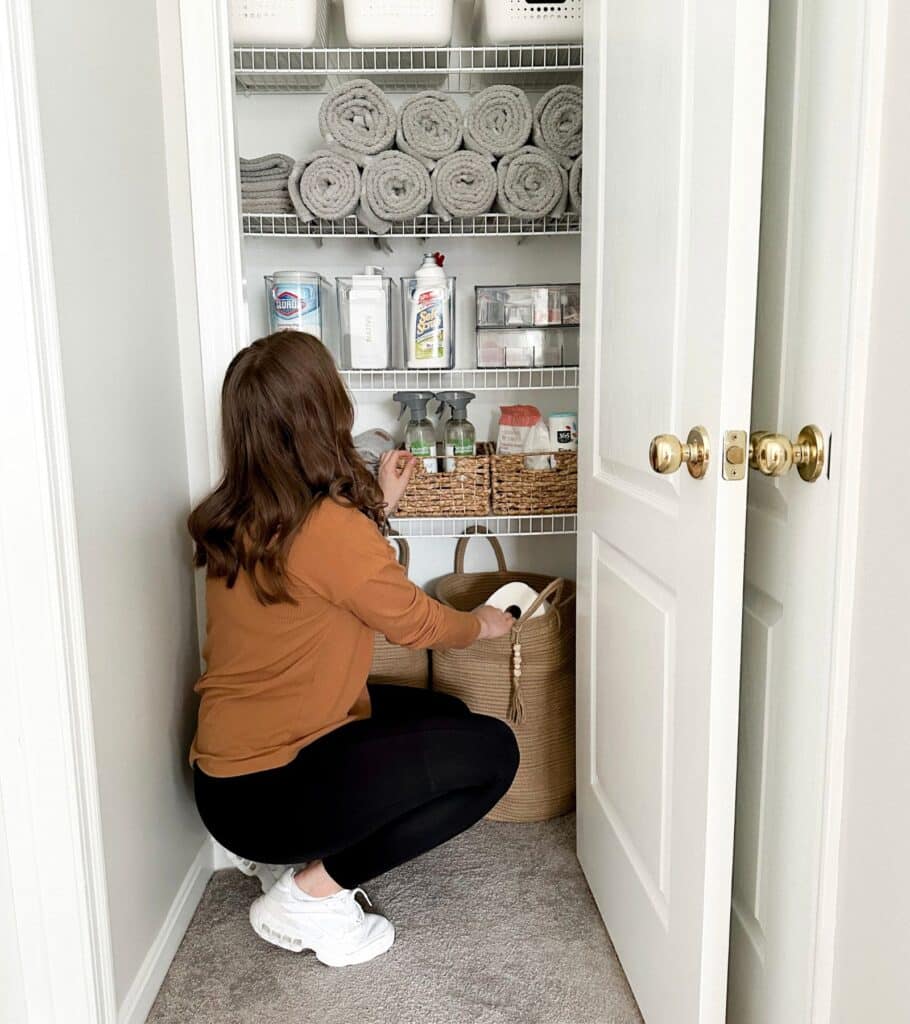
Each time you open the closet door, do you instantly say to yourself “Ugh I really need to organize this closet”?
Well, today is the day! We are going to do this thing!
When I organized my own closet, it felt SO much better. You know you’re an adult when that makes you feel better lol. But in all seriousness, it does feel like a weight is lifted off your shoulders. Because every time you pass that closet that used to be a catch-all for anything that needed a home, it’s now beautifully organized!
So, how do you organize a bathroom closet? I’ll be covering:
- Step-by-step on how to organize a bathroom closet
- The best organization products for your bathroom closet
- What should be stored in a bathroom closet
- Tips for organizing bathroom closet
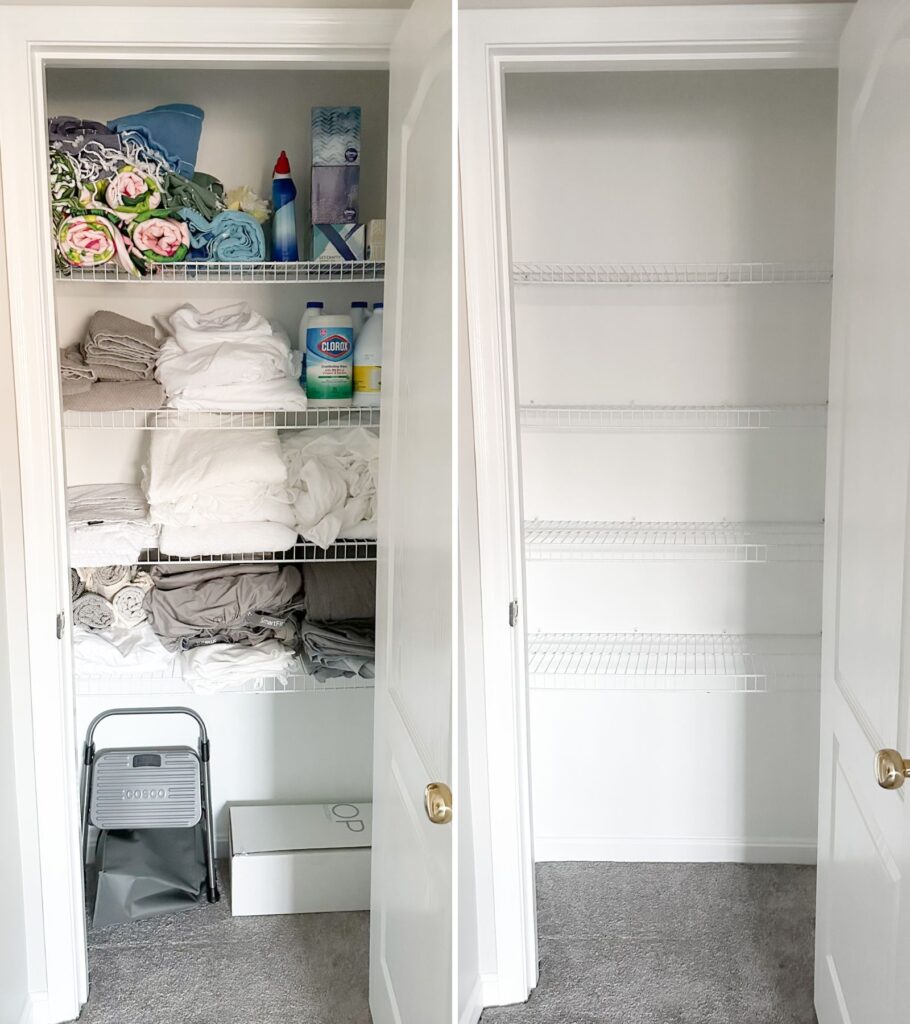
1. Take Everything Out!
When I say take everything out, I mean EVERYTHING! Towels? Out. Baskets? Out. We want it all out because we want to start from scratch to get the perfect organization for your bathroom closet. Working with a clean slate will make your life SO much easier, trust me!
2. Cleaning Time
Now I’m not going to make you confess exactly how long it’s been since you’ve cleaned inside your closet (mine was *cough cough* 3 years). But I am going to highly recommend you deep clean it!
Grab your duster, vacuum, all-purpose wipes, and/or not limited to gloves (depending on how bad it is), and start cleaning! If you have wire shelving like myself, be sure to get every wire clean. We want it to look sparkling clean and brand new! A completely blank and clean canvas to work with.
3. Throw it Out
A very important step that you don’t want to skip. Get rid of the things you no longer need and are taking up space.
Whether it’s hair sprays, soaps, or even super old towels, now is the time to toss out or donate anything you haven’t used in at least a year.
As far as towels go, this could be the perfect opportunity for you to get new towel sets. New closet, new towels, new you!
A great tip when throwing things out is to make a list in your phone of the items you’d like to replace. Then hop on Amazon and restock!
4. Organize Similar Items into Groups
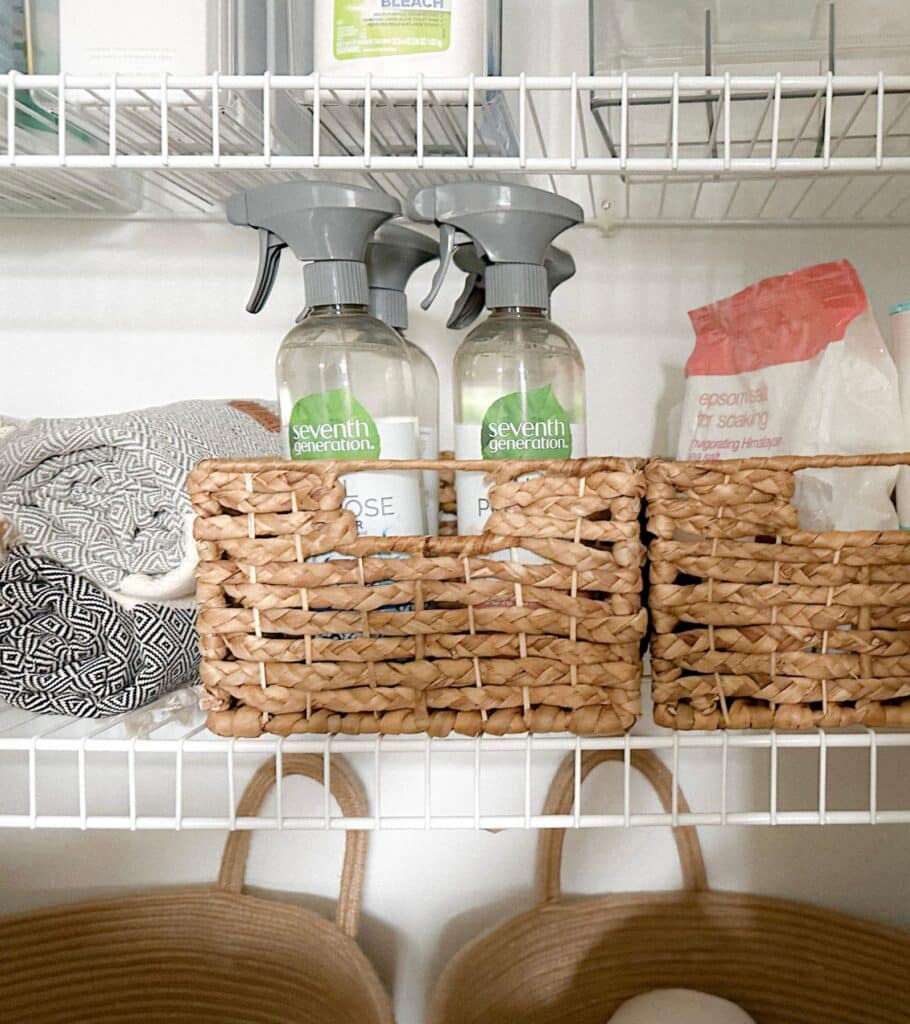
Now that you’ve determined what you want to keep, group those items into sections that make sense for you. Each group of items will live together in organizers that I’ll talk about in a little bit.
Here are a couple of examples to help you with your items:
- Group bath products together such as shampoo, conditioner, and body wash.
- Group first-aid products together such as band-aids, polysporin, and medical tape.
- Group beauty products together like hairspray, dry shampoo, hair ties, and makeup remover.
- Group self-care products together such as face wash, masks, lotions, and cotton balls.
Do this for all products! Even if you have miscellaneous items that don’t seem to belong anywhere else, now they have a home – in the miscellaneous section. 😊
5. Select Organization Products and Plan
The most important thing to do before selecting your organizational products is to measure.
Grab a tape measurer and get the measurements for the height, width, and depth of your shelves. A lot of the organizers I’ll list are amazing products, however, to be amazing they need to fit in your space!
Tip: Check out the product descriptions for each organizer to see the dimensions and make sure it fits in your space.
So how do you select organization products for your different groupings? Well, it’s really up to you! If you have taller items like shampoos and conditioners, a tall plastic container might be your best bet.
For smaller items you don’t want to see, a small closed basket with a lid will be good in this scenario, like the Nordic Basket.
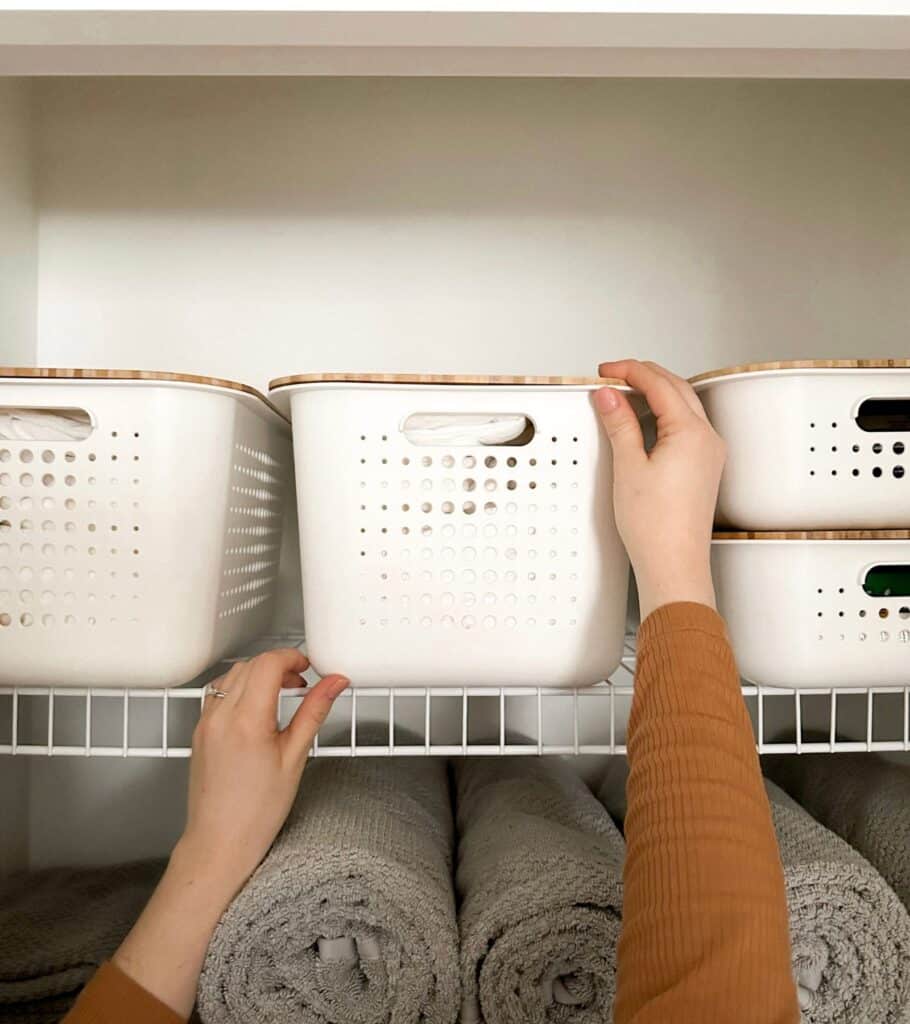
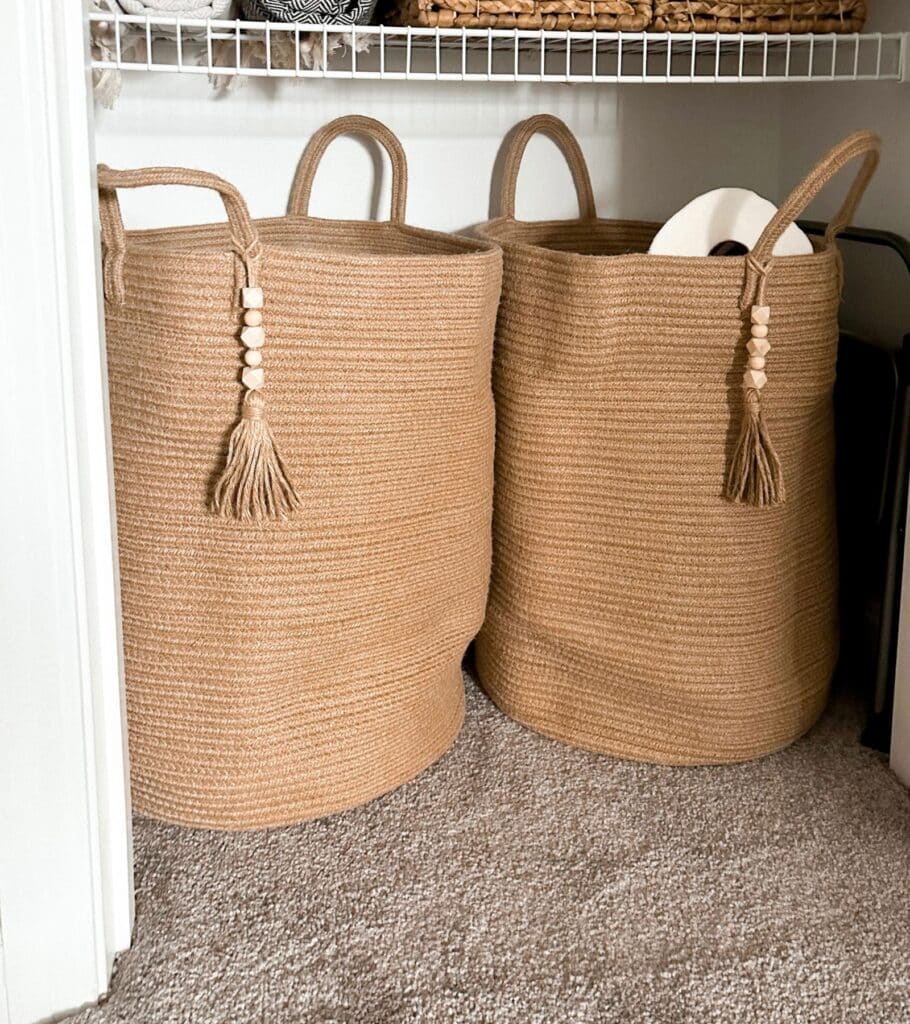
Do you want to have visibility to your items? Then go with a transparent or plastic organizer. Want to store toilet paper in one place without being seen? Buy a nice big basket!
The options are truly endless. Keep reading to see the absolute BEST organizers for your bathroom closet.
Plan
It’s also important to plan a little bit, whether it’s drawing it out on a piece of paper, or simply thinking about what makes the most sense. Once you have your products selected, you’re going to need to make sure it’s all going to look good and will actually piece together in the end.
Sure you can buy a million Nordic Baskets, but in reality, you might only be able to fit a couple in your bathroom closet. That goes with any organizer.
That’s why it’s so important to measure and have a rough idea of exactly where all of your organizers will go in your closet!
When you have all of your organizers, you can place them in your closet (empty without any products), just to see how things will look.
6. Final Step: Set Up Your Closet!
It’s officially time for all of this work to pay off!
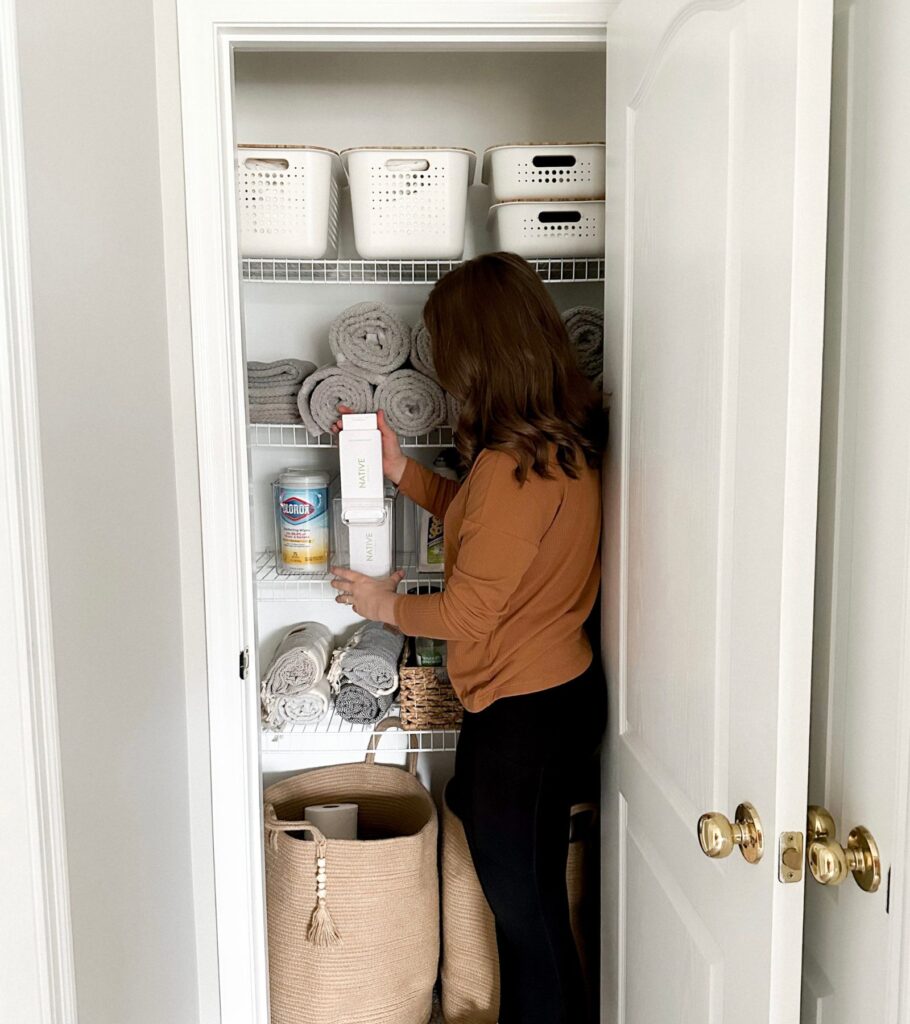
Now that you have all of your organizers, and know where you want to place them, start to put your grouped items into their new homes. Once you have neatly filled up your organizers, you can use your plan from the previous step and begin to place your organizers into your bathroom closet.
You may decide to take a slight detour from the original plan and that’s okay! Sometimes it’s easiest to organize in the moment, once you have your tangible items in front of you, and truly think about how/when you’ll be using them.
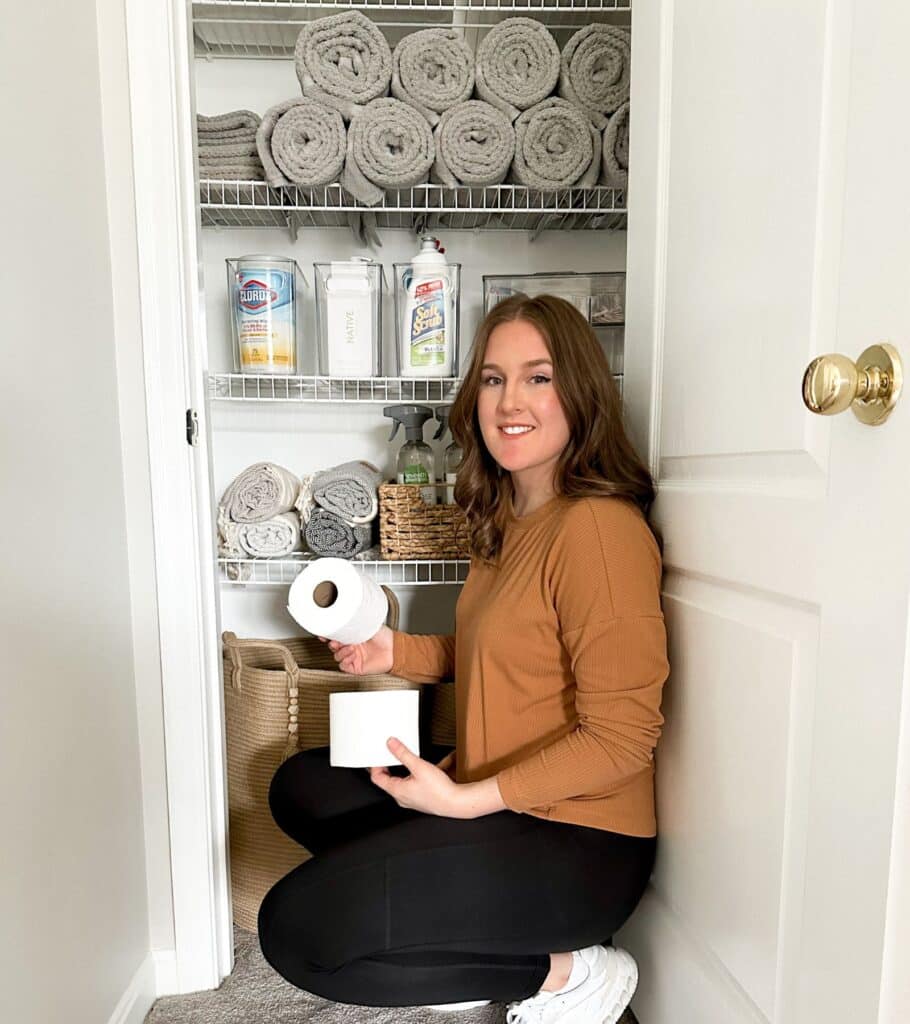
Congrats! You now have a beautifully organized, and not to mention clean, bathroom closet. I told you we’d do this thing! 😉
My Bathroom Closet Organizers
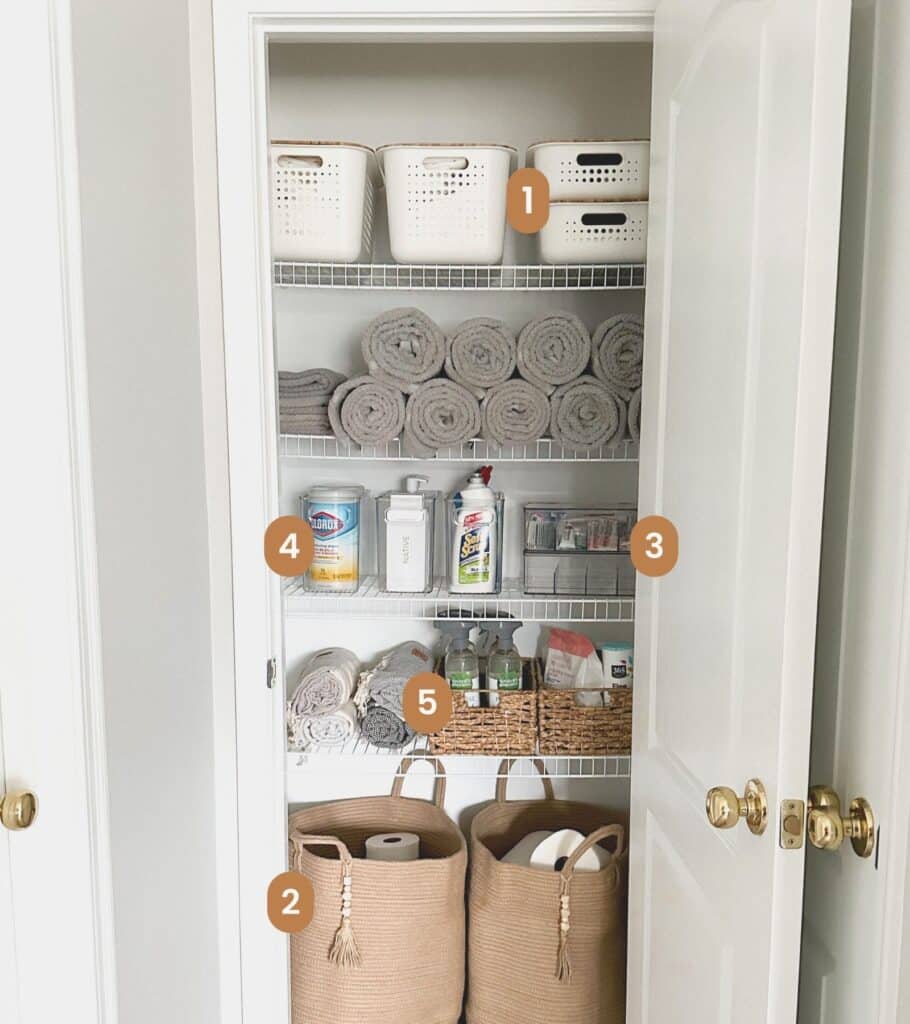
- Nordic Basket and Lid 2. Goodpick Wicker Basket 3. mDesign First Aid Storage 4. mDesign Tall Storage 5. mDesign Water Hyacinth Basket
Extra tips for organizing your closet
With closet organization, you have to do what is best for you, and what I do might not work for everyone. There are a million different ways you can organize your bathroom closet. Here are several extra helpful tips!
Labels
Depending on who you are, labeling can make or break your closet organization. Especially if you have a lot of organizers. By adding labels, you take away the 10-minute frustration of going through each and every container. We all know it will always be the very last container you look in that will be the one you need!
Nordic Baskets have specific labels that you can buy for them, which are super nice.
Otherwise, you can try something like this and just put these labels on the outside of all of your organizers!
Transparent vs Solid Organizers
I personally love a nice clean look, with a few transparent organizers mixed in depending on what’s going in them. You can choose to go all solid or all transparent – or a mix of both.
If you’re someone who likes to know where everything is immediately without fooling around and don’t want to go the label route, transparent organizers might be better for you!
Take items out of the packaging
It’s easy to take products out of their packaging to maximize your storage.
An example is band-aids… In my first-aid organizer, I have all of the different-sized band-aids separated out and in their own little cubbies.
Prior to this, I would just buy the variety box of bandages and would spend forever trying to find the size I needed lol. And then I have to remember where I put the polysporin?? Not anymore! Everything lives in that first-aid organizer!
If you have boxes of contact solution, packages of toilet paper, etc., do yourself a favor and take them out of the packaging for easier, more convenient, and more efficient storage! It’s that easy.
Other Posts You Might Like:
Leave a Reply