The below post may contain affiliate links. This means we will receive a commission if you purchase through our link, with no extra cost to you. As an Amazon Associate we earn from qualifying purchases. Read our full disclaimer.

Today, we’re going to talk about chair rail installation, the height of chair rail, as well as a few other tips to follow during the process. You’ll be happy to hear that it is a very simple, DIY-friendly project.
Chair rail, especially when it’s tied in with picture frame molding, is an absolutely stunning addition to any room. Get ready for your room to be a showstopper!
Once you’ve knocked out your chair rail, be sure to check out my complete step-by-step on DIY Picture Frame Molding.
Tools Needed For Chair Rail Installation

- Chair Rail Molding (Choose your style. We with with “EverTrue 3/8-in x 1-1/4-in x 8-ft Unfinished White hardwood 589 Chair Rail Moulding“)
- Miter Box (or Miter Saw if you already have one!)
- Brad Nailer – nail gun (can rent from Home Depot!) + 2-inch brad nails
- Tape Measure
- Pencil
- Level
- Wood Filler and Sandpaper (120-grit)
- Paintable Caulk and Caulk Gun
- Paintbrush and Paint
How to Install Chair Rail
1. Measure Your Walls

First and foremost, before you do anything, measure your walls to determine how much chair rail you need.
Take your tape measure and measure the width of all your walls in the room where you’re installing chair rail. Even if you have a small space between windows or a tiny wall next to a door opening, no wall is forgotten! The chair rail will be installed on it all, so measure it all!
RELATED POST: Step-by-Step Guide to Interior Window Trim (That Looks High-End!)
Add up all of your measurements to determine how much chair rail to purchase. I always recommend getting an extra piece just in case you need it. If not, you can always return it! 🙂
2. Cut Your Chair Rail

When it comes to cutting your chair rail, you should really only need to make corner cuts and cuts to make your trim shorter, depending on the wall.
Chair rail trim is typically thick enough that you are better off using a miter box than miter shears. While miter shears are perfect for cutting thin, dainty box trim, a miter box is going to make life simple! Don’t be intimidated, they are VERY easy to use and relatively cheap. And if you have a miter saw, even better!

- Using your measurements, grab your tape measure and make a pencil mark on the trim piece where you need to cut. I like to do this on top of the trim for the next step.
- Set your chair rail in the miter box so that it’s standing up. Pretend the box wall is your actual wall – that’s how you’ll know you positioned it correctly for corner cutting.
- Find the 45-degree notch on the box – this is the angle at which you’ll cut your chair rail corners.
- You’re cutting an inside corner – position the trim in a way so you’re correctly cutting a right or left inside corner.
- Cut your chair rail with your saw!
When using a miter saw, simply set your saw to 45 degrees and cut!
If you need to shorten a piece of trim, simply lay the trim piece flat in the miter box and use the center notch to saw right through the middle. When measuring from a cut corner, ensure you’re measuring from the longest part of the corner (the back of the trim piece).
Alley’s Pro Tip: I like to cut one piece of trim, install it, and then measure for the next piece of trim. That always helps me get EXACT measurements and the tightest corners with minimal gaps.
3. Install Your Chair Rail on the Wall

By now, you should know how high you want your chair rail on the wall. If you need help determining the height of a chair rail, I’ll talk more about this in a bit!
Also, you may want to paint your trim before installation…see step 6 if you fall into that category!
- Start in one of the corners of your room.
- Make a horizontal pencil mark on the wall to indicate how high you want your chair rail.
- Align your chair rail trim with the mark you made.
- Use your level to ensure your piece is PERFECTLY level. This is super important and will set the foundation for the rest of the room. If you have a friend or significant other nearby, they can make this step a bit easier! If not, blue tape can help hold the trim further down.

- Grab your nail gun (and 2-inch brad nails) and put a nail close to the corner.
- A nail every 2 feet or so should do the trick, always nailing in close to the corners.
- I personally recommend and prefer always installing nails into studs where you can. Buy a cheap stud finder and mark your wall with a pencil. This is where you’ll install your nails!
- I personally recommend and prefer always installing nails into studs where you can. Buy a cheap stud finder and mark your wall with a pencil. This is where you’ll install your nails!
- As you move down the trim piece, continue to use your level to ensure you stay level the length of the trim.
- Repeat around the room!


It’s important to note that no two walls are the same height or perfectly level. So the measurement from your floor to the chair rail could be slightly different from one wall to the next, or even along the same wall.
As long as you stay level the whole way around, this shouldn’t be an issue. If it makes you feel better, because it made me feel better, haha, I used my level to draw a light pencil line around the whole room. As long as my trim piece mostly straddled that line, I felt good!
4. Fill Nail Holes with Wood Filler
You’re going to want your finished product to look professional, and like it’s always been there. One of the finishing touches we need to do is fill those nail holes with wood filler!
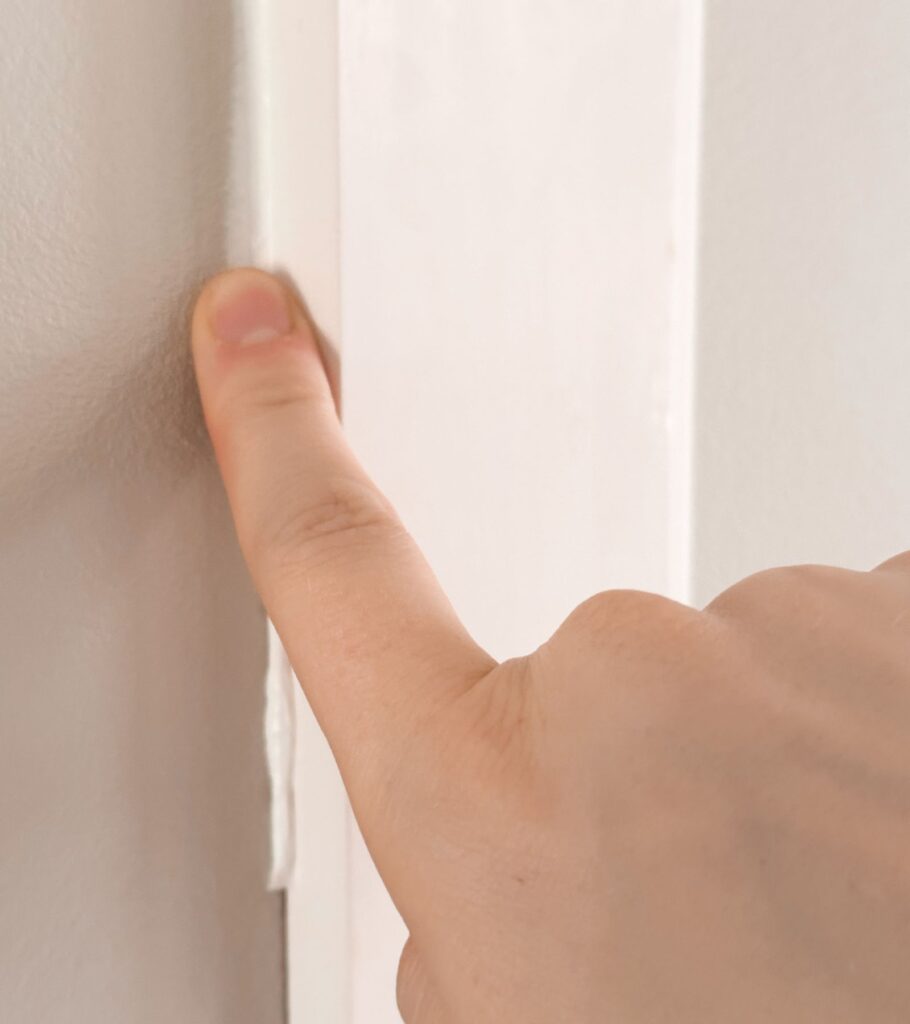
- Put a little bit of wood filler on your finger and fill the nail hole.
- Wait for it to completely dry.
- Sand away the excess filler with 120-grit sandpaper.
- Repeat on each nail hole!
Once you get through this step, it should look like there were never nail holes – your trim is magically holding itself to the wall! 🙂
Just be sure to use enough wood filler on each hole that it truly covers it up. It’s better to use more than less. And if you find yourself needing more, there’s no harm in repeating this step!
I’ve used plenty of different wood fillers, and Gorilla Wood Filler is by far my favorite just because it’s the easiest to work with! I highly recommend that for your project!
5. Caulk Your Corners and Joints
In addition to wood filling nail holes, this part is the cherry on top of giving your chair rail that professional look!
Does your project involve wallpaper above the chair rail? I recommend not caulking the top of your chair rail in this case because it will be very difficult to caulk along the wallpaper AND paint it in the next step.
- With your caulk and caulk gun, draw a bead of caulk along the edges of the chair rail.
- Dampen your finger and slowly smooth out the bead.
- Wipe the excess caulk from your finger onto a paper towel.
- You can do this step in sections until you’ve caulked the top and bottom of your chair rail!

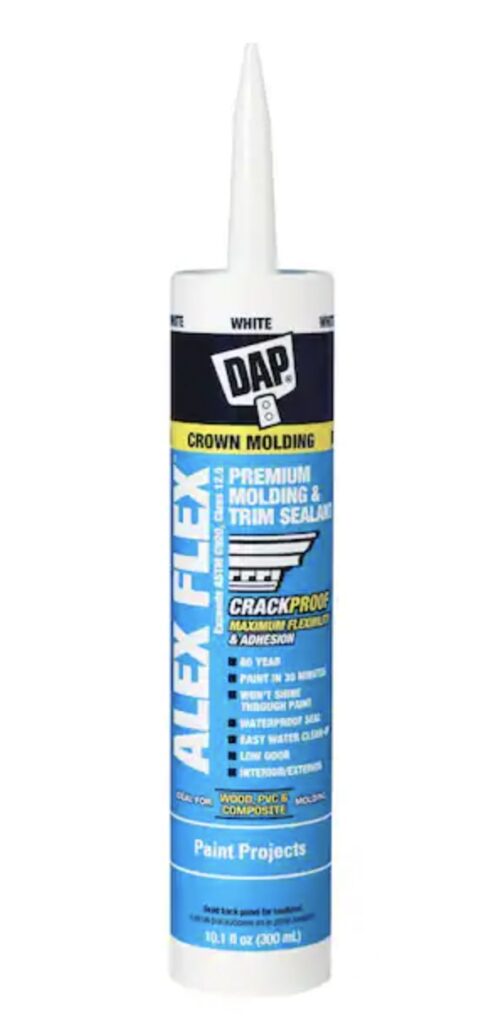
DAP Alex Flex paintable caulk is my go-to when it comes to paintable caulk. You will definitely want to make sure you’re buying paintable caulk so you can paint it your desired color!
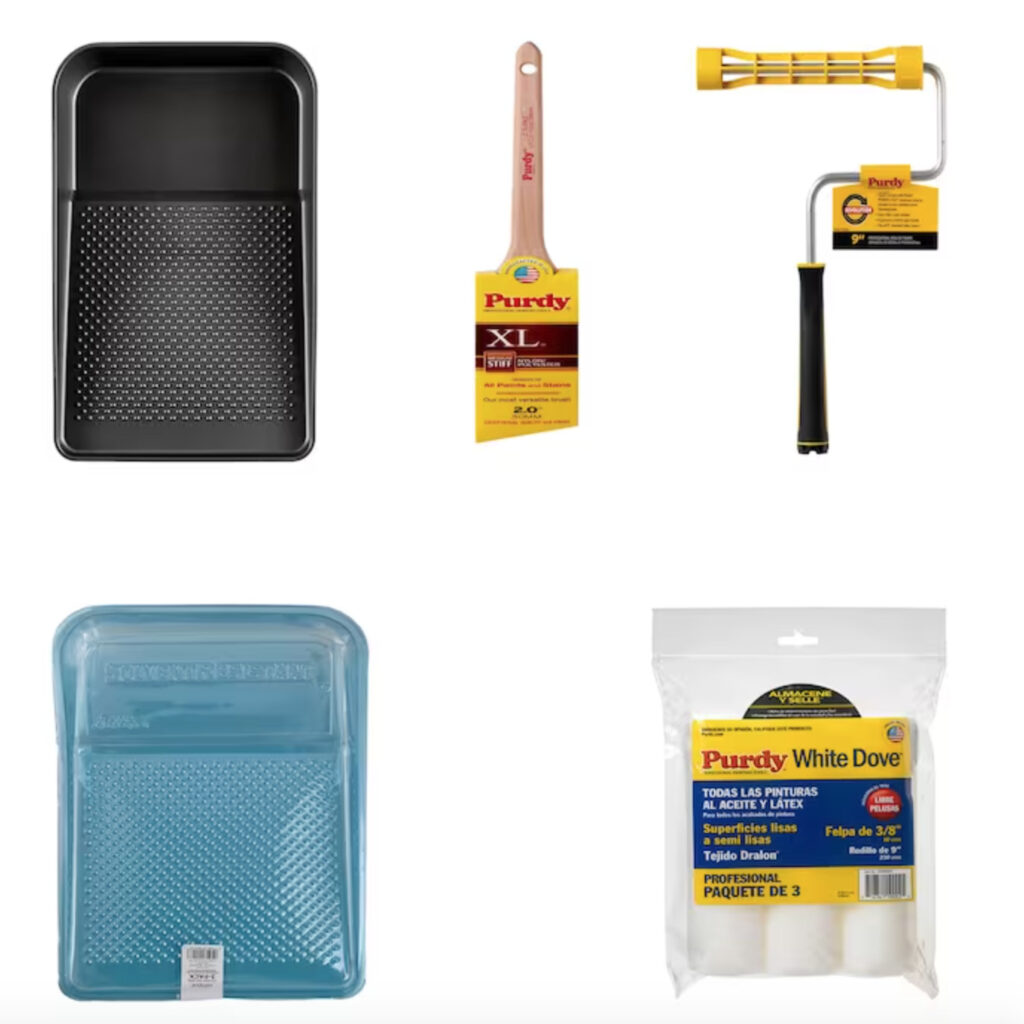
6. Paint/Touch Up Your Chair Rail
Finally, the moment we’ve all been waiting for…painting!

Now, depending on your situation, this step can come directly after cutting your trim. Why? Well, if you’re in a similar boat as me, where the chair rail is going to be the division between wallpaper and a color-drenched lower half, painting before installing will avoid accidentally getting paint on your wallpaper.
I was also a little nervous to put painter’s tape on my wallpaper if I waited to paint after installation. You just spent all of that time and money on wallpaper, no need to risk it!
You may be asking, “Alley, but you still have to paint over the wood filler and caulk…what are you thinking?” And that’s a fair point – but I’d much rather take the extra time to fully paint first, and then touch up the nail holes and paint over the caulk than risk messing up the wallpaper!
But anyways, this step is pretty self-explanatory 🙂
Go ahead and paint two coats over your chair rail!
If you like the color I chose, since I personally am OBSESSED, I went with Contented by Sherwin-Williams. It’s a part of a larger list of sage green paint colors that I would definitely check out if I were you!
RELATED POST: The Best Sage Green Paint Colors
How High to Put Chair Rail?
Chair rail height is a flexible measurement depending on your desired look.
The average chair rail height is 32”-36”. Notice I said average and not recommended 🙂

That’s the average range simply because the traditional goal of chair rail is exactly what you’d think, to protect your walls from chairs, especially in a dining room setting where you’re scooting in and out.
This is where you can get some painter’s tape and mark around the entire room to get a feel for how high you want to put your chair rail.
For reference, my chair rail is 42″ tall. I did this for multiple reasons – one of them being because I wanted the painted wall to have a moment of its own, instead of just the wallpaper being the star of the show (even though it really is, haha). This height allowed the wallpaper and the lower half of the room to complement each other well!

Love the way this window trim looks? This is the full step-by-step on how to install gorgeous new window trim.
I also wanted the lower half of the room to be able to peek over furniture. With my settee, piano, secretary desk, etc. I wanted to make sure the lower half was worth it and could still be seen once the room was furnished and styled!
Last but not least, I wanted the room to feel grand and tall…because in reality, this is a pretty small room. The shorter chair rail made the room feel very short. So after experimenting with several heights, I eventually settled on 42″ tall because it checked all of the above boxes, while making the room feel bigger than it really is!
Chair rail installation is SUPER simple! While it can seem intimidating, it’s a project that any DIYer, beginner or expert level, can easily take on. I can’t wait for you to enjoy your beautiful new space!

Other Posts You Might Like:
Wanting to also add beautiful window trim? I’ve got you covered with a full step-by-step
Or wanting to add picture frame molding? Talk about fully elevating your space!


Leave a Reply