The below post may contain affiliate links. This means we will receive a commission if you purchase through our link, with no extra cost to you. As an Amazon Associate we earn from qualifying purchases. Read our full disclaimer.

DIY picture frame molding, box trim…it’s all the same thing and describes hanging trim on the lower half of your wall in the shape of a “box” or “picture frame”.
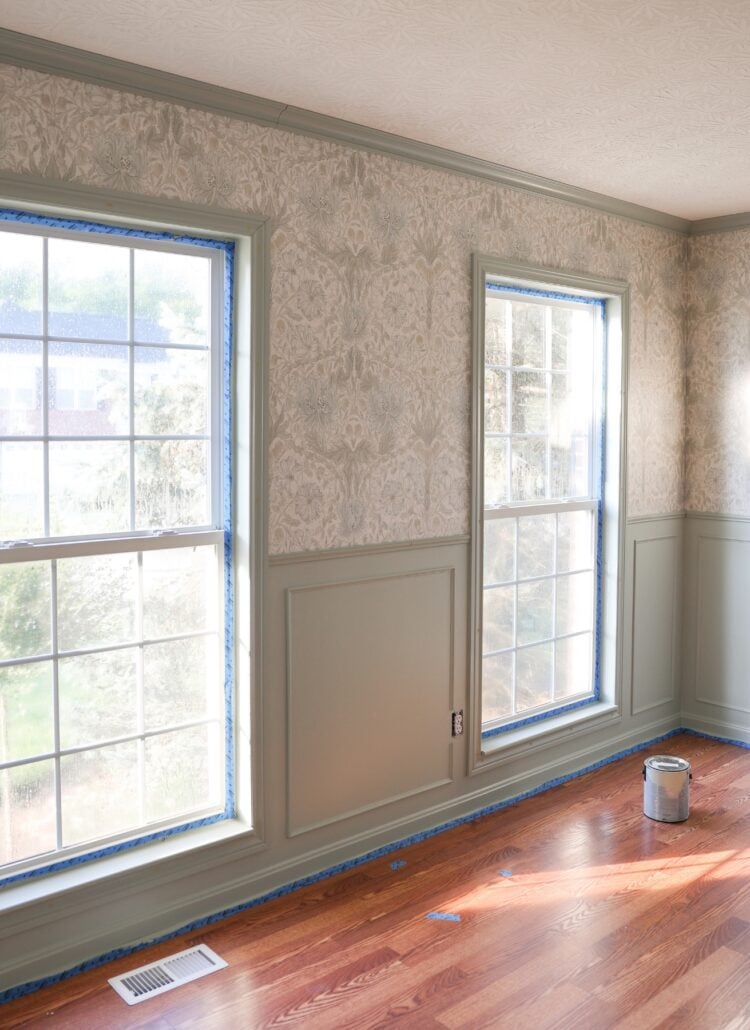
Regardless of what you call it, I’m going to be giving you an ultimate step-by-step on DIY picture frame molding so that you can also take your wall from this…to this!


Picture frame molding is classic and a timeless addition that will be an instant upgrade to any space!
And the best part? It’s actually relatively simple as long as you have the right tools. But don’t be intimidated! Out of all the DIY projects you can do, this is one of the simplest 🙂
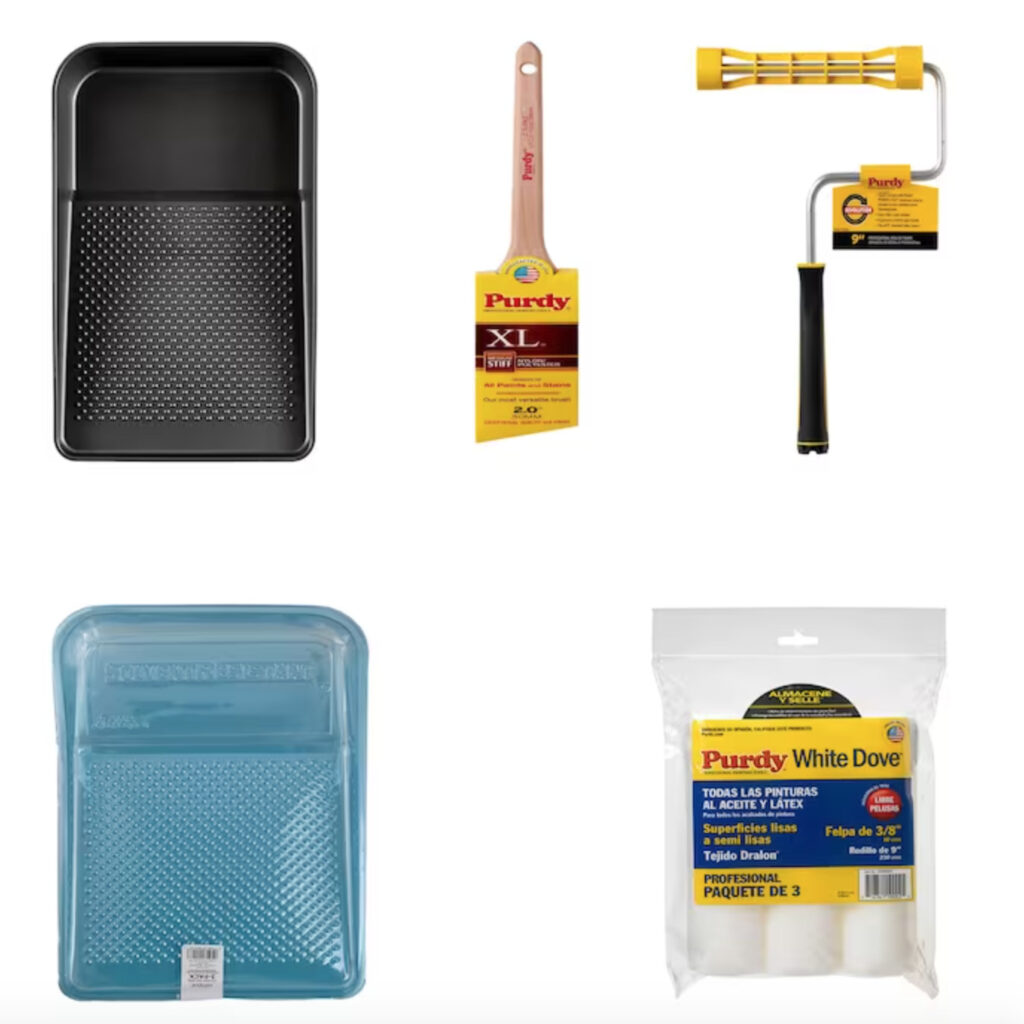
Tools Needed
- Wood Trim/Molding (Choose your style. We went with “Ornamental Moldings 5/16-in x 11/16-in x 8-ft Unfinished Molding“)
- Miter Shears (or Miter Saw if you already have one!)
- Brad Nailer – nail gun (can rent from Home Depot!) + 2-inch brad nails
- Tape Measure
- Level
- Wood Filler and Sandpaper (120-grit)
- Paintable Caulk and Caulk Gun
- Paintbrush and Paint
- Painters Tape (optional)
- Pencil
- A friend/significant other (optional – but will make this process much easier)
How to DIY Picture Frame Molding (Box Trim)
1. Make a Plan
The process of installing picture frame molding is definitely a beginner-friendly DIY project. However, it’s all about starting on the right foot!

Hanging box trim is 90% measuring, 10% installation.
So first things first, make a plan! You need to ask yourself these 3 questions, which will help you come up with your box trim rules:
- How many boxes do you want on each wall?
- How much space do you want between each of your boxes?
- How much space do you want:
- Between your boxes and the edge of the walls?
- Between the bottom of your boxes and the baseboard?
- Between the top of your boxes and the chair rail?
The answers to question 3 should be the same number because it will look best visually!
If you like how my design turned out, my rules were:
- 3 boxes on each wall
- 6 inches between each box
- 3 inches from the edges of the walls
- 3 inches from the baseboard
- 3 inches from the chair rail

I recommend an odd number of boxes on each wall, depending on how wide your wall is. I think in most cases, 3 will be plenty! But for super long walls, you may go for 5. The exception is if you have a small wall to cover (like beside a window, doorway, etc.). Just follow your above measurement rules for EVERY box, no matter the circumstance!


I also recommend that your boxes be wider than they are tall. This will keep your room and walls looking wide and open as opposed to crowded and short.
2. Calculate Your Box Sizes
Once you answer the above questions, it’s time to do just a tiny bit of math to calculate how wide and tall each box should be.
Important: Your chair rail should be installed before this step! Check out Easy Chair Rail Installation for Beginners for all you need to know!

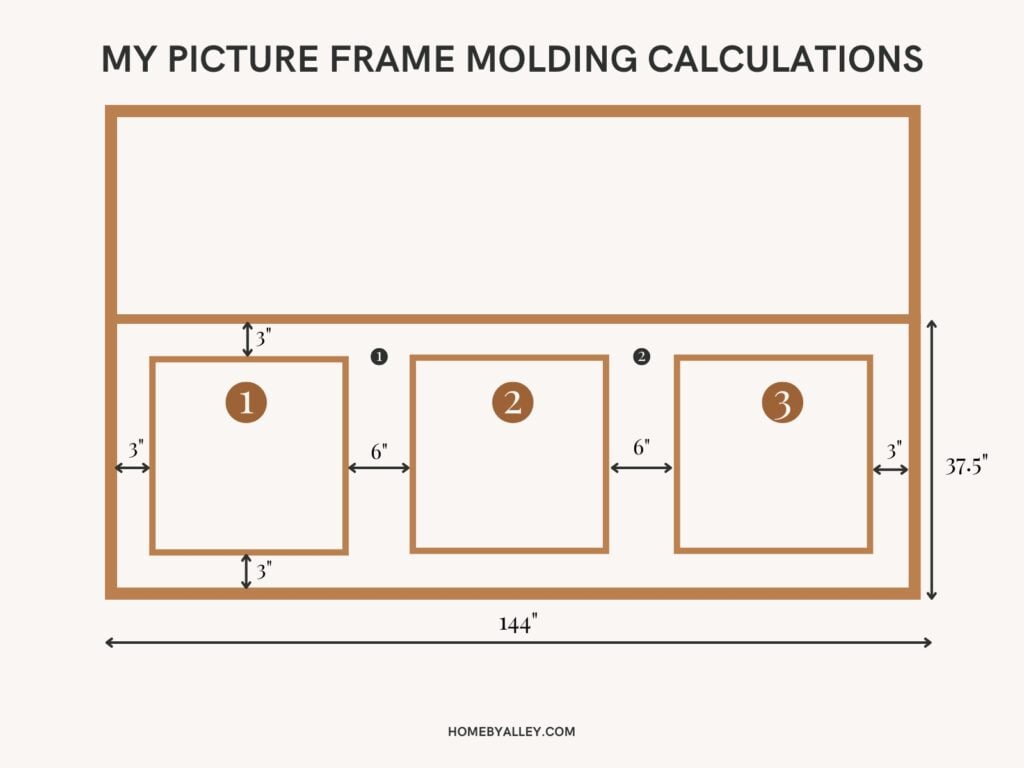
To make this step as easy-peasy as possible, I created a Picture Frame Molding Calculator! All you have to do is enter your box trim rule measurements from above, and it’ll do all of the heavy lifting for you.
Keep in mind during box trim measurements:
- All boxes on a single wall should be the same height and width.
- Your boxes on one wall do not have to be the same width as your boxes on another/adjacent wall.
- The height of all boxes around the room should be the same for visual purposes. No two walls are perfectly level or the same height. So even if the spacing between your baseboard and chair rail has an inch or two difference on another wall, that’s totally fine. Keeping all box heights the same will help with visual consistency and is the way to go!
Don’t forget the Picture Frame Molding Calculator to make life easier!

Box Width Calculation (use inches):
- Begin with your total wall width.
- In my example, that’s 144″.
- In my example, that’s 144″.
- Subtract the total space between your boxes.
- If you have 3 boxes, there will be 2 spaces between them.
- So if each space is 6″, that’s 6 × 2 = 12″ to subtract.
- Subtract the space on the left and right edges of the wall.
- If you went with 3″ spacing here, that’s 3 × 2 = 6″ to subtract.
- If you went with 3″ spacing here, that’s 3 × 2 = 6″ to subtract.
- Now divide the remaining width by the number of boxes desired.
- You have 3 boxes, so divide by 3.
Adjust the numbers based on YOUR box trim rules and wall width!
For us, this looked like 144” – 12” – 6” / 3 boxes = 42” width per box.
Box Height Calculation (use inches):
- Begin with the space between your chair rail and baseboard.
- In my example, mine was 37.5”.
- Subtract the total desired space between the top and bottom of your box.
- If you went with 3” spacing here, that’s 3 x 2 = 6” to subtract.
For us, this looked like 37.5” – 6” = 31.5” height for each box.
Piece of cake, right? Now repeat that for each wall 🙂
Now, if you’re like me, you may want to see a nice visual before buying your trim. Grab your painter’s tape, pencil, and measurements (and level if you’re a perfectionist), and create your boxes on the wall out of tape!


If you love it, it’s time to buy your favorite trim and install your picture frame molding! Buying an extra piece or so is never a bad idea 😉
Now that the Picture Frame Molding Calculator has saved us a TON of time and mental math, it’s time to make your first cuts!
3. Cut Your Trim!
Using a pair of miter shears (or miter saw), you will now cut your trim based on your measurements!

- With your tape measure and pencil, mark your first measurement on the piece of trim.
- Set your miter shears or saw to 45 degrees and make your first cut.
- I ended up using my miter saw for this step since I needed it for crown molding, but IMO it’s just a more complicated way to get the same result!
- Repeat your cuts until you have all of your trim with the correct measurements!

Alley’s Pro Tip: Once a piece of trim is cut, you’ll notice the outer side of the trim is longer than the inside. The length of the outer side should equal the height or width you came up with in the last step.
I like to dry-fit my 4 pieces of box trim together on the ground to ensure the corners are correctly lining up.

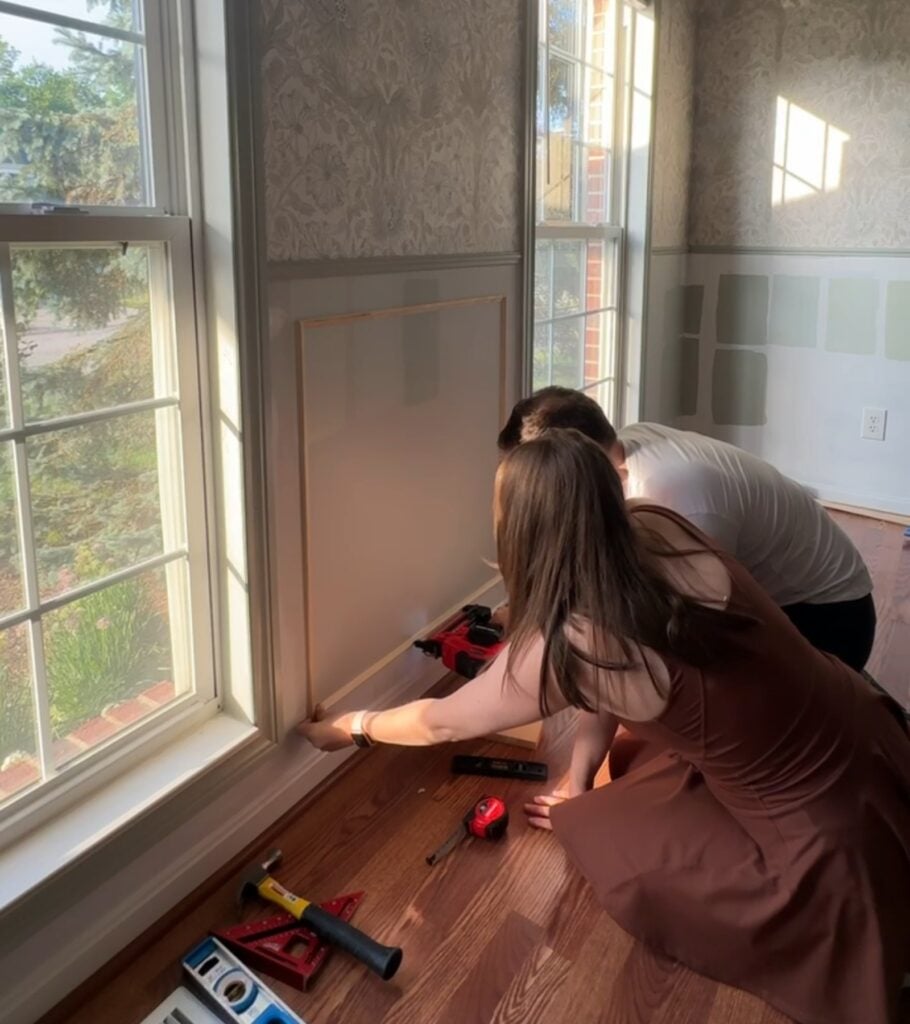
4. Install Your Trim on the Wall
This is where a friend or significant other may benefit you! Optional, but helpful!
Another optional, yet helpful tool during this part is a makeshift spacing block. Essentially, since I knew my boxes had 3 inches of space on top, bottom, and to the edges of the wall, I took a scrap piece of wood and cut a 3” wide block. Every time I went to install a piece of trim, I used this to get my spacing exactly right!

- Pick a wall to start on and begin with the leftmost box. Work clockwise around your room. This will give you a good baseline as opposed to starting in the middle of the wall!
- With or without a spacing block, start with your left vertical trim piece. Measure your desired spacing from the wall edge and make a pencil mark on the wall. Also, ensure that the top and bottom of the trim are the desired space from the chair rail and baseboard – make pencil marks if helpful.
- Hold your trim piece to the wall. Use your level to ensure the trim piece is perfectly level – that is crucial for installing your remaining pieces.

- Grab your nail gun (with 2-inch brad nails) and put a nail close to both edges of the trim. One or two more in the middle should do the trick – depending on how long your piece is!
- I personally recommend and prefer installing nails into studs where possible. Simply buy a cheap stud finder and mark your wall accordingly with a pencil. That’s where you’ll install your nails!
- I personally recommend and prefer installing nails into studs where possible. Simply buy a cheap stud finder and mark your wall accordingly with a pencil. That’s where you’ll install your nails!
- Repeat for the remaining pieces! Just make sure you’re following your box trim rules for EVERY box so your spacing turns out golden!

Alley’s Pro Tip: When using a nail gun, always make sure you’re not holding the trim close to where the nail is about to go in. I’ve personally had it happen so many times where the nail hits something weird and comes right back out the front of the trim! Nail guns are not intimidating, just go slow!
If this happens, the trim is not always ruined! Use a pair of pliers to try and wiggle the nail free.
As long as the corners of your box come together with minimal gaps between the corners, that’s perfect! We can fix that and make it look cohesive in the next step!
5. Wood Fill Nail Holes and Gaps
This step is pretty straightforward 🙂
- Anywhere you have nail holes, fill them with wood filler!
- Anywhere your trim pieces come together at a corner, put a little wood filler over the joints.
I typically just put a little on my finger and work it in.
I LOVE Gorilla Wood Filler – I’ve used a couple different products and feel it’s the easiest to work with!
Once the wood filler dries completely, use your 120-grit sandpaper to lightly sand away the excess. And voila! You now have a seamless, hole-less picture frame molding.
6. Caulk Your Picture Frame Molding
Just like how using wood filler to give your box trim that finished look, caulk really seals the deal!
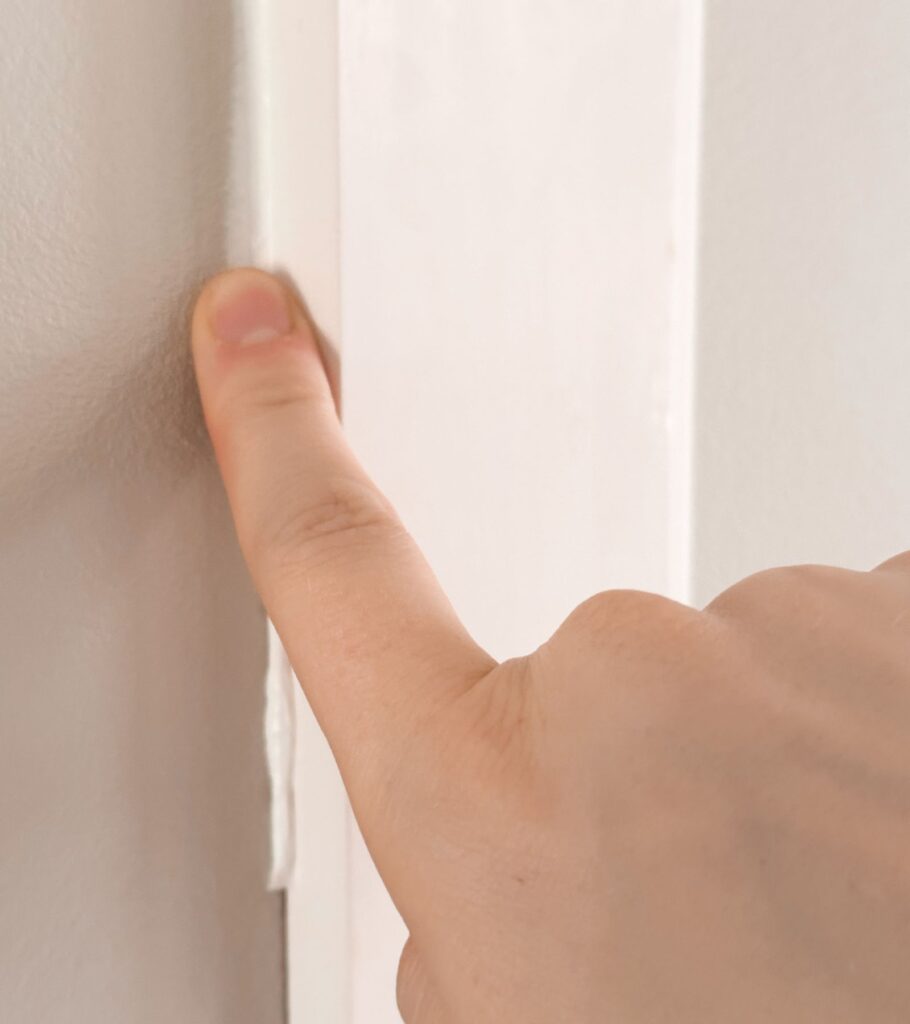
- Using your caulk with your caulk gun, draw a thin bead of caulk along the inside edges of your box trim (where the trim meets the wall).
- Dampen your finger just a bit, and then slowly smooth out the bead – wiping any excess on a paper towel.
- Repeat for the outside edges of your boxes.
- Just do one box at a time!
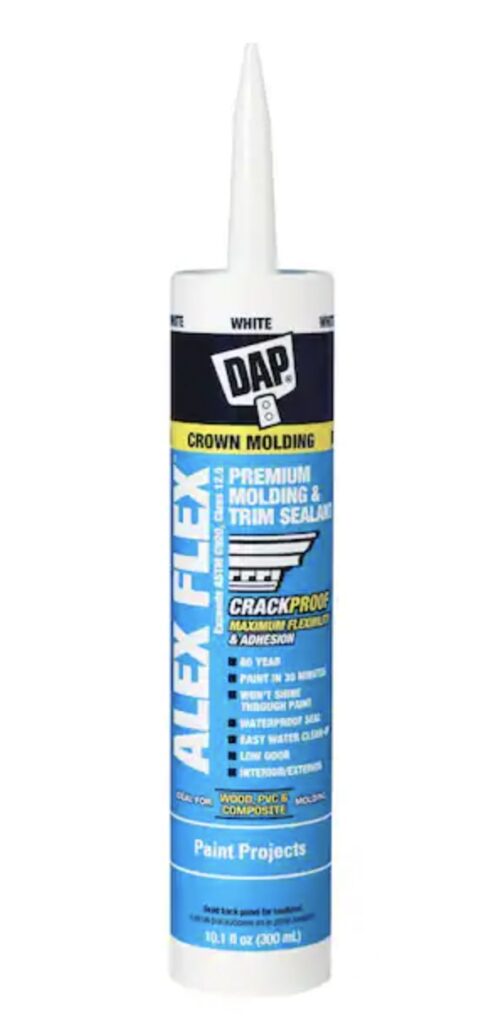
I highly recommend DAP Alex Flex paintable caulk. You will absolutely need paintable caulk, but this product in particular is SO nice to work with!

Caulking will help your picture frame molding look like it’s always been there, like a part of the wall!
7. Paint!

Now for the fun part (and the easiest)! Grab your favorite color of wall paint, a paintbrush, and really make your box trim shine.
Two coats should do the trick.
I went with the color Contented by Sherwin-Williams, and I’m absolutely OBSESSED! So are all of my guests each time they see this room. I couldn’t be happier! If you’re looking for the perfect sage green paint colors, I’ve got you covered.
RELATED POST: The Best Sage Green Paint Colors
And there you have it! 7 simple steps to installing your DIY picture frame molding. Take a step back and enjoy your newly transformed room!
Other Posts You Might Like:
Just want the picture frame molding calculator? I get it! This has saved me so many hours of math!
After your box trim is up, you may be looking at adding window trim or chair rail. Makes sense! These guides will walk you through that process step by step.


Leave a Reply