The below post may contain affiliate links. This means we will receive a commission if you purchase through our link, with no extra cost to you. As an Amazon Associate we earn from qualifying purchases. Read our full disclaimer.

First things first, can you paint IKEA furniture?! The shortest answer: Yes! You can absolutely paint IKEA furniture.
And now that I have answered that question, you’ll want that “how to paint IKEA furniture” tutorial. And I got you covered! I consider myself an expert in painting IKEA cabinets at this point, so you are in the right place.
I’ll break down everything you need to know about painting your IKEA cabinets, what products are most helpful, and what you need to know BEFORE you start your painting project.
Let’s get into painting IKEA cabinets!
Before You Start, You Need To Understand IKEA Furniture

Most IKEA cabinets, like the iconic Billy bookcase, are made out of medium-density fiberboard (MDF) and particle board with a laminate or melamine finish. This type of material works differently from traditional wood cabinetry.
The surface on these pieces is quite smooth and nonporous, which just means that IKEA furniture requires extra prep work.
Think cleaning, light sanding, and using a really good bonding primer like Zinsser Bulls Eye 1-2-3 Primer BEFORE you even think about painting.
Once you do, though, the results will be GORGEOUS.

Benefits of Painting IKEA Furniture:
While IKEA cabinets do take more effort up front, the long-term benefits are SO worth it.
When painted properly, they can look completely custom for a fraction of the price of solid wood cabinetry.
And the long-term benefits are amazing:
- Very affordable
- Smooth surface = professional finish with less visible texture
- Perfect for renters or a budget-conscious remodel
- Easy to swap out the color if you want a refresh later
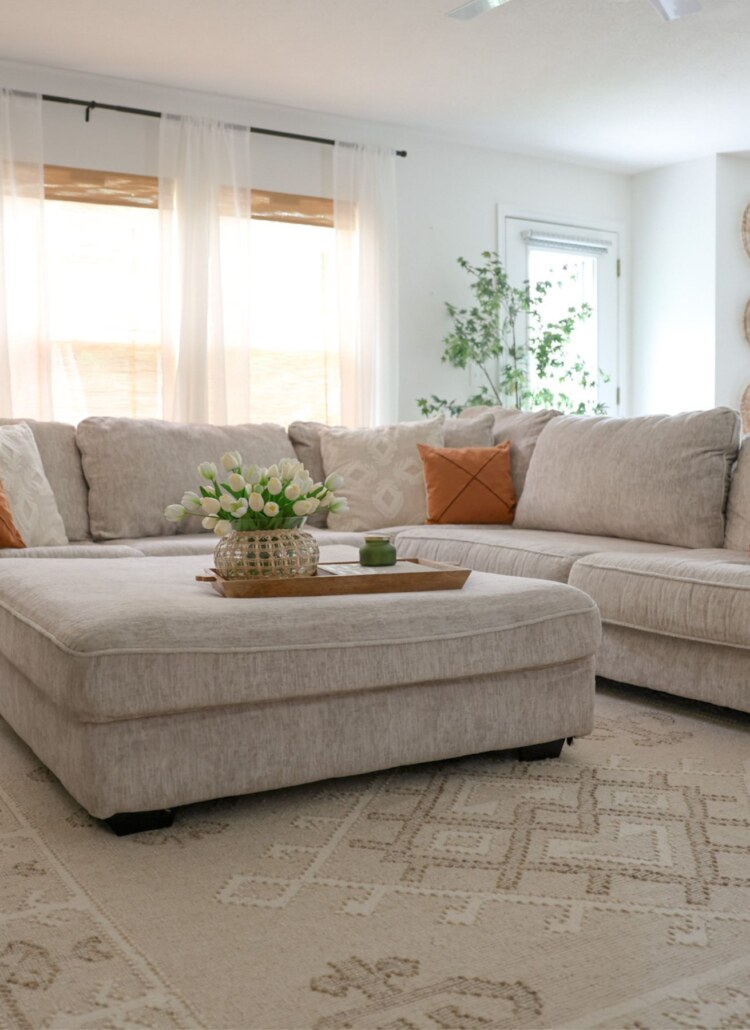
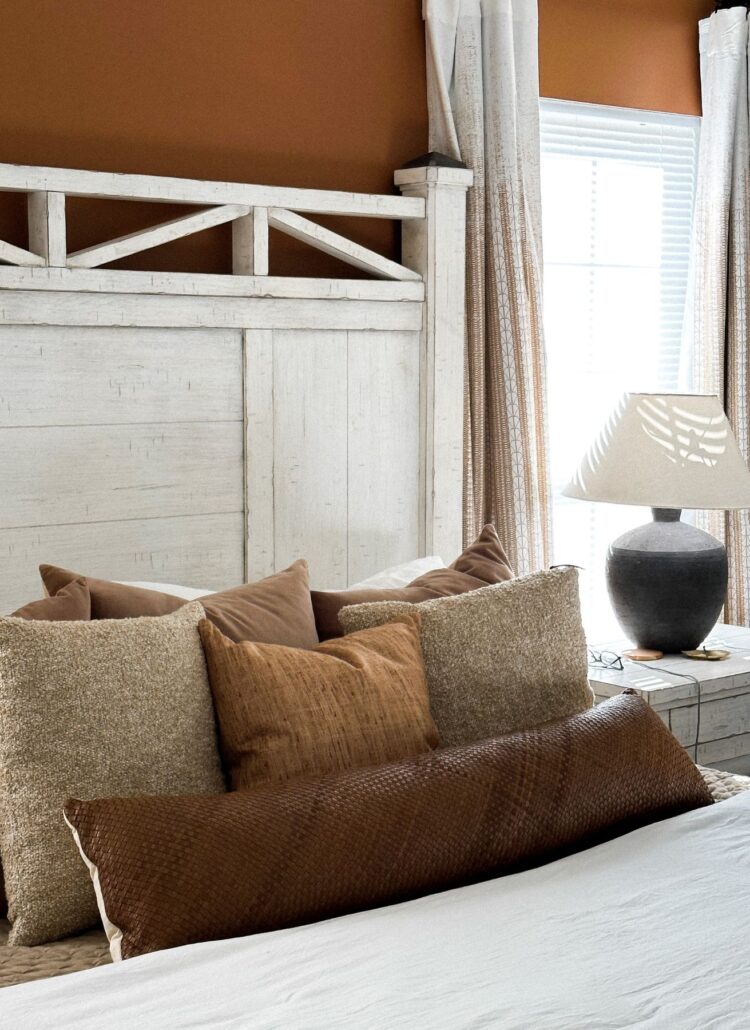
We painted our viral DIY built-in & the results were incredible! For a full breakdown of that dining room IKEA cabinet project, this post goes over EVERYTHING.
RELATED POST: DIY Built-In Dining Room: IKEA Hack (How We Did It)
Painting IKEA Cabinets Step By Step
Let’s get into the how to paint IKEA cabinets breakdown and all the supplies you will need. The process is the same for how to paint IKEA furniture.
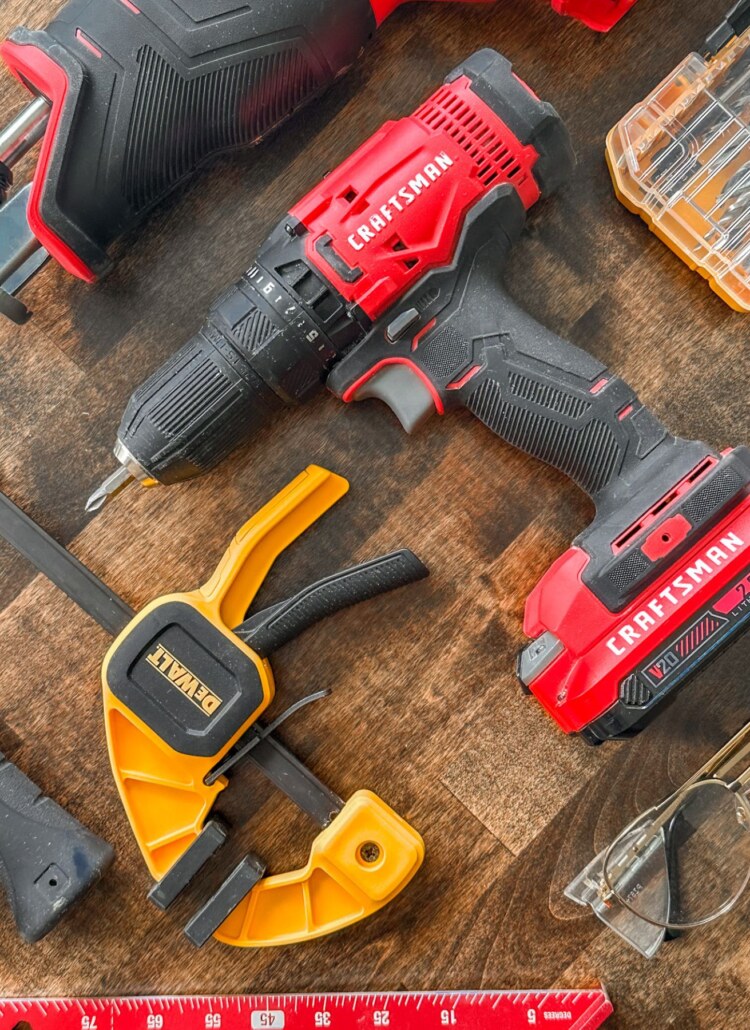
Supplies:
- The best primer paint – Zinsser Bulls Eye 1-2-3 Primer
- Paint Supplies (Paintbrush, Paint Roller, Paint Tray, and Liner)
- Paint – We used Warm Putty (Satin) by Valspar
- Microfiber Cloths
- Polycrylic Clear Satin
- Sponge Brush
Step 1: Sand All Cabinets, Including Doors and Shelves
IKEA furniture comes with a clear acrylic top coat for protection. However, since this is a DIY hack, you will need to sand down the top coat to start with a fresh base.
I know, I know, sanding is the least fun part of your project, BUT it’s super important for long-lasting results.

- Lay down a tarp to collect all of the sanding dust.
- Wear protective gear, like a face mask, when sanding.
- Lightly sand down all surfaces, including your doors and shelves, if you have them, with 120-grit sandpaper.
- If you filled any holes with wood filler, sand those down during this step, too.
- After sanding, grab some wet paper towels or a damp microfiber cloth and wipe down all the sanding dust.
- Vacuum the room where you were sanding. There will be a LOT of sanding dust particles lol.
Side note, don’t sand too hard where you start to see the particle board or natural wood color begin to show.

Should you sand the inside of your cabinets?
I personally did not sand down the insides of my base cabinets, because I didn’t paint in there.
There’s really no need to paint the interior of cabinets that will never be seen unless you want some color in there.
Step 2: Use The Best Primer Paint On All Cabinets
What is the best primer paint for IKEA cabinets? Hands down, Zinsser Bulls Eye 1-2-3 Primer.
- Once all your cabinets have been sanded down, begin priming using a paint brush or roller with Zinsser Bulls Eye 1-2-3 Primer.
- Paint all of your doors and shelves with the primer as well.
- Wait for the primer to dry before moving on to painting.

My Experience with Zinsser Bulls Eye 1-2-3 Primer
I’ve used Zinsser Bulls Eye 1-2-3 Primer on both our DIY IKEA entertainment center in our basement and our DIY built-in. It works perfectly every time.
RELATED POST: DIY Built-In Dining Room: IKEA Hack (How We Did It)
How many coats should you do?
I typically only use one coat of primer. Between the sanding and the coat of primer, I feel pretty comfortable with this prep.
You can always do two coats of primer to be safe, but I don’t think it’s totally necessary if you sanded well enough.
Step 3: Paint Everything

For the moment we’ve all been waiting for – PAINTING YOUR IKEA CABINETS.
- Make sure your cabinets are completely prepped with paintable caulk or wood filler (if applicable).
- Using your paint of choice, paint all of your cabinets with a paintbrush or a small paint roller.
- Wait for your first coat to dry.
- Repeat and apply your second coat of paint.

What paint color did we use on our DIY built-in?

RELATED POST: DIY Built-In Dining Room: IKEA Hack (How We Did It)
We used Warm Putty (Satin) by Valspar on our DIY Havsta built-in cabinets, which is the same paint we used on the door in our laundry room and the half board and batten wall in our half bath. Needless to say, we LOVE this color haha.

Step 4: Seal with Polycrylic
Possibly the most important step: sealing your cabinets with a clear top coat called Polycrylic.
- Using Polycrylic Clear Satin, paint on your first coat of sealer with a sponge brush. I find it easier than a paintbrush, and it doesn’t leave streak marks.
- Wait for your top coat to dry completely.
- Apply a second coat of sealer and allow time to dry.
What makes Polycrlic so great?
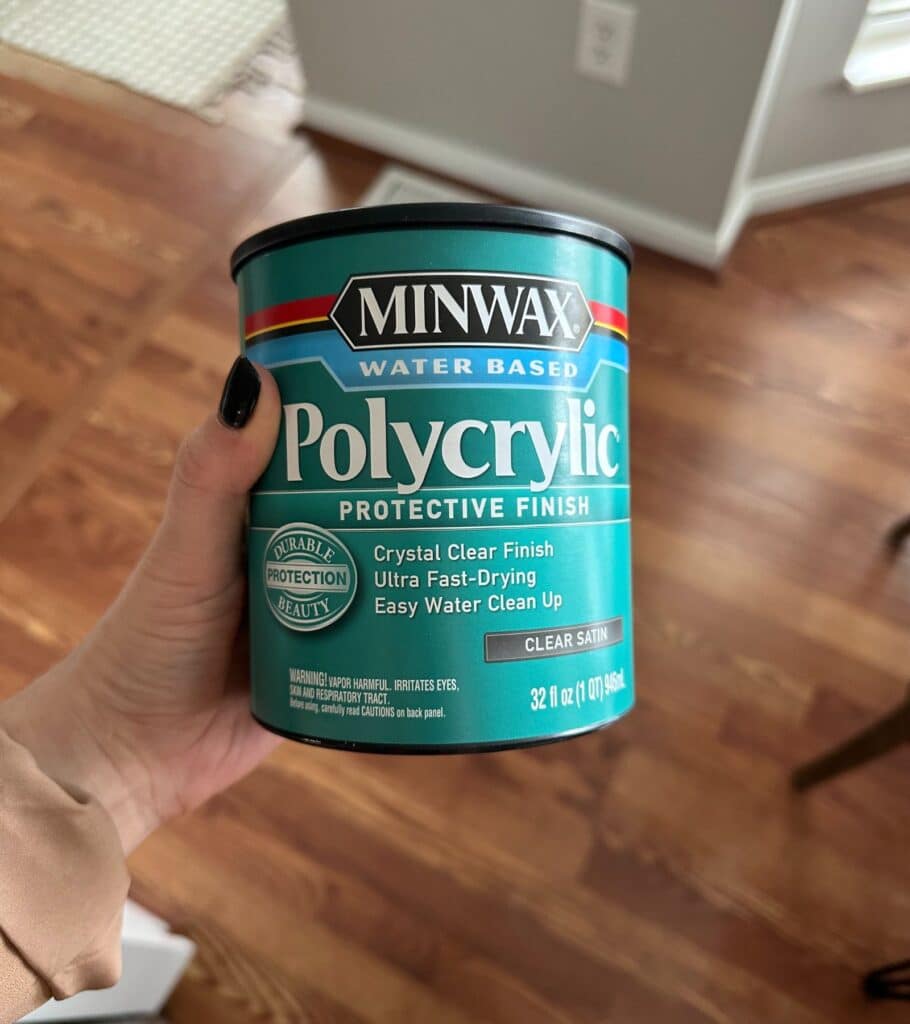

I honestly love it so much that I wrote an entire post dedicated to all of the wonderful facts about Polycrlic. This post is about sealing butcher block; however, you will get a jam-packed info sesh on all things Polycrylic.
RELATED POST: How To Seal Butcher Block With Polycrylic (Why It’s The BEST Sealer)
I use this stuff on ALL of my home projects and absolutely love it! It’s an easy top coat to work with and is perfect for DIYers. I’ve never doubted its ability to protect my work.
Plus, it dries extremely fast! It’s also water-based, so it goes on super clear and won’t alter the color of your paint or yellow over time.
Step 5: Ready For Everyday Use

By now, your IKEA cabinets will be completely sanded, painted, AND protected. You should feel comfortable using your cabinets freely. YAY!
Following the steps above will give you such a beautiful finish and will make your cabinets look completely custom (which they are!).
Just look at how beautiful my built-in turned out using these exact same techniques.


Leave a Reply