The below post may contain affiliate links. This means we will receive a commission if you purchase through our link, with no extra cost to you. As an Amazon Associate we earn from qualifying purchases. Read our full disclaimer.
Let me cut to the chase to alleviate any anxiety you might be feeling – staining butcher block is EASY!
It doesn’t matter whether you’re an expert DIYer or if you’ve never done a project in your life. Once you’ve made it through this post, you’ll know exactly how to stain butcher block with confidence.
Are you staining butcher block countertops? A DIY butcher block desk? A kitchen table? Regardless of the exciting new project you’re tackling, the steps are the same.
But that’s not all we’re going to be talking about in this post! I’ll also be digging into the absolute best stain to use for butcher block…psst it’s Minwax Oil Based Stain!
Now just sit back, relax, and learn how to stain butcher block!
How to stain butcher block (step-by-step guide)
There are only a few steps and a couple of materials needed so you can keep this process as cheap as possible!
Tip: Don’t shake your stain! This will cause bubbles and may impact your finish. Use a stir stick and stir until the color looks even all around!
It’s very, very important to remember, that you need to safely dispose of your staining rags. Why? Because they are highly flammable!
Check out this article for more info: How to Safely Dispose of Staining/Rags Materials.
Material Needed
- Minwax Pre-Stain Wood Conditioner
- Minwax Oil-Based Stain (Your favorite color)
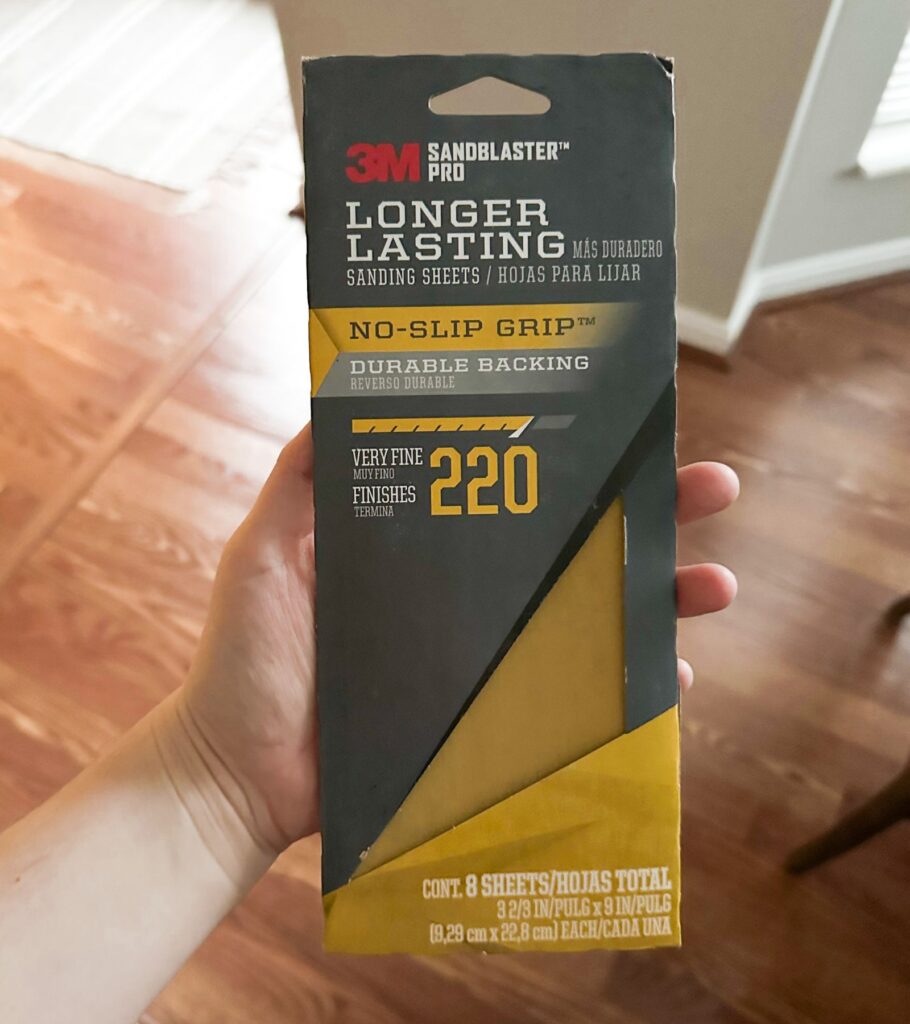
- 220-Grit Sandpaper
- Hand Sander Tool (Optional but will make sanding SO much easier)
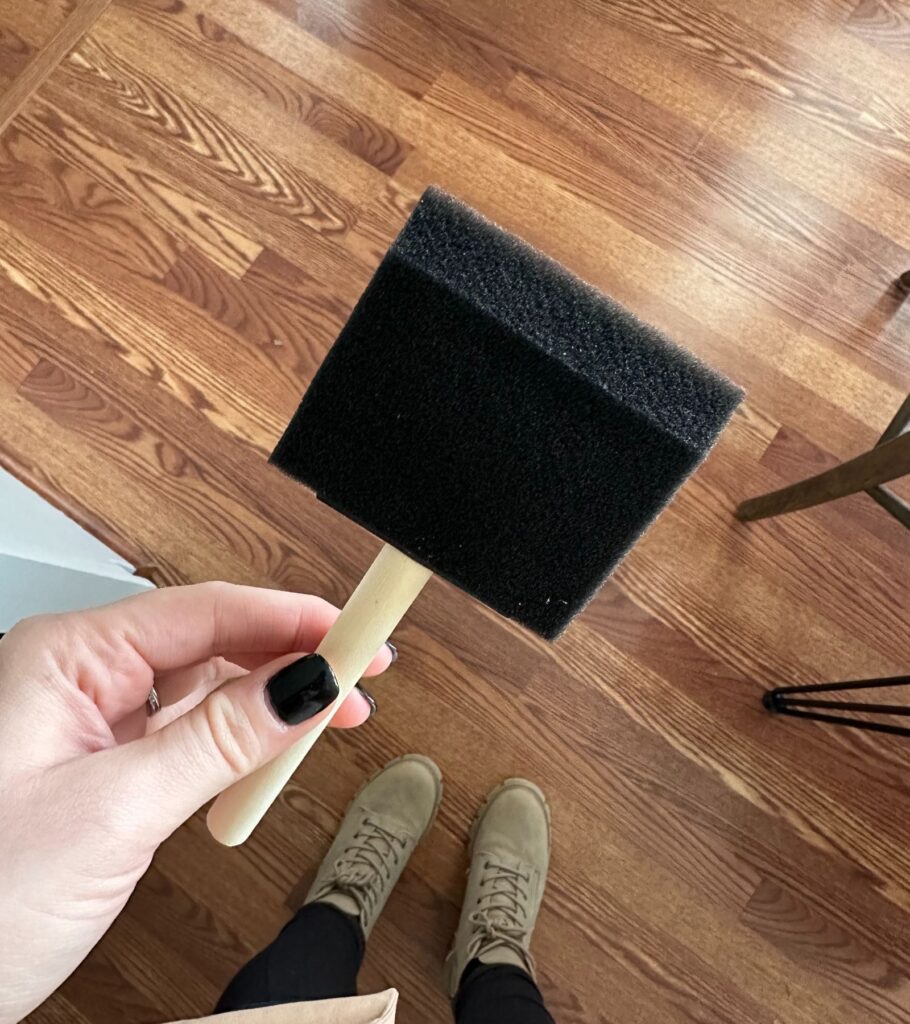
- Sponge Brush
- Microfiber Cloth or Paper Towels
- N95 Particle Masks
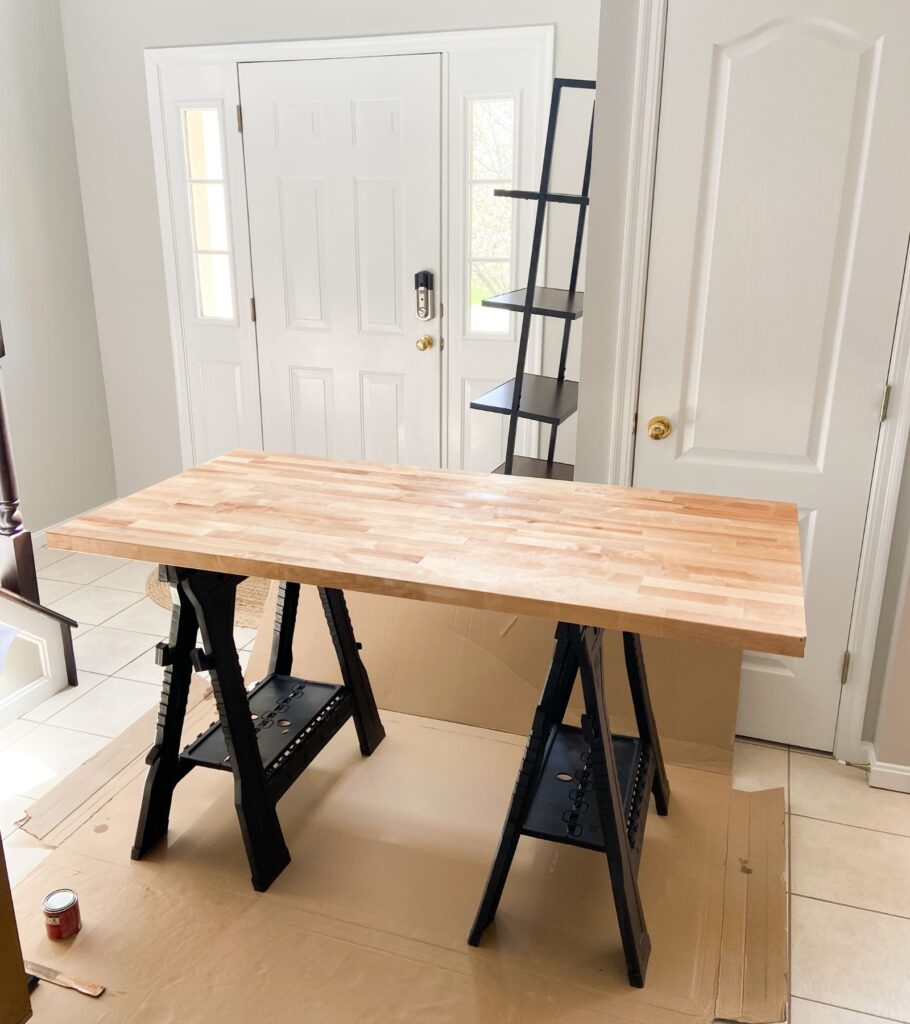
1. Sand Your Butcher Block
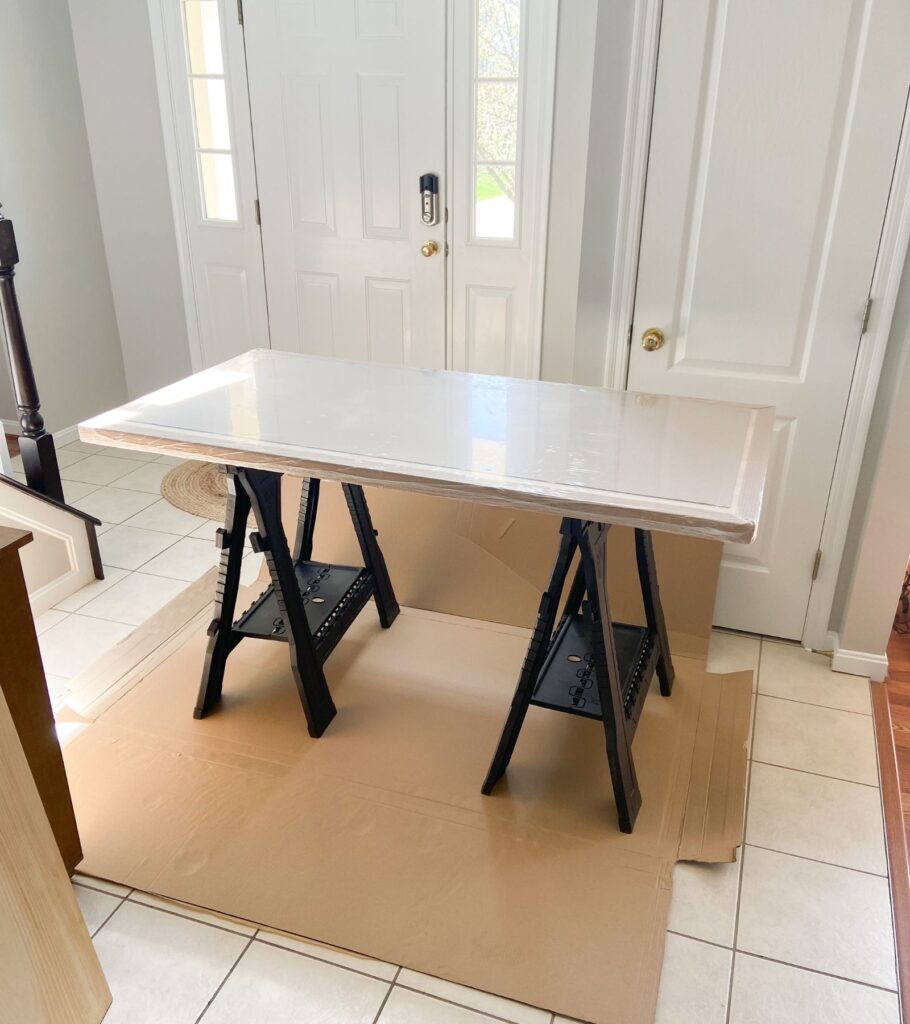
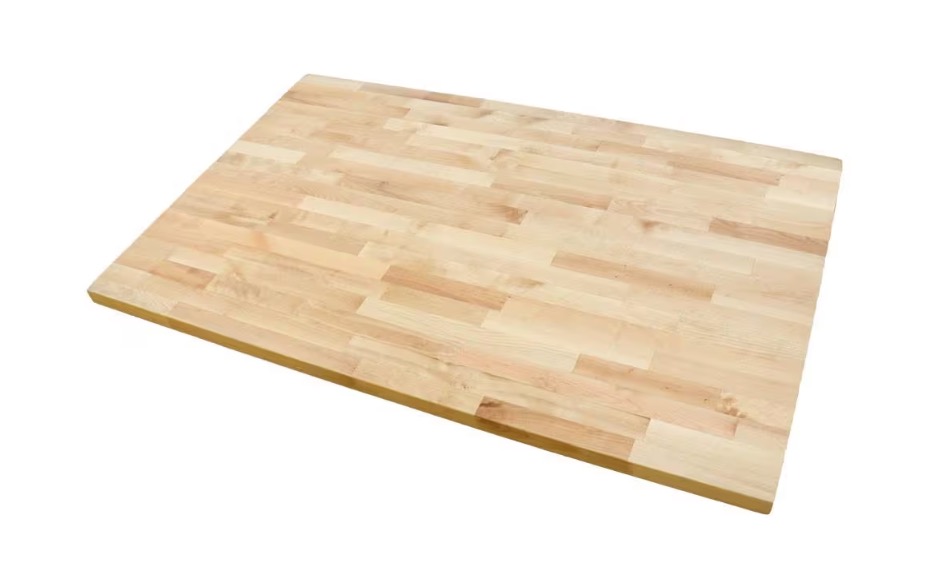
Okay, I have a confession to make. I did not sand either my butcher block desk, or butcher block kitchen table prior to pre-staining! 😬 My butcher block is from Hardwood Reflections (through Home Depot), and they make it known that they have pre-sanded all their butcher blocks to 150-grit.
Minwax recommends you sand your wood to 220-grit to ensure that you get the most out of the product. This includes getting the deepest, fullest color.
I do think that if your butcher block comes pre-sanded, you may be okay skipping straight to the pre-stain. If you’re unsure, it’s better to be safe than sorry, and go ahead and sand!
Using your 220-grit sandpaper, start sanding the entire surface of your butcher block going with the grain of the wood.
Sanding will cause the tiny wood fibers to stand up and allow the stain to soak into the butcher block. Use damp paper towels and ensure you get all of that sanding dust completely off your butcher block before pre-staining!
2. Pre-stain Your Butcher Block
Pre-staining before actually staining allows your pretty oil-based stain color to soak evenly into your butcher block. It will prevent streaking and blotching – and we don’t want that!
Using your sponge brush, apply the pre-stain over the entire surface going with the grain of the wood. Use a normal amount – no need to go crazy with it, but also you don’t want too little.
This stuff dries in just 15 minutes! That means after 15 minutes is up, you can immediately begin the staining process.
3. First Coat of Stain
For the first coat of stain, you’re going to want to show that butcher block some love!
In other words, use a generous amount of stain. Using a different sponge brush from your pre-stain brush, begin to brush on the stain to cover the entirety of your butcher block going with the grain of the wood.
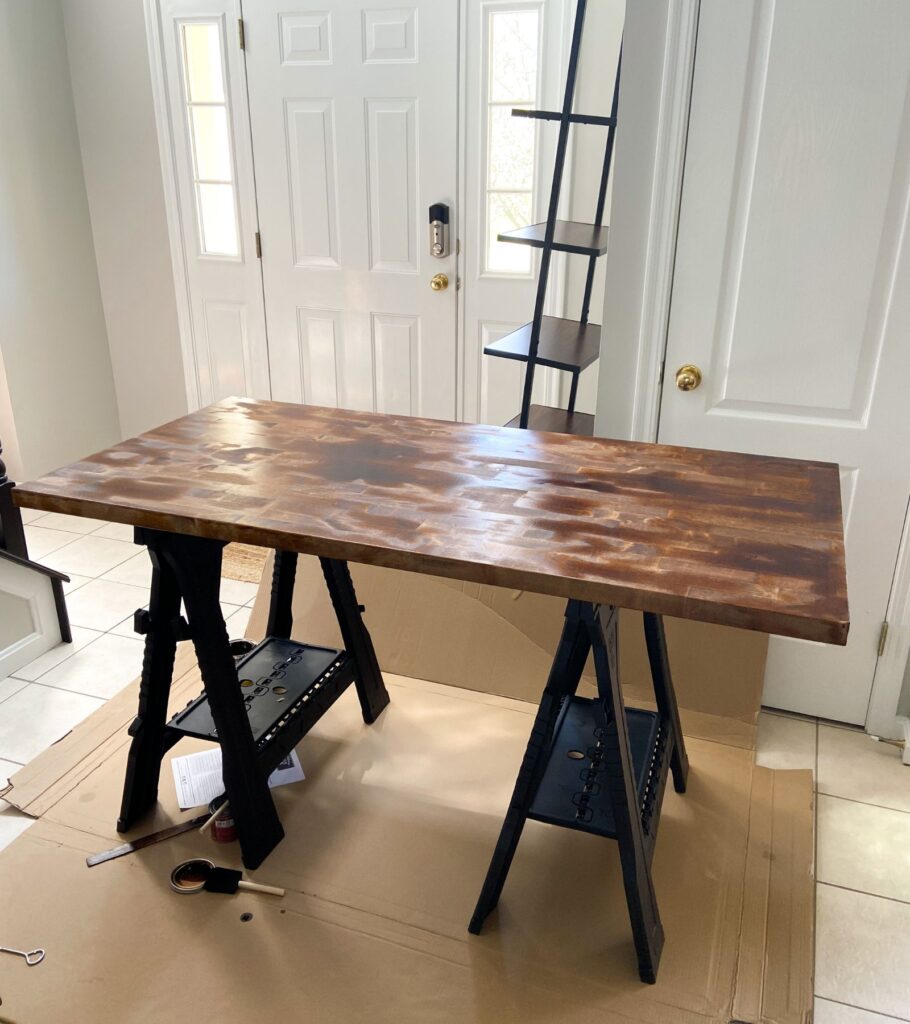
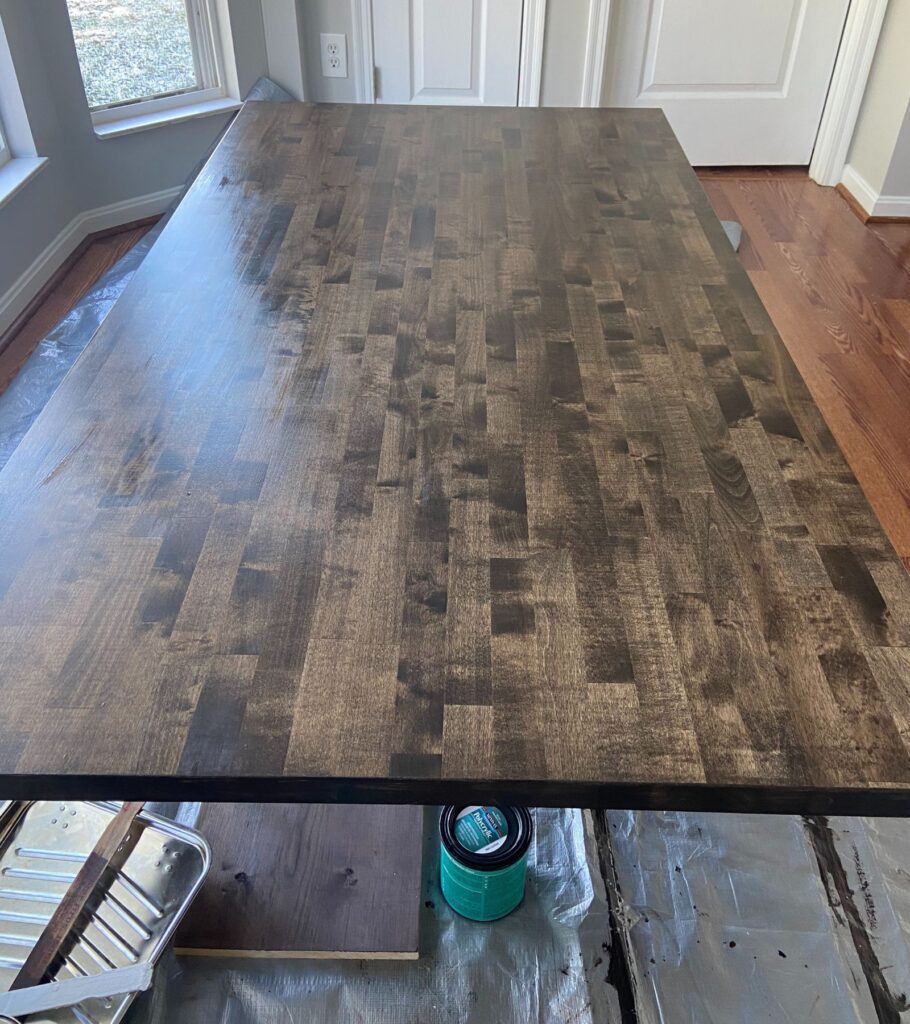
You’ll want a thick layer of stain across your surface – you don’t want it looking “finished”. You want it to look like you need to wipe off stain with a microfiber cloth. Take a look at the picture above for what I mean by this.
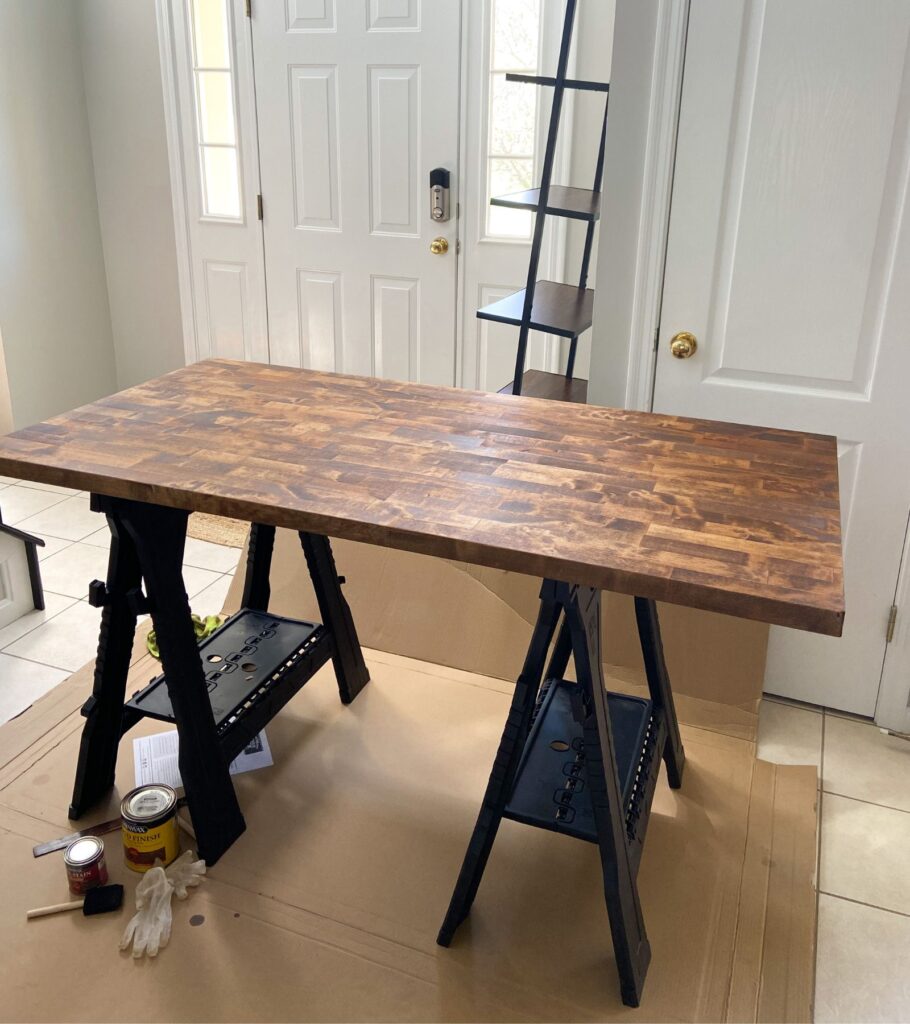
Set a timer for 15 minutes to allow the stain to soak in. Once the timer is up, use a microfiber cloth to wipe off the excess stain. The picture below is a good indication of what the butcher block will look like once you have wiped off the excess stain.
Before you start your second coat, set a timer for 4 hours to allow for the stain to dry.
4. Second Coat of Stain
Once the 4-hour timer is up, you’re ready for coat #2 of stain for your butcher block!
This time around, there’s no need to be as generous with the stain. Just be sure to completely cover the surface with stain, once again going with the grain of the wood!
Set your 15-minute timer, and then use your microfiber cloth to wipe off the excess stain.
Additional Coats
You’ll probably be pretty happy with the results after 2 coats of stain! But if you’re still not totally satisfied, you can continue applying additional coats of stain until you get there. Each additional coat will make it darker!
5. Seal Your Butcher Block With Polycrylic
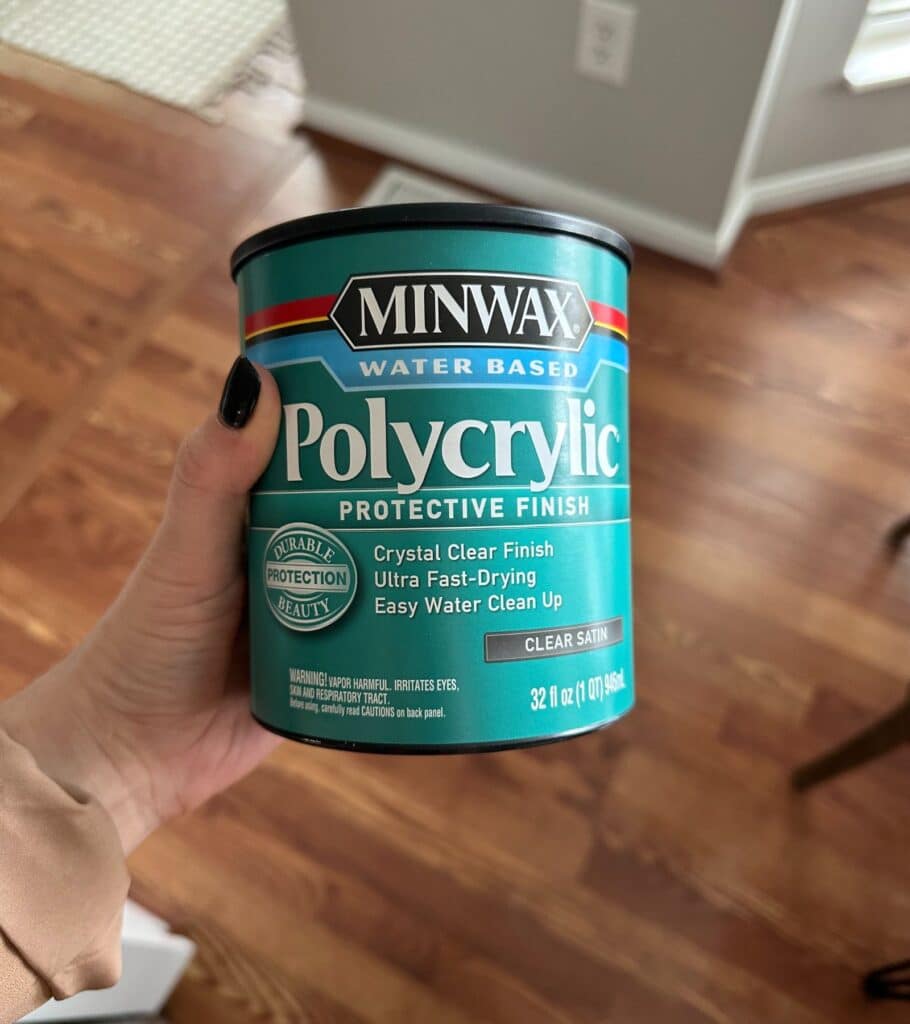
Woot woot! Your stained butcher block is looking b-e-a-utiful at this point! Let’s keep it that way by sealing it!
Once you’re head over heels for your butcher block stain color, you’re ready to seal your butcher block.
Remember that you need to wait 24 hours between your last coat of stain and your first coat of Polycrylic to ensure it’s completely dry!
This post was dedicated to how to stain butcher block, but now I have to turn it over to my other post. It will teach you exactly how to seal butcher block with Polycrylic, and why it’s the best way to seal butcher block!
How to Seal Butcher Block with Polycrylic (Why It’s The BEST Sealer)
What is the best stain for butcher block?
Hands down the best stain for butcher block is Minwax oil-based stain!
I have used Minwax oil-based stain on every single wood project, both butcher block and not, and I’ve always been EXTREMELY happy with the results.
The only time I haven’t used this stain was on my banisters for my stairs – but that’s a story for another post where I tell you all about my java gel stain banisters!
Minwax is a Lowe’s brand. But regardless of the brand, when staining butcher block you will definitely want to be using an oil-based stain. I’ve heard good things about Varathane, which is the Home Depot rival brand. However, Minwax is my go-to so I have absolute confidence in recommending this brand to you.
I’m sure among your Google searches, you’ve come across 3 different types of stains that have made you go “hmm”. 🤔
These are oil-based, water-based, and gel stain. We’ve already concluded that oil-based stain is the best stain for butcher block, but just so you know the difference, here is a quick breakdown of the three in case you were curious.
Oil-Based Stain vs. Water-Based Stain vs. Gel Stain
Oil-Based Stain
What kind of stain do you use on a butcher block? This is it!
Oil-based stain penetrates the wood, which is the keyword here – and why it’s SO good for butcher block.
In return, this gives you richer, deeper, and fuller colors in your butcher block. You’re going to get as close to your desired butcher block color as possible with an oil-based stain!
It also dries in just 2 hours (according to Minwax)! Making this stain very DIY friendly as this allows you to finish projects in a day or two.
An oil-based stain will ultimately give you the best finish for butcher block countertops, and other butcher block adventures.

Water-Based Stain
While water-based stain does penetrate, it simply doesn’t do as good of a job as oil-based when it comes to most projects.
So when would you use a water-based stain? Excellent question!
A lot of times this type of stain is used on outdoor applications such as outdoor furniture, porches, and decks that get a lot of sun exposure. Water-based stain holds its color longer when exposed to the elements and that’s the reasoning here.
Does that mean you have to worry about your oil-based stain fading on your butcher block? Absolutely not! Since your butcher block will be used indoors and away from those elements, oil-based stain should still be your go-to!
Gel Stain
Gel stain is a thicker stain option when compared to oil and water-based. While oil-based stains and water-based stains soak into the wood, gel stain simply sits on top! This makes it a tad bit harder to see the natural wood grains.
While gel stain may enhance the beauty of the wood, oil-based is going to be more than a happy medium between beauty and ease of use – especially for beginners.
Gel stain is a little more work, and also takes a lot longer to dry, so you would have to wait even longer to see that beautiful butcher block of yours completed.
However, it may be the perfect stain option for other DIY projects. Just check out my post on how to gel stain banisters if you are curious to see gel stain in action.
Let’s get back to talking about how to stain butcher block!
Okay, oil-based stain – got it. But is stain food safe?
I’ll quickly make you feel better by saying that after it has cured for 30 days, your wood stain is considered non-toxic.
Cool, non-toxic, but what about food-safe??
Food-safe stain for butcher block isn’t really a thing because it doesn’t have to be.
After you stain, you are going to seal your butcher block with Polcrylic or polyurethane which will make your butcher block, and therefore stain, food-safe in your kitchen.
Check out my post on how to seal butcher block with Polycrylic, which will go into ALL of the details and more. It will make you feel so much better about making your butcher block food-safe!
And there’s no question in whether or not you will seal your butcher block, you NEED to seal your butcher block.
So naturally I’m going to recommend sealing with Polycrylic once you’re done staining! 😉
But this is a great question for when you are wondering how to stain butcher block.
Does butcher block need to be stained?
Absolutely not! Unfinished butcher block is beautiful on its own, so if you’re someone who admires this color and wondering if you even have to stain butcher block before sealing, you don’t need to.
You can hop right into sealing your butcher block!
Keep in mind that even if you don’t stain your butcher block, the Polycrylic could make it look SLIGHTLY darker. But sealing is a totally necessary step, especially when your butcher block is in the kitchen.
It’s honestly making your life easier than going the stained route LOL.
If you are staining your butcher blocker, you must do it prior to sealing. Once your butcher block is sealed, there’s no going back!
Does butcher block need sanded prior to sealing if you’re not staining?
This is where I highly recommend the “feel” test. Some butcher blocks are pre-sanded and will most likely require no sanding (such as the Hardwood Reflections Butcher Block at Home Depot).
If you’re unsure, run your hand across the entire surface. Do you feel any bumps, notches, or imperfections? If so, you’ll probably want to sand using 220-grit sandpaper.
If you do end up sanding, be sure that you use a damp paper towel to completely wipe off all of the sanding dust. This is really important because you don’t want to seal this dust into your butcher block!
But if your butcher block feels nice and smooth, I see nothing wrong with hopping right into sealing without sanding!
RELATED POST: How to Seal Butcher Block with Polycrylic (Why It’s The BEST Sealer)
Butcher Block Stain Colors – Some Real-Life Inspo
I know just how impossible it can be to look at a stain color printed on a can and have any idea of how it would look once your butcher block is stained.
My biggest suggestion to you is that if you are curious about a stain color for your butcher block, search it online! There are so many projects being posted out there, so you probably have a high chance of seeing a couple of examples to give you a better idea.
I have two examples to share for some butcher block color inspo.
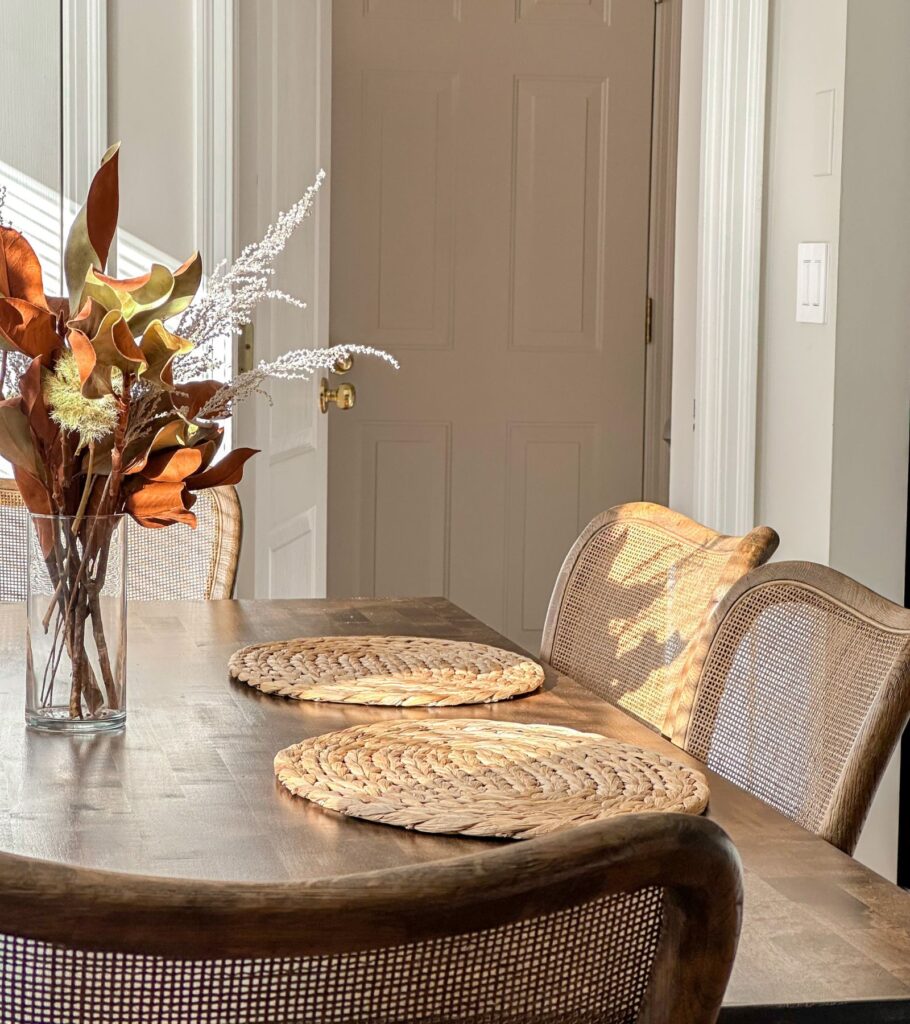
Provincial by Minwax
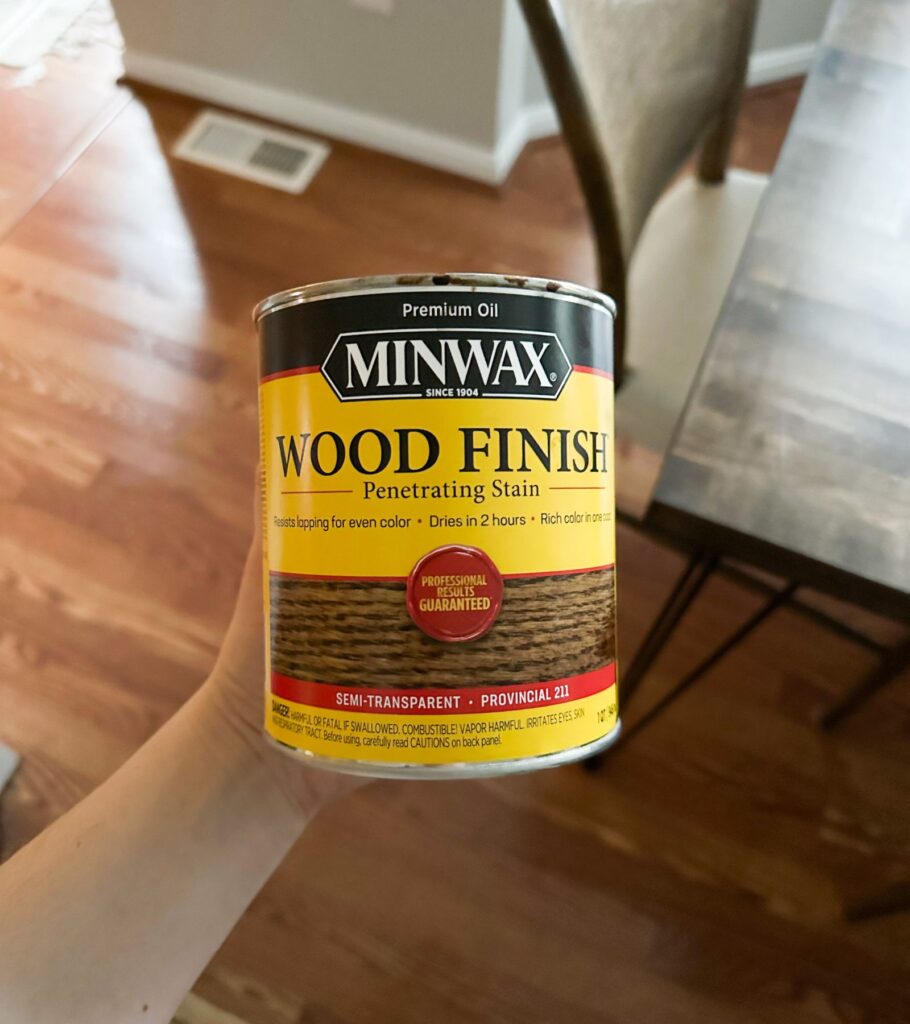
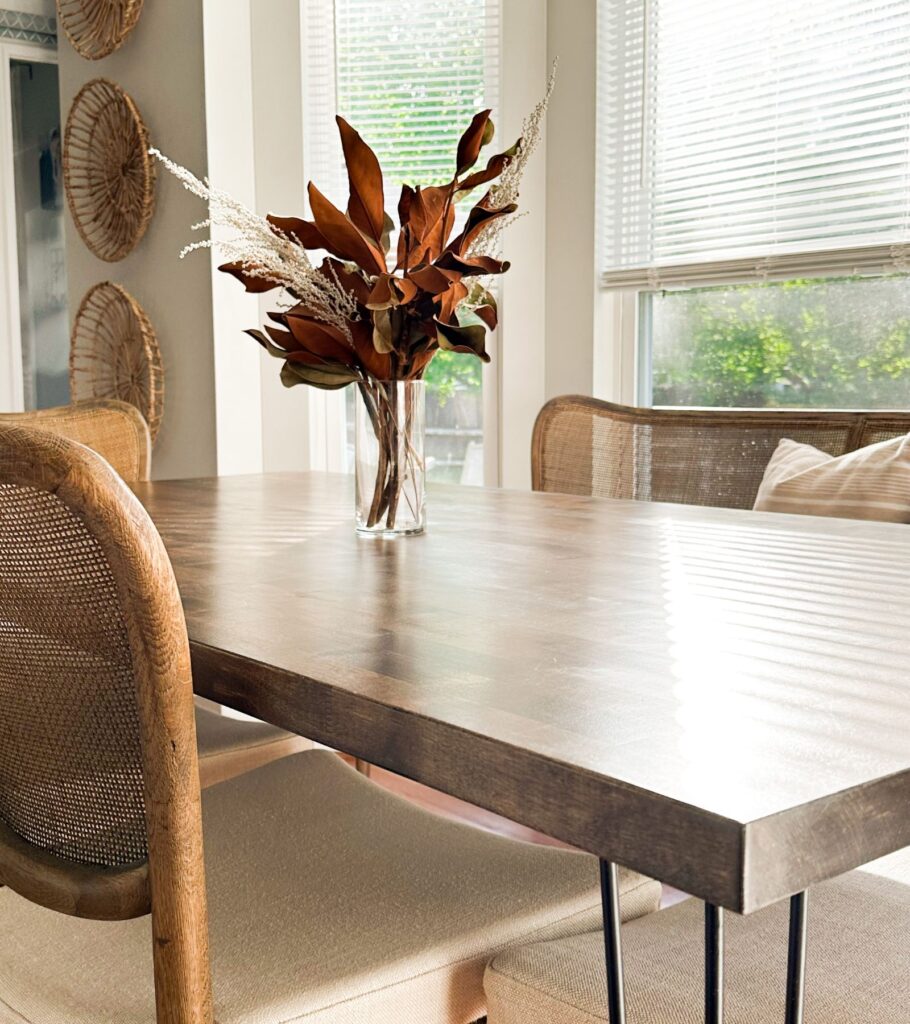
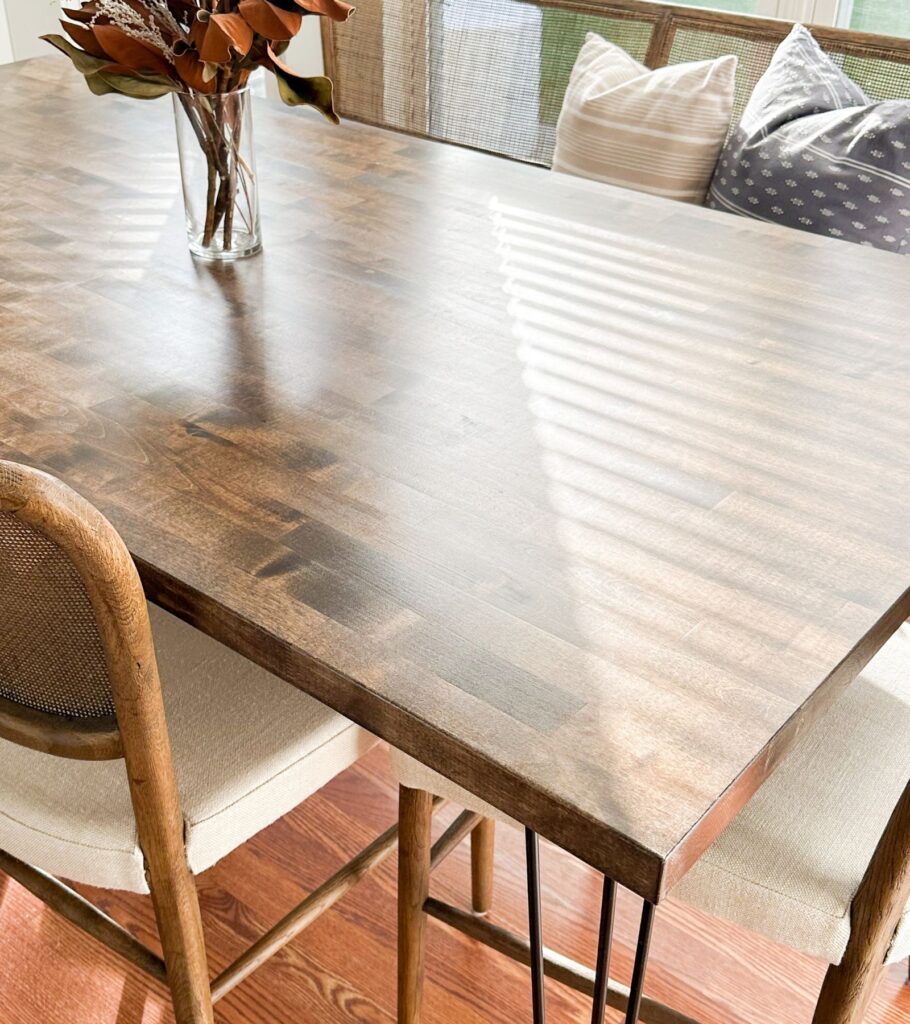
If I were doing butcher block countertops, I’d more than likely choose this color. I LOVE the warmth of this stain, while not being too light or too dark.
If you’re looking for a warm, reddish undertone, this might be your go-to!
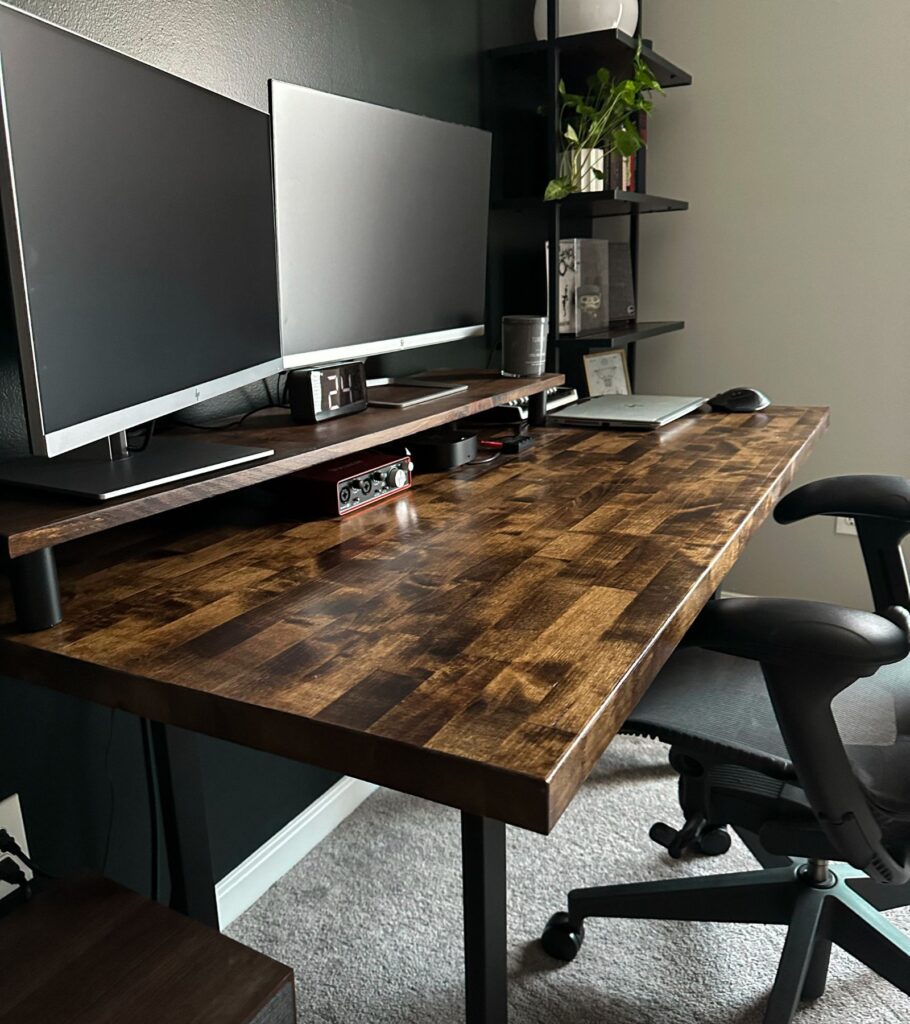
RELATED POST: DIY Butcher Block Desk for Your Home Office
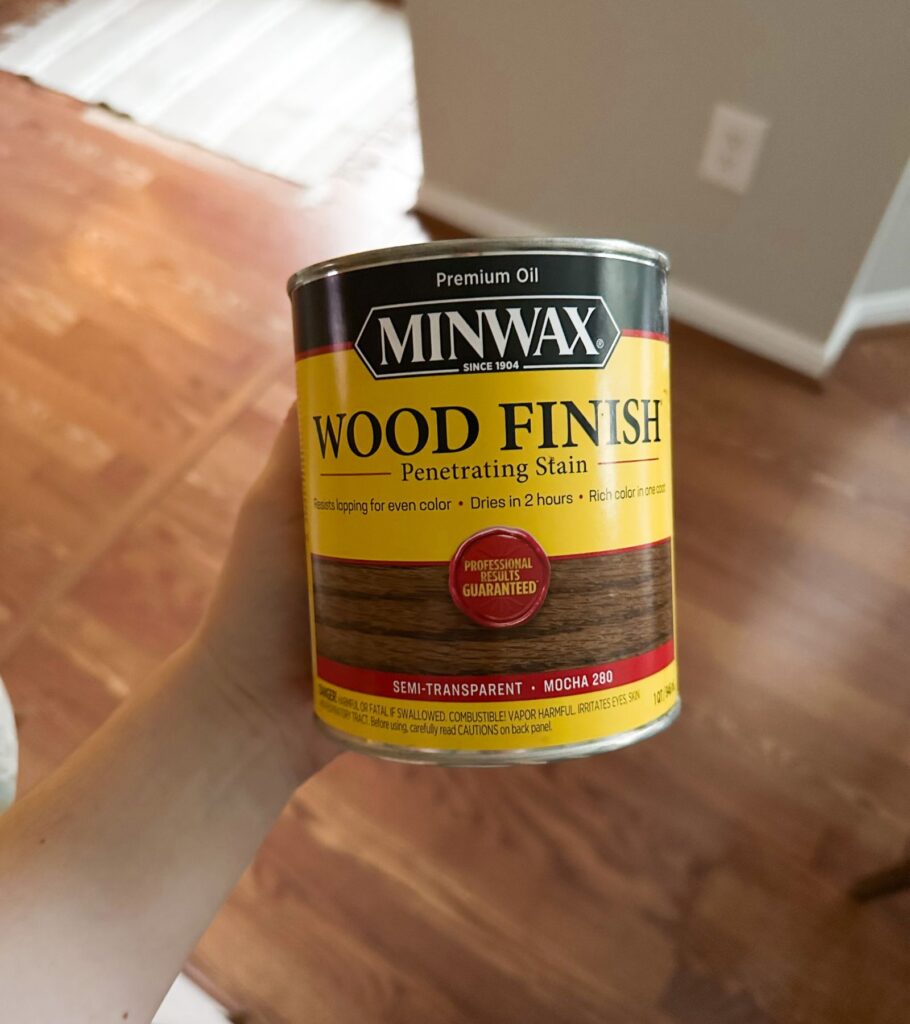
Mocha by Minwax
If you’re looking for something that is a little darker, mocha is a beautiful dark tone that has a rich, almost chocolatey look to it.
If you accent this dark color with lighter colors in the room, there’s no doubt it will steal the show and quickly become the focal point of your space!
I always love to share this video as well. Angela does a great job showcasing some of the most popular Minwax stain colors for some real-life inspo. She even has a couple Varathane branded stains, which is the Home Depot alternative to Minwax.
Tip: Always test your stain on an inconspicuous area to see what it’ll look like. That way if you immediately have a change of heart, at least the center of your butcher block isn’t covered in a color you don’t like!
You’re now an expert on how to stain butcher block! It doesn’t matter whether you’re staining a butcher block desk or butcher block countertops, these tips will make your butcher block project turn out STUNNING!
I’ll catch you over on the next post about sealing your butcher block! We’ll be hanging out and talking about how to make that butcher block last for years to come. 🙂


Leave a Reply